Audio Interface vs USB Mic: Which Setup Sounds Better for the Money?
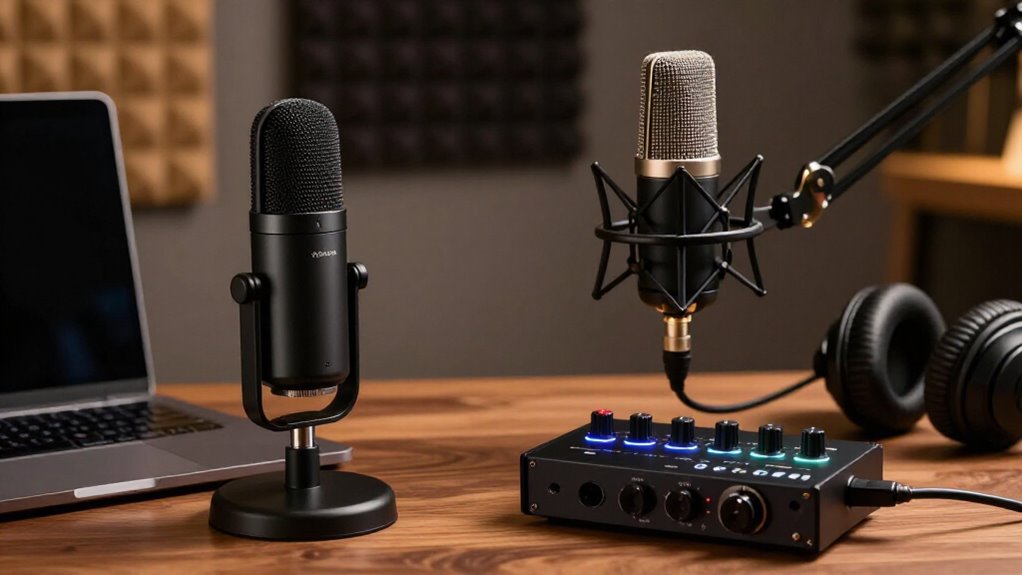
For one voice in a quiet, treated room, you’ll usually get the best sound per dollar from a good USB microphone: its built-in preamp and converter keep cost and desk clutter low.
Choose an XLR mic and capable interface when you need lower noise, more headroom, physical level control, or a second mic. Neither fixes reflections or poor placement.
Test matched recordings, including room tone and loud speech, before buying. The details below clarify expansion.
Sound Test: Treated vs Untreated Rooms
Before comparing a USB mic with an interface-and-XLR setup, test both in the room where you’ll record. Room acoustics often dominate the result: reflections, flutter echo, and reverberation can obscure speech more than microphone selection.
| Room condition | What you hear | Practical verdict |
|---|---|---|
| Polished wood floor | Bright reflections | Usually unsuitable |
| Carpeted bedroom | Reduced floor bounce | Better starting point |
| Wall and ceiling tiles | Clearer speech | Useful treatment |
| Smartphone test | Submission-quality potential | Process lightly |
A carpeted bedroom with tiles reportedly delivered clear Zoom speech, even using laptop speakers and a microphone. Likewise, a smartphone recording reportedly met ACX audiobook requirements after simple effects and restrained noise reduction. Record matched voice samples, then judge intelligibility, decay, background noise, and consistency. You can’t fix poor acoustics with another mic.
USB/XLR Signal Paths
USB and XLR setups differ mainly in where they amplify and digitize your microphone signal. With a USB mic, the capsule’s analog output passes through its integrated preamp and analog-to-digital converter, then travels as digital audio over USB to your computer. That consolidates the recording chain inside one device.
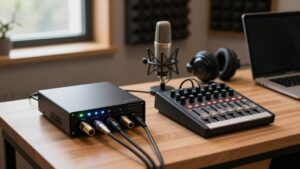
An XLR microphone sends analog audio along an XLR cable to an interface. The interface applies preamp gain, converts the signal, and transfers digital audio via USB. You can adjust gain from dedicated hardware controls, while many interfaces accept two inputs for dual-mic sessions or stereo capture.
XLR runs can exceed 10 metres, letting you place the mic farther away; USB mic leads commonly reach only 2–3 metres. Keep the interface’s USB cable relatively short.
Noise Floor and Headroom
Beyond cable routing and conversion location, the recording chain affects noise floor and headroom. You may hear a steady hiss from a USB microphone, whereas an XLR mic paired with a capable interface can deliver quieter preamps and converters. That advantage isn’t automatic: equipment quality matters. In one normalized comparison, a Samson Q2U USB track retained noticeable hiss without noise reduction, while the interface recording differed at the same average volume. Better circuitry preserves transient headroom, reducing overload risk from sudden loud sources.
However, don’t assume every interface is quiet. A Scarlett Solo proved noisy and hissy in tests, while a TASCAM US-2×2 showed little hiss and no buzz. USB power can add high-pitched whine; separately powered interfaces may isolate that contamination.
Driver Setup and Gain Staging
Driver setup and gain staging determine whether the convenience of a USB mic translates into a usable recording. On a Mac, you can often connect a USB microphone without custom software because built-in USB audio support handles the device; tested USB interfaces likewise drew power from an iMac. Windows routing can be less straightforward: two identical USB mics sharing one driver may not operate together, and mixed models can require VoiceMeeter for separate channels.
Before tracking, set input level and monitor the meter. A fixed-gain USB mic may capture weak audio, leaving you to move the mic closer or raise source volume. An interface gives you a physical preamp control and often an input/playback mix knob. Compare setups after matching loudness, without noise reduction.
iPad, Console, and Laptop Compatibility
Host compatibility should guide your choice before you buy: a USB mic connects directly to a computer, while an interface requires both the interface and an XLR microphone, and each device must work with your intended laptop, iPad, or console.
Don’t assume USB microphone notes confirm direct computer use, not iPad or console operation, so verify the host’s supported audio inputs. Interface testing likewise covers USB connections to Macs, not iPads or consoles. For laptops, confirm the interface’s USB, Thunderbolt, FireWire, or PCI requirements. Bus-powered interfaces may introduce USB-power noise; externally powered models can reduce that risk. On Windows, identical USB mics sharing a driver may fail to operate together. Different brands on separate channels can require VoiceMeeter or comparable routing software when needed.
Replacement Cable and Port Costs
Cable and port serviceability changes the long-term cost equation: a USB mic often relies on a short 2 to 3 m cable, and a permanently attached lead can make a cable failure harder to remedy.
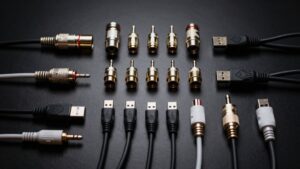
If you use a detachable USB cable, you can compare the price and availability of the exact connector before buying. However, a fixed lead can turn a low-cost cable fault into an involved service decision. An XLR setup isolates that risk: you replace a damaged microphone cable without replacing the microphone or interface. You can also run XLR 10 m or more while keeping the interface’s USB link short. Because interfaces often offer two or more XLR inputs, you gain expansion without adding another USB microphone. Check compatible cable and port options.
USB Mic Firmware Obsolescence
- Before purchase, verify the maker’s current operating-system compatibility statement.
- Check whether it publishes firmware releases, changelogs, and support duration.
- Distinguish Windows multi-microphone difficulty from firmware obsolescence; they’re separate issues.
- Recheck compatibility after major OS upgrades, especially if your workflow depends on vendor control software.
Direct computer connection doesn’t itself establish either risk or protection from obsolescence. Evaluate support evidence at purchase, then retain documentation for future troubleshooting and comparison against your intended recording system’s current version requirements.
Phantom Power and Upgrade Flexibility
Before choosing a condenser microphone, check whether your interface supplies the required phantom power. An interface lets you upgrade the XLR microphone and the interface independently, rather than replacing an all-in-one USB mic. You can also use gain control, longer XLR runs, and often a second input for stereo or dual-mic recording.
Phantom Power Requirements
Condenser XLR microphones such as the Rode NT2-A require 48V phantom power, so you’ll need an audio interface that can supply it. Phantom power travels through the balanced XLR cable, energizing the condenser’s internal circuitry while preserving the microphone’s normal audio path. Before buying, confirm that the interface includes a labeled 48V switch and that it applies power to the input you’ll use.
- Verify 48V phantom power is specified, not merely an XLR socket.
- Enable it only after connecting the microphone and lowering monitor volume.
- Use a balanced XLR cable to carry both power and signal reliably.
- Remember that USB microphones contain their own preamp and converter, so they don’t require external phantom power.
This check prevents an unpowered condenser from producing no output.
Future Upgrade Options
Beyond confirming 48V availability for a phantom-powered mic, an audio interface gives you a modular upgrade path: you can replace the microphone, interface, or both independently as your recording needs change.
This lets you select directional or omnidirectional XLR microphones for different rooms, sources, and pickup goals without discarding the rest of your system. Many interfaces provide two inputs, so you can add a second mic or capture stereo later. XLR cables can run 10 metres or more, giving you more placement options as your space expands. Some interfaces also accept separate power supplies, which may reduce electrical noise carried by USB power.
Before buying, check the interface’s specifications: Verify 48V, input count, and connectivity.
Two-Person Podcast Recording
You’ll face device-sync and driver limitations when pairing two USB microphones, particularly on Windows. A two-channel interface gives each host a dedicated XLR input, gain control, and simultaneous recording path. Use closely positioned dynamic mics and set independent levels to reduce crosstalk in untreated rooms.
Dual USB Microphone Setup
Although two USB microphones offer a compact route to a two-person podcast, the computer must recognize each device as a stable, independent input. Windows may treat two identical models unpredictably when they share one driver, so test them before recording. Different-brand mics don’t automatically map to separate channels; you may need VoiceMeeter or comparable routing software.
- Use distinct USB ports, not an unpowered hub.
- Confirm each microphone’s sample rate matches your session.
- Record isolated tracks, then check synchronization and dropouts.
- Choose dynamic USB mics when speakers sit close.
Keep each USB cable near 2 to 3 metres to limit connection problems. Monitor with headphones and set gain conservatively; this preserves speech separation and prevents clipping during louder exchanges in later postproduction.
Two-Channel Interface Setup
A two-channel audio interface gives a two-person podcast separate XLR inputs and independent gain control without relying on USB-device aggregation. You can connect two microphones directly and capture each voice on its own channel, preserving separate tracks for later editing. The $119 TASCAM US-2×2, a top tested pick, places two front-facing XLR inputs beside dedicated gain controls and produced very little hiss or buzzing.
Its layout keeps cable routing and input adjustment straightforward at a desk. Alternatively, the Zoom H4N accepts up to two XLR microphones, runs on battery or AC power, and doubles as a two-track USB interface. Pairing either unit with ATR-2100-USB or Samson Q2U dynamic microphones gives you a practical XLR path while helping reduce room-noise pickup in untreated recording spaces.
Managing Crosstalk And Levels
Control crosstalk at the source: place a dynamic microphone close to each speaker, aim its pickup pattern away from the other person, and give each mic its own interface input. A two-input interface lets you optimize gain independently, preserving intelligibility while preventing clipping. Use direct monitoring or the input-mix control to judge level balance without distracting latency.
- Set preamp gain from normal speech, then leave headroom for laughter, interruptions, and louder emphasis.
- Monitor both channels in headphones; adjust input mix until conversation balance remains obvious.
- Keep mouth-to-mic distance consistent, since moving farther away raises room tone and audible bleed.
- Avoid two USB mics when possible: Windows may struggle with shared drivers, and short, two-to-three-metre cables don’t solve independent balancing or driver synchronization issues.
Match Setup to Desk Space
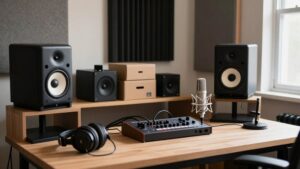
Desk layout can determine which recording setup fits your workflow best. A USB microphone conserves surface area because it connects directly to your computer, eliminating a separate interface and XLR cable run. That simplicity matters when you work from a narrow desk or need clear space for a keyboard and notes.
A mic-and-interface rig requires placement for both units, but a compact two-input interface consolidates gain controls and connections. Measure cable routes before committing: USB leads usually reach two to three metres, whereas XLR cables can extend 10 metres or more.
On a larger desk, position the interface within reach; its front-facing inputs and headphone jack streamline adjustments. Also account for headphone storage, cable bends, and microphone arm clearance, not merely the microphone’s overall dimensions.
Conclusion
Choose a USB mic when you need a compact, single-voice setup and accept its fixed converter, firmware, and routing limits. Choose an XLR mic plus interface when you need lower noise, more headroom, reliable drivers, phantom power, and expansion for guests or consoles.
Neither path fixes an untreated room; prioritize acoustic control and correct gain staging. For the best value, match channel count, desk space, and device compatibility before chasing microphone specifications alone. Then test.
Audio Interface Buffer Size & Latency Calculator
Convert audio interface buffer size and sample rate to milliseconds, estimate round-trip delay with your own overhead, and view a latency chart.
Recording Storage & Session Length Calculator
Estimate uncompressed recording size per hour and per session, and how many hours fit on a card, from sample rate, bit depth and track count.
Recording Software Finder: Free & Paid DAWs and Recording Apps
Filter 23 verified recording apps and DAWs by price, license, platform, use case and feature, plus free DAWs bundled with interfaces.