Home Recording Studio Equipment Checklist: Everything You Need, Nothing You Don’t
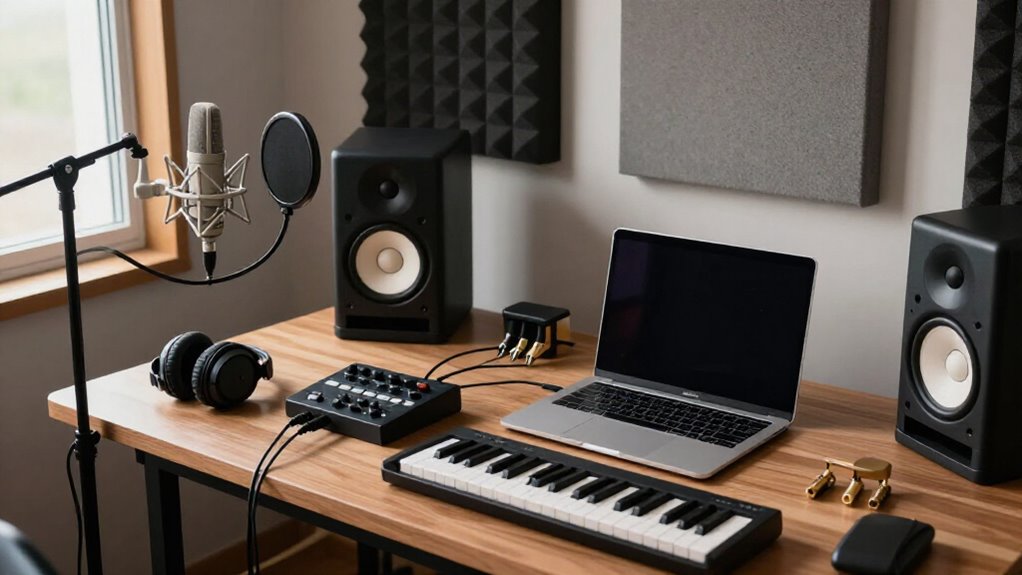
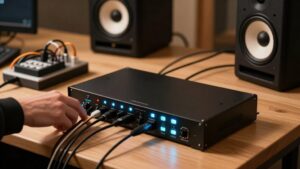
Start by counting what you’ll record simultaneously: solo vocal and guitar need two inputs, while drums need a preamp for every microphone. Choose an interface with matching mic, instrument, and line connections, plus 12 to 16 outputs for 7.1.4 Atmos.
Use 64 to 128 sample buffers for tracking, closed-back headphones, and balanced monitor cables. Add suitable microphones, stands, pop filters, and 48V only when required. You’ll also find setup steps that prevent hum, latency, and speaker damage safely, reliably.
Input Count by Session
Choose your audio interface by the number of sources you’ll record at once, not by the total track count in the finished song. Map a typical session before you buy. For solo recording, two suitable inputs let you capture vocals and a plugged-in guitar simultaneously. If you record one source at a time, one microphone input may cover your needs.
Increase the count when you track several musicians or place multiple microphones on drums. List every source needed in the same take: vocalists, guitars, keyboards, drum mics, and room mics. Each requires a dedicated input. Verify that the interface includes enough microphone inputs, preamps, and appropriate connections for microphones, instruments, and line-level equipment. Software-instrument-only sessions can begin with built-in audio hardware when that’s all.
48 kHz Buffer-Latency Chart
At a 48 kHz sample rate, each sample lasts about 20.8 microseconds, so a 48-sample buffer holds 1 ms of audio in one direction. Use the chart as a one-way buffer reference, not a round-trip promise. Your interface’s converters, driver, and plug-ins add time; verify your DAW’s reported input and output latency.
| Buffer | One-way | Practical use |
|---|---|---|
| 64 samples | 1.33 ms | Track, if stable |
| 128 samples | 2.67 ms | Track comfortably |
| 256 samples | 5.33 ms | Mix with more headroom |
| 512 samples | 10.67 ms | Mix CPU-heavy sessions |
Choose 64 or 128 samples when you need responsive software monitoring, but raise the buffer if clicks or dropouts appear. At 256 or 512, CPU pressure falls, although monitored performance feels later. If tracking gets demanding, use your interface’s direct monitoring when possible.
Phantom Power: 48V Explained
Phantom power supplies a steady 48-volt DC feed through an XLR cable from your interface or mixer to a microphone that requires it, most often a studio condenser. Check the microphone’s specifications before you enable 48V; many condensers need it, but not all do. Dynamic microphones generally don’t need phantom power.
Passive ribbon microphones can be delicate, so follow the manufacturer’s guidance before applying it. Mute or turn down your monitors and headphone level before switching phantom power on or off; this reduces pops and protects your listening chain. Enable it only for the XLR input connected to the microphone that needs it.
USB microphones draw operating power through USB, so they typically don’t use your interface’s 48V supply. Avoid adapters or questionable cables.
Microphone Polar Pattern Types
A microphone’s polar pattern determines how it responds to sound from different directions, so you’ll match it to the source and room. Use cardioid, supercardioid, or hypercardioid patterns to focus on a source and control spill; choose omnidirectional pickup for natural room ambience. Figure-eight microphones capture front and rear sound while rejecting the sides, making them useful for ribbon mics and two-source setups.
Cardioid Patterns Explained
Cardioid microphones capture sound most strongly from the front while rejecting the greatest amount from directly behind, producing the heart-shaped polar pattern shown in many microphone specifications. Use this directionality to isolate a vocalist or instrument when you’re recording in an untreated room or tracking near other noise sources. Aim the front of the mic at the performer, and position computer monitors, speakers, or other unwanted sources toward its rear.
This setup reduces spill and lowers feedback risk, although cardioid designs still receive some sound from the sides. Before buying, check the polar-pattern specification. Some microphones are fixed cardioid; others provide selectable patterns, letting you adapt the microphone to different recording setups and source placements without adding equipment you don’t need for each session.
Omnidirectional Pickup Characteristics
Omnidirectional microphones capture sound evenly from all directions around the capsule, rather than prioritizing the front of the mic. That broad response lets you record natural room ambience and several nearby sources without aiming the capsule as precisely as a cardioid. However, it also captures reflections, HVAC rumble, computer fans, and other unwanted noise. Because an omni pattern has no rear rejection zone, moving the mic provides less isolation from sound behind it.
You’ll also hear less proximity effect: bass changes far less when a singer or instrument moves closer, which can produce a more consistent low end. Choose omni when your room is quiet, treated, and pleasing-sounding, especially when ambience supports the performance. In noisy, untreated setups, use directional patterns to limit spill.
Figure-Eight Pattern Uses
Figure-eight microphones capture sound from the front and rear of the capsule while rejecting much of what arrives from the sides. This pattern lets you record two people facing each other—an interviewer and guest or duet partners—with a single microphone placed between them. Many ribbon microphones use this design, so you can capture front and rear sources naturally.
Remember that the rear lobe hears the room, monitors, and noise behind the mic. Angle the nulls toward unwanted sources, keep reflective surfaces out of the rear pickup zone, and check polarity when combining it with other microphones. Since its lobes have opposite polarity, off-axis arrivals can produce phase differences that affect your blend. Use headphones to refine placement before recording and commit to levels early.
Supercardioid And Hypercardioid Options
Supercardioid and hypercardioid microphones narrow the front pickup area beyond a standard cardioid pattern, giving you stronger side rejection for close-miked vocals, instruments, and noisy rooms. A supercardioid is most sensitive at the front but retains a small rear lobe; keep unwanted sources clear of its sides and directly behind it. A hypercardioid tightens the front response further, but its rear lobe captures more sound than a supercardioid’s.
Both patterns isolate a performer amid noise, yet their focused response demands careful placement and consistent mic distance: movement causes larger level and tone changes. In live or multi-mic setups, aim the rear null at the main unwanted source to reduce spill and feedback. Check the mic’s polar diagram, since null angles vary between individual models.
Choosing Patterns For Sources
A microphone’s polar pattern determines how strongly it responds to sound from different directions, so match it to both the source and the room. Use cardioid for close vocals, guitar amps, or any source where you need front-focused pickup and reduced rearward room noise or spill. Aim its null toward a noisy computer, reflective wall, or another performer.
Use figure-eight when you want equal front and rear capture, such as a two-sided duet or a ribbon-mic application; its side nulls can reject adjacent instruments effectively. Less directional choices preserve more ambience, while directional patterns help control leakage and feedback. Don’t choose from charts alone: test angle, height, and distance in your actual room. Small placement changes alter direct sound, reflections, proximity effect, and noise.
Match Interface I/O to Sessions
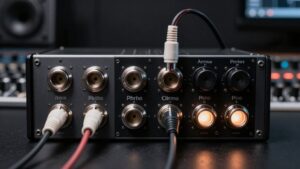
Choose an audio interface based on the number of sources you’ll record simultaneously, not the total track count in a finished production. A solo setup can work well with two suitable inputs: record vocals through a microphone while capturing guitar through an instrument input. Check the input types as carefully as the quantity: you may need one mic preamp plus one instrument or line-level input.
If you track several musicians together or use multiple microphones on drums, count every source that must be captured at once and choose enough preamps and inputs accordingly. One-source-at-a-time recording doesn’t demand the same I/O capacity. For immersive or multichannel work, verify outputs too: a 7.1.4 Atmos rig typically needs 12 to 16 interface outputs for separate speaker feeds and routing flexibility.
Never Hot-Plug Powered Monitor Cables
Protect your powered monitors by shutting them down, along with the audio interface, before you connect or disconnect any monitor cable. Hot-plugging can send a loud pop or transient through the system, risking speaker damage and hearing injury.
With both units off, run the interface’s outputs to each monitor’s inputs using the appropriate balanced TRS or XLR cables. Seat every connector fully; a loose plug can create noise or intermittent audio. When you’re ready, power on the interface first and the monitors last.
For shutdown, reverse the sequence: turn off the monitors before the interface. If you hear a pop, lower monitor volume, inspect cable connections, and confirm they’re secure before restoring power. Verify left and right channels again before raising listening levels slowly.
Podcast Setup: Two Microphones
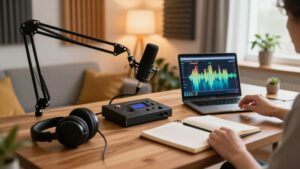
For a two-host podcast, use an audio interface with at least two independent microphone inputs so each person records on a separate channel at the same time. Choose microphones that suit your voices and room: dynamic models reject more room sound and are often easier to use in untreated spaces, while condensers capture more detail and usually need 48V phantom power. Connect each mic with a XLR cable, and confirm the interface works with your computer and recording software.
Give each host a dedicated stand and pop filter; this keeps placement repeatable and controls plosives. Use closed-back headphones for monitoring, because they minimize bleed into the microphones. Set input gain separately, aim for healthy peaks without clipping, and record both channels as individual tracks.
Ground Loop Hum Fixes
Track down a steady 50 or 60 Hz hum by treating it as a possible ground loop: connected devices can develop different electrical ground paths that feed noise into your audio chain.
Then isolate the fault systematically:
- Plug your computer, interface, monitors, and peripherals into one properly grounded outlet or quality power strip; this minimizes ground-potential differences.
- Disconnect audio cables one at a time, then reconnect each device individually to identify the noisy link.
- Replace unbalanced runs with balanced XLR or TRS cables where possible; they reject induced interference.
If the hum remains, insert a purpose-built isolation transformer or DI box and engage its ground lift. Don’t defeat a power plug’s safety-earth pin. It protects you from hazardous fault current in your studio, too.
Closed-Back Headphones for Tracking
Once you’ve eliminated hum sources, use closed-back headphones for tracking so the backing track stays out of the microphone. Their enclosed cups reduce playback bleed during vocal and instrument overdubs, unlike loudspeakers, which can spill into the mic or trigger feedback. Monitor in real time through a wired pair; Bluetooth latency can put your performance behind the track.
Before you hit Record, check three things:
- Seal: Adjust the headband and earcups until they isolate sound without painful pressure.
- Cable: Route it away from your hands and instrument controls.
- Level: Set a clear, moderate cue mix that doesn’t tempt you to turn up speakers.
The Beyerdynamic DT 100 and Sony MDR-7506 are proven recording options, but prioritize fit, isolation, and reliable cable connections for daily sessions.
Conclusion
Build your studio around the sessions you actually record, not a generic gear list. Match interface inputs to your largest session, set 48 kHz and a workable buffer, and use 48V only when required. Choose microphone patterns deliberately, track through closed-back headphones, and connect monitors safely. For podcasts, plan two mic inputs. Diagnose hum methodically. With sensible routing, gain staging, and monitoring, you’ll capture reliable recordings without buying equipment you won’t use for no reason.