How to Record Multiple USB Microphones at Once on Mac and Windows
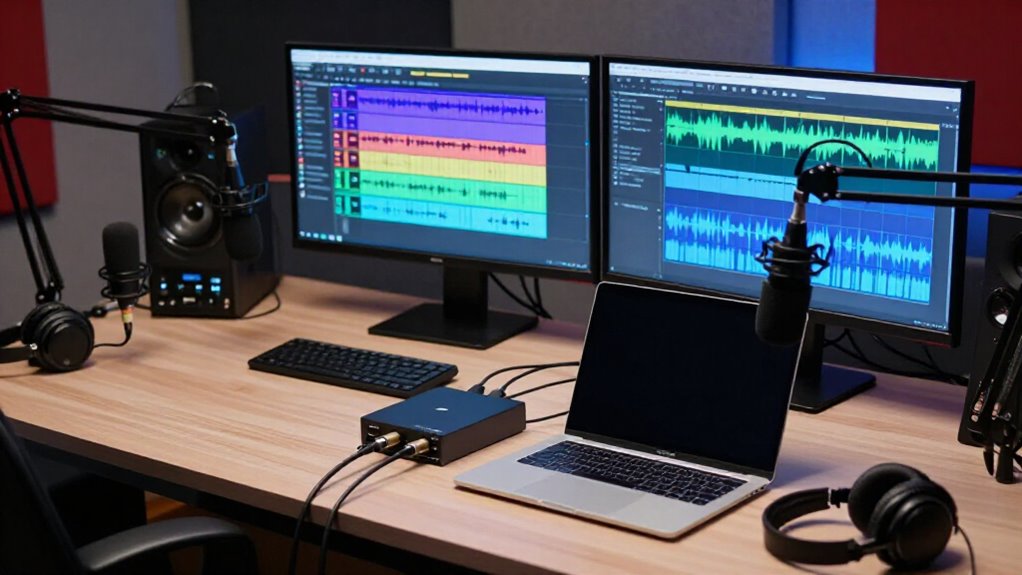
On Mac, create an Aggregate Device in Audio MIDI Setup and add both USB microphones. On Windows, combine them with VoiceMeeter, or use ASIO4ALL for separate-track routing in Audition or Reaper.
Set every mic and project to 44.1 or 48 kHz, label inputs, and assign each mic to its own armed track. Position speakers six inches away, test levels below 0 dBFS, and monitor a 30-second recording.
Next, you’ll verify sync, drift, and maintenance steps.
Two-Mic Recording: Easy, 15 Minutes
You can record two USB microphones simultaneously, but your computer may require a combined input device before your recording software detects both sources. On a Mac, open Audio MIDI Setup from Applications/Utilities, click the plus button, create an Aggregate Device, and select both microphones.
In your recording software, choose the Aggregate Device as the input and route each microphone to its own track. On Windows, use VoiceMeeter to combine the microphones; use ASIO4ALL when you need separate track routing in applications such as Audition or Reaper. Before recording, confirm that both microphones are active and monitor their input levels. Adjust gain until the levels are balanced, then make a brief test recording. Reserve about 15 minutes to configure connections, assign tracks, and verify operation.
Match Microphone Sample Rates
Before recording, set every USB microphone and the multitrack project to the same sample rate, typically 44.1 kHz or 48 kHz. This prevents the operating system or recording application from resampling one device, a process that can introduce synchronization errors or reduce stability.
- On Mac, open Audio MIDI Setup, inspect each microphone’s Format setting, and assign matching rates while building the Aggregate Device.
- On Windows, select the identical rate in your recording software and, when available, each microphone’s driver utility.
- Create or verify the multitrack project’s sample-rate setting before arming tracks; it must match every input.
After configuration, close and reopen the project if your software doesn’t update device status immediately. Record a brief test, then verify that tracks remain aligned throughout playback afterward.
Step 1: Position Mics 6 Inches Away
Place each USB microphone about 6 inches from its assigned speaker’s mouth, aimed directly at the speaker. This spacing produces a consistent voice level while keeping the microphone close enough to favor its intended source over nearby talkers and room noise. Set each microphone at the same distance. If one speaker works closer than others, that channel can sound noticeably louder and less balanced.
Ask speakers to remain in seated positions, then check levels before you begin recording. Adjust stand height and angle rather than asking a speaker to lean toward or away from the microphone. Maintain the 6-inch spacing throughout the session: moving closer increases level and proximity effect, while moving farther away reduces level and admits more ambient sound. Keep each microphone aimed at its speaker’s mouth.
Step 2: Label Each Microphone Input
Assign every USB microphone a distinct, recognizable name so you can route each speaker to the correct recording track. In your computer’s audio settings, use names that identify the participant, position, or physical USB port, such as “Host-Left-Port 1” and “Guest-Right-Port 2.” If matching microphones look identical, connect and configure one unit at a time, then record its port assignment before proceeding.
On macOS, confirm each microphone’s identity in Audio MIDI Setup before you create an Aggregate Device. On Windows, label the devices, or maintain a clear port-to-speaker note, within VoiceMeeter or ASIO4ALL. Test the mapping systematically: speak into only one microphone, watch the corresponding input meter, and confirm that its label matches. Repeat for every microphone. Correct mismatches now; labels prevent later errors.
Step 3: Select Both USB Inputs
Combine the two USB microphones into one selectable input device, then route their channels independently in your recording software. On a Mac, open Audio MIDI Setup from Applications/Utilities, click the plus button, and choose Create Aggregate Device. Add both microphones to the aggregate, then select it as your software’s input device. In the track input settings, assign each microphone to its own track. If a microphone provides stereo channels, select both channels only when you need them.
On Windows, open ASIO4ALL in a compatible application such as Adobe Audition or Reaper. Enable both microphones in its device list, then map their inputs to separate tracks. Confirm both inputs show signal, and arm every track you want to capture before you press the record control.
Step 4: Record a 30-Second Test
With every USB microphone connected and selected, record a 30-second test before starting the session. Speak into each microphone separately, stating its name, so you can map each voice to the correct input. Watch the software’s input meters while you speak, then play back the file through headphones. Confirm that every microphone captured audio and that no track contains distortion, dropouts, or uneven voice levels.
On a Mac, select the Aggregate Device in your recording application and verify that expected microphone channels appear and record. If you’re routing microphones through Voicemeeter or a mixer, confirm that USB devices reach the recording software. Because the mixer may combine them on one track, speak into each microphone in turn and verify that their shared-track levels remain balanced.
Step 5: Reduce Gain Below Clipping
Set each USB microphone’s input gain so its loudest expected speech peaks remain below 0 dBFS and out of the red zone. Test every speaker at the volume and distance planned for the session while watching the meter. If a peak reaches red, reduce that microphone’s gain and repeat the test. Leave deliberate headroom: gain reduction after recording can’t repair clipping already embedded in the signal.
In multitrack software, monitor each input independently. Adjust the loud speaker’s channel without changing the others. If two USB microphones route through one shared VoiceMeeter track, balance both sources first and watch the combined meter. A single loud voice can overload the summed signal even when its individual meter appears safe. Recheck levels after any change in placement.
Step 6: Eject USB Mics After Saving
After you save the recording, verify that the file opens and plays correctly before you disconnect any USB microphones. Stop the recording first, then close your audio software completely. This sequence guarantees the application has finished writing the audio file and released its connection to each microphone. Check that no recording, export, or save operation remains active before you remove hardware.
On a Mac, you don’t need a separate eject command for a USB microphone; disconnect it only after recording has stopped and the software is closed. On Windows, no microphone-specific safe-eject procedure applies in this workflow. If you used a USB hub, leave microphones connected until saving is complete and the application has closed, then disconnect the microphones from the hub or computer.
Verify Separate Audio Tracks
Before disconnecting the microphones, confirm that your recording software captured each USB mic on its own track. In your multitrack session, assign every microphone input to a separate track; don’t route both sources to a single channel. On a Mac, open Audio MIDI Setup and verify that the Aggregate Device contains both microphones and their channels. Then select the correct input channel for each recording track.
In Adobe Audition, using ASIO4ALL, enable both microphones in the WDM Device List, map their channels, and assign one input to each track. Arm both tracks, record a short test, and speak into each microphone separately. Inspect the waveforms and meters to verify that each track receives only its assigned source. If Voicemeeter combines inputs, reconfigure it.
Clock Drift: Use ASIO4ALL
ASIO4ALL lets Adobe Audition access multiple USB microphones as separate inputs, but it can’t synchronize the microphones’ independent sample clocks. In Audition, you select the ASIO device class, choose ASIO4ALL v2 in Audio Hardware preferences, then open its WDM Device List. Enable each microphone and assign each exposed input to its track.
| Stage | Your action | Result |
|---|---|---|
| Setup | Enable every microphone | Separate inputs appear |
| Record | Check alignment periodically | Drift becomes visible |
| Edit | Realign offset audio | Timing stays coherent |
USB microphones can operate at slightly different actual sample rates, so their tracks gradually diverge. For long recordings requiring precise synchronization, monitor alignment during capture and correct any offset in editing. ASIO4ALL routes inputs; it doesn’t provide a shared clock. Use synchronized hardware when timing is critical.
Clean USB Ports Monthly
Clean your computer’s USB ports monthly to prevent dust or debris from causing intermittent microphone connections. First, disconnect every USB microphone and shut down the computer completely. Inspect each port under good light for lint, dust, or other visible contamination around the contacts.
Hold a compressed-air can upright, then apply several short bursts to dislodge loose particles. Don’t insert nozzles, swabs, picks, or any other objects into the port. Avoid liquids, cotton swabs, and metal tools; they can leave residue, bend contacts, or cause damage.
After cleaning, reconnect the microphones securely and restart the computer. Open your audio settings or recording software and confirm that each microphone appears as a recognized input. If a device still disconnects intermittently, test its cable or another port.
Conclusion
You can record two USB microphones reliably on Mac or Windows when you standardize sample rates, place each mic, and identify every input before recording. Create an aggregate or multi-input device, select both channels, and confirm that your software writes separate tracks. Monitor timing during sessions; if clocks drift on Windows, configure ASIO4ALL.
After you save and verify the files, eject the microphones safely. Clean USB ports monthly to preserve reliable connections and repeatable results.