Which Microphone Is Best for Recording in an Untreated Room? Dynamic vs Condenser
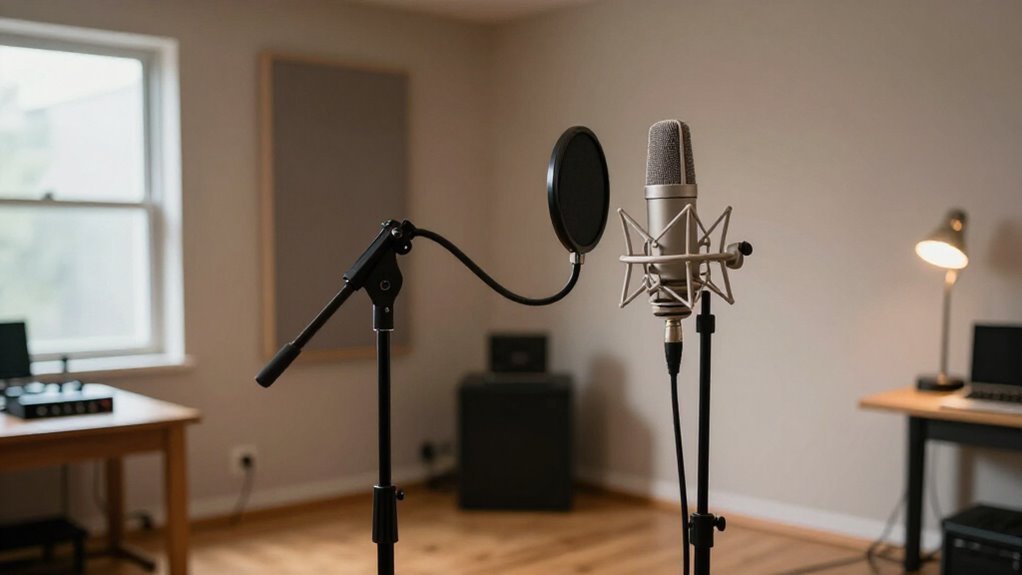
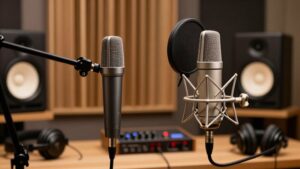
For an untreated room, you’ll usually get the cleanest vocal recording from a close-miked cardioid dynamic, such as an SM7B, rather than a condenser.
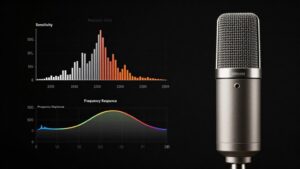
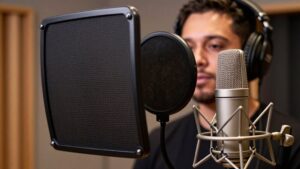
Its lower sensitivity and directional pickup favor your voice over reflections, traffic, fans, and bleed. Start 2–4 inches away, slightly off-axis, with a pop filter.
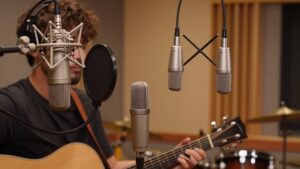
A condenser can sound richer but exposes room problems.
Your interface needs enough gain; matched-level test takes reveal how to make next placement and noise-control improvements.
Choose a Cardioid Dynamic
For an untreated room, start with a cardioid dynamic microphone such as the Shure SM7B. Its cardioid pattern prioritizes sound arriving from the front, so you can reduce pickup of nearby instruments and reflected energy by aiming its rear null toward the noisiest or most reflective area. Compared with many condensers, a dynamic capsule is less sensitive to early reflections, helping your vocal stay direct and controlled.
The SM7B can also soften naturally aggressive upper-midrange vocals, which may reduce de-essing later. Position the singer close, 2 to 4 inches from the grille, and use a pop filter or windscreen to manage plosives. Verify your preamp supplies adequate gain; the SM7B’s low output often requires preamp gain. Improve acoustics and placement before choosing a condenser.
Measure Your Room Noise Floor
Even a well-chosen cardioid dynamic can’t remove noise already present in the room, so measure your noise floor before recording serious takes. Record 30–60 seconds of silence from your usual vocal position, with the microphone at its normal distance and gain settings. Use your editor’s RMS or loudness meter to find the average level in dBFS; lower, more negative values mean a quieter recording.
Keep the room and microphone setup unchanged for each comparison, and log traffic, ventilation, computer fans, or audible sources. Then compare that average with a typical vocal take’s level: a wider gap makes background noise less noticeable, while a narrow gap makes it more likely to be heard. Repeat the test at different times of day to identify quieter periods.
Off-Axis Rejection for Room Control
Off-axis rejection determines how effectively a microphone reduces sound arriving from its sides and rear, which can limit early reflections and nearby noise in an untreated room.
Use the microphone’s least-sensitive direction, often called its null, toward a reflective wall or noise source. Dynamic microphones such as the Shure SM7B can be more tolerant of early reflections, but don’t assume every dynamic rejects them identically.
| Placement move | Practical result |
|---|---|
| Aim least-sensitive side at wall | Fewer early reflections |
| Aim rear at noise | Less unwanted pickup |
| Keep singer close | More direct voice |
Test microphones in your actual room. Move the singer, listen for reflection changes, and refine the angle. Close, careful placement increases the direct-to-room ratio, so your recording captures more voice and less reflected sound overall.
Phantom Power Requirements
Condenser microphones such as the Rode NT2-A need 48 V phantom power, while dynamic models like the Shure SM7B don’t. Before choosing a condenser, confirm that your interface or preamp supplies stable 48 V power and enable it only on the required input. Remember, phantom power won’t replace the clean gain an SM7B needs, though a Cloudlifter can provide extra gain and may require phantom power itself.
Condensers Need Phantom Power
Before you choose a condenser such as the Rode NT2-A, confirm that your mixer, audio interface, or dedicated power supply provides 48 V phantom power. Condenser capsules use this DC voltage to polarize their internal circuitry and operate correctly.
Check the interface’s specifications and controls before you buy: some units provide phantom power only on selected inputs or switch it in channel banks. If your interface lacks a stable 48 V source, add a compatible external phantom-power supply between the microphone and preamp. Use balanced XLR cables, then enable power only after you’ve made all connections.
Turn it off before plugging or unplugging the microphone, unless its manufacturer specifically instructs otherwise. This prevents connection pops and reduces the chance of avoidable equipment stress during handling.
Most Dynamics Do Not
Dynamic microphones such as the Shure SM7B and SM57 operate without 48 V phantom power, so you can use them directly with a suitable XLR preamp. Their moving-coil capsules generate an audio signal mechanically, unlike condenser designs that need voltage for internal electronics. You don’t need to enable phantom power for either microphone’s normal operation.
However, the SM7B has relatively low output, so pair it with a preamp that supplies sufficient clean gain without excessive noise. If your preamp cannot deliver that gain quietly, add an inline gain booster such as a Cloudlifter. The microphone still doesn’t require power, but the booster may use phantom power to amplify the signal. Always read microphone and accessory specifications before connecting equipment, because requirements vary by model.
Checking Interface Power Options
Check your interface’s power options before choosing a microphone: the Rode NT2-A requires switchable 48 V phantom power from the interface or a separate supply, while the Shure SM7B operates without it. Confirm that the interface’s 48 V control is available for the input you’ll use for the NT2-A. If it lacks phantom power, budget for an external 48 V supply or choose the SM7B instead.
The SM7B’s dynamic capsule works with a standard mic input, but its low output often benefits from a high-gain preamp or an inline booster such as a Cloudlifter. That gain device improves signal level; it doesn’t provide the operating voltage a condenser requires. Compare your interface’s gain range, input count, and phantom-power switching arrangement before buying. This prevents mismatches and confirms reliable operation.
Safe Phantom Power Practices
Although the Shure SM7B doesn’t need phantom power, the Rode NT2-A requires 48 V from a compatible interface or preamp. Before you connect either microphone, turn phantom power off at the interface or preamp. Attach the XLR cable securely, confirm the connector and cable are in good condition, then enable 48 V only after the NT2-A is connected. Use a balanced XLR cable and an input designed to supply phantom power.
Don’t send phantom power through damaged cables or unbalanced wiring, which can create faults or unreliable operation. The SM7B will operate without 48 V, so leave it disabled unless another connected device specifically requires it. Always check each microphone’s manual before switching phantom power on, particularly if other equipment shares the input signal path.
Close-Miked Loud Vocals
For close-miked loud vocals, use a dynamic cardioid mic such as the Shure SM7B to handle high SPLs while rejecting more room reflection and nearby bleed. Position it slightly off-axis with a pop filter to reduce plosives and naturally tame harsh sibilance. Although a condenser like the Rode NT2-A can sound richer, its sensitivity may expose untreated-room reflections, so test placement and match the mic to your singer.
Managing Vocal Sound Pressure
When a singer delivers loud vocals inches from the capsule, a dynamic microphone such as the Shure SM7B can control perceived harshness while rejecting more room reflection than a typical condenser. You can position the mic slightly off-axis and maintain a controlled distance to manage sibilance, plosives, and level before reaching for processing. If a condenser makes your voice edgy, adjust angle, height, and distance first; otherwise, you’ll often need aggressive de-essing.
A condenser can still deliver excellent results in a treated space when you place it carefully. Choose the microphone that matches your singer and room, and make sure the SM7B feeds a suitable preamp with enough clean gain. Set gain so peaks stay below clipping, and monitor tone through the intended recording chain.
Reducing Room Reflections
In an untreated room, close-miking loud vocals with a dynamic microphone such as the Shure SM7B raises the direct vocal level relative to early reflections. This improved direct-to-reflected ratio makes the room’s hard surfaces less audible in the recording. Because a dynamic capsule is generally less sensitive than a condenser, it often tolerates untreated or partly treated spaces more effectively.
Position yourself close enough to capitalize on loud delivery, while retaining sufficient distance to limit excessive proximity effect. Then rotate the microphone so its less-sensitive rear side faces a reflective wall or noise source when practical. You’ll capture more voice and less room, reducing corrective processing later. However, microphone technique can’t replace acoustic treatment; absorption and placement still produce a more controlled vocal recording.
Controlling Plosives And Sibilance
Close-miking loud vocals also concentrates air bursts and high-frequency consonants at the capsule. Plosives from “p” and “b” can overload the low end, so place a pop filter between you and the microphone and aim the capsule slightly off-axis. You can also move back a little or turn your head slightly on forceful words; these adjustments reduce bursts before they reach the recording.
Sibilance from “s” and “sh” may become pronounced, especially when a singer or condenser emphasizes upper frequencies. Adjust distance and placement first rather than applying aggressive de-essing afterward. If a condenser makes your voice sound harsh, try a dynamic Shure SM7B. Its voicing may keep edge under control. Use de-essing only as needed in post to refine a well-positioned performance.
Choosing Suitable Polar Patterns
For loud, close-miked vocals in an untreated room, choose a cardioid dynamic such as the Shure SM7B to reduce side pickup and keep more of the vocal direct. Aim the capsule’s front on-axis at your mouth, then rotate the microphone so its rear null faces the strongest noise source, such as a computer fan or reflective wall. Work close, roughly 2 to 4 inches away, with a pop filter; this raises vocal level relative to room reflections.
Supercardioid and hypercardioid microphones can reject additional side sound, but their rear lobes capture sound behind them. Don’t point that lobe toward a hard surface or noise source. Directionality won’t eliminate room coloration, so test small changes in height, distance, and angle while monitoring recordings closely.
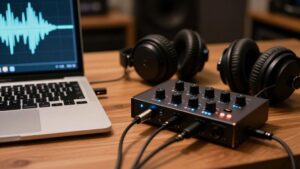
Verify Audio Interface Gain
Before you commit to a microphone, confirm that your audio interface supplies enough clean gain at your real recording distance and performance level. The Shure SM7B, a dynamic microphone, generally demands more preamp gain than a condenser. Record a vocal test at your intended distance and normal loudness, then watch the interface input meter. You should reach a healthy recording level without clipping or driving the preamp into audible noise.
If the SM7B remains quiet or noisy at maximum clean gain, add a compatible external preamp or inline booster, such as a Cloudlifter. With a Rode NT2-A condenser, engage 48 V phantom power and set gain conservatively to prevent clipping. Finally, compare each microphone at matched recorded levels, so loudness doesn’t unfairly bias your listening judgment.
SM58 Durability and Resale
Beyond gain requirements, the Shure SM58 suits live work and rehearsals where frequent handling is part of the job. If you need one microphone to move between an untreated recording space, practice room, and stage, it is a practical vocal option.
You should still inspect a used SM58 before buying or selling it: check the grille, body threads, XLR connection, switch operation if fitted, and output consistency. Test it through your interface at speaking and singing levels.
Buying Condensers for Sensitivity
A condenser microphone can reveal more vocal detail than an SM58, but its higher sensitivity also captures early reflections, outdoor noise, computer fans, and other room problems. Before buying one, judge what your room adds to a take.
- In a quiet, treated space, careful placement can preserve useful detail.
- During a cappella passages, reflections become exposed between vocal phrases.
- Near traffic or household noise, sensitivity can ruin otherwise strong performances.
- If your voice turns harsh, expect substantial de-essing during mixing.
Learn placement and improve acoustics first. A condenser can then reward you with resolution instead of emphasizing defects.
Don’t treat sensitivity as automatic quality: it records the source, the room, and every nearby noise with honesty. Choose it only when those conditions support it.
Check Plosive Control Needs
Plosive control deserves its own test once you’ve assessed room sensitivity, because close vocal takes can make “p” and “b” bursts overload the capsule or create low-frequency thumps.
- Record a short passage with repeated “p” and “b” words at your normal working distance.
- Place a pop filter or foam windscreen between your mouth and the mic to slow air bursts.
- Angle the microphone slightly off-axis, aiming it past your lips rather than directly at them.
- If thumps persist, move back gradually and compare reduced plosives against changes in vocal tone.
Run this test before choosing a microphone. You can’t assume either the Shure SM7B or Rode NT2-A controls plosives better here; this comparison requires your voice, distance, and technique in your room today.
Conclusion
In an untreated room, you’ll usually get the cleanest vocal recording with a cardioid dynamic microphone. You can work close, reduce room pickup through off-axis rejection, and avoid condenser sensitivity that captures reflections and noise. Measure your noise floor, confirm your interface supplies enough clean gain, and use a pop filter for plosives. An SM58 remains a durable, resale-friendly baseline. Choose a condenser only when your room is quieter, better controlled, and your source needs detail.