Home Studio Equipment List by Budget: $300, $1,000 and $3,000 Setups
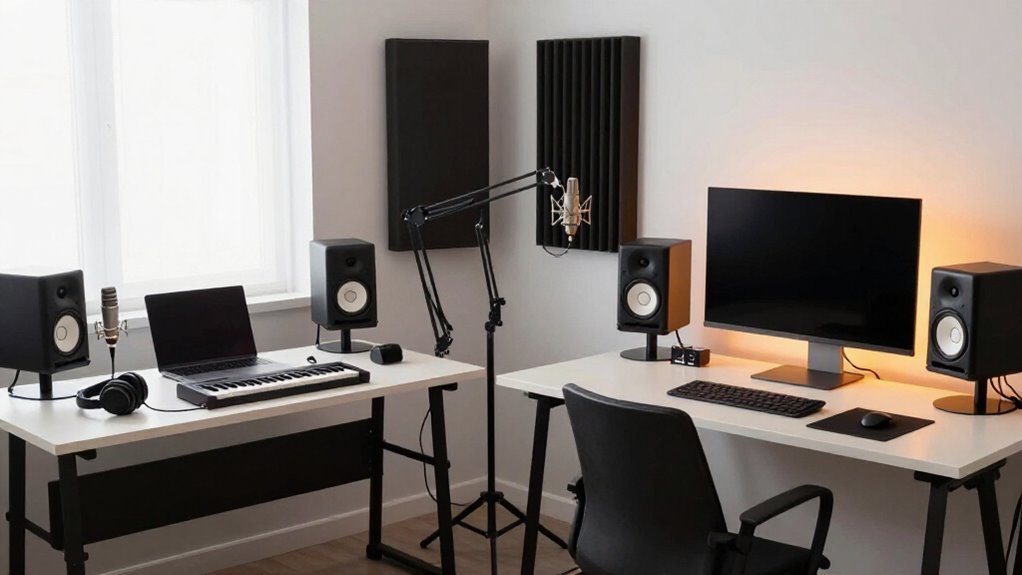
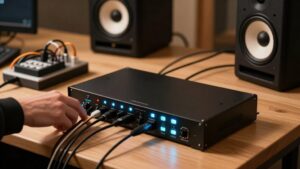
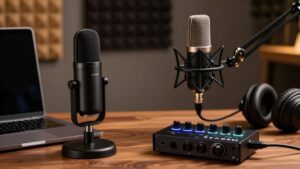
You can build a useful home studio at $300 with a Scarlett Solo, e835 dynamic mic, EarPods, cables, and stand, leaving funds for placement. At about $1,000, add a Scarlett 2i2, JBL 305P monitors, K240 headphones, and SM57.
Near $3,000, used Apollo, TLM 49, M50x, and KH 80 monitors improve capture and translation. Set sessions to 48 kHz, reserve money for treatment, and see how room, power, and calibration choices shape results at home today.
Compare $300, $1,000, $3,000 Setups
Compare $300, $1,000, $3,000 Setups
Your budget determines how far you can take recording quality, monitoring accuracy, and upgrade flexibility. At roughly $300, you can capture vocals, instruments, and demos reliably, but you’ll monitor through earbuds and make more mix decisions by reference checking. Around $1,000, you gain a two-input interface, better headphone monitoring, and entry-level nearfields, so you can track stereo sources or collaborators and judge balance with greater confidence.
At $3,000, used premium components can shift your focus from merely documenting performances to producing release-ready recordings: cleaner conversion, a more detailed condenser microphone, and DSP-capable monitors expose tonal problems earlier. Don’t spend every dollar on headline gear. Reserve funds for sturdy stands, balanced cables, pop filtering, room placement, and basic acoustic treatment. Test used gear before buying.
Itemized $300–$3,000 Gear Matrix
Itemized $300 to $3,000 Gear Matrix
Three budget tiers show where each dollar goes: interface, microphone, monitoring, and the unglamorous accessories that make the system usable. Use this matrix to keep your purchase order disciplined:
| Budget | Core gear | Allowance |
|---|---|---|
| $300 | Solo $99; e835 $94; EarPods/adapter $29 | Cables $31, stand $19; total ~$272 |
| ~$1,000 | 2i2 $160; JBL 305P pair $300; K240 $69; SM57 $99 | Spend remainder on stands and cables |
| $3,000 | Used Apollo $470; TLM 49 $670; M50x $70; KH 80 pair $650 | Reserve balance for accessories |
At $300, you can substitute a $50 UMC22 or $99 Eris E3.5 pair only if your priorities change. Buy used mics and monitors when condition is verified; don’t omit an XLR cable, stable stand, or adapter. These small purchases prevent setup failures before your first recording session.
48 kHz Sample Rate
Set your interface and DAW to 48 kHz for most home-studio sessions: it captures 48,000 samples per second per channel, supports frequencies up to a theoretical 24 kHz under the Nyquist limit, and matches the standard used in many video and film workflows. Select 48 kHz in both devices before you track, then confirm each project opens at that rate. Matching settings prevents avoidable real-time sample-rate conversion, which can complicate routing and waste CPU resources.
Don’t assume higher rates improve a budget setup: 96 kHz doubles file storage and raises processing load. Use 48 kHz for recording, editing, and exports when your work may accompany video. It delivers ample bandwidth for most sources while keeping sessions manageable for you on modest computers and drives.
Microphone Types and Polar Patterns
Choose a rugged dynamic mic such as the $99 Shure SM57 when you need to handle loud vocals, drums, or guitar cabinets, and use a condenser when you want more detailed, articulate capture. Consider ribbon mics carefully because their figure-eight response and delicate elements demand proper placement and handling. Match the polar pattern to your room: cardioid rejects rear noise for single sources, omnidirectional captures the whole space, and figure-eight rejects side sound.
Dynamic Microphones Explained
Dynamic microphones give a budget-minded home studio a durable, practical option for recording loud sources without the fragility of a condenser. Their moving diaphragm-and-coil design handles high sound-pressure levels, so you can place one on a snare, in front of a guitar cabinet, or on a vocalist without treating it delicately. For about $99, the Shure SM57 covers vocals, drums, and guitar amps, making it one of the smartest first-mic purchases.
Budget roughly $200 if you need a stereo pair. The Sennheiser e835, around $94, provides a live-vocal-focused alternative comparable to the SM58. Check each mic’s polar pattern before placement: it tells you which directions it captures sound from. Use that information to aim the microphone toward your source and reduce room noise.
Condenser Microphone Basics
Where dynamic mics excel on loud, rugged sources, condenser microphones use sensitive capsules to capture finer vocal detail, acoustic instruments, and other nuanced performances. You’ll hear a more articulate frequency response, which can help vocals sit in a mix, but that sensitivity also exposes room reflections and background noise.
For close vocals, choose cardioid: it favors the front and rejects much of the rear, limiting room pickup. Omnidirectional captures all directions, useful only when your space sounds good; figure-eight hears front and rear while rejecting the sides. On a tight budget, Rode’s NT1 sits under $300 and offers a sensible studio starting point. The roughly $229 NT1-A is another option, though its brighter character can sound harsher on some voices. Use a pop filter.
Ribbon Microphone Considerations
Ribbon microphones use a thin metal ribbon to deliver a smooth, natural tone that can flatter vocals, guitar cabinets, strings, and brass without the brighter edge of many condensers. Before buying one, consider your room and recording habits. Many traditional designs hear equally from the front and rear, while rejecting much of what arrives at the sides. That setup works well when two performers face each other, but it also captures rear-wall reflections, computer fans, and street noise.
Place the mic thoughtfully, add absorption behind it, and use a stable stand with a pop filter; ribbons dislike wind blasts and rough handling. A budget ribbon can bring useful contrast to a condenser, but don’t treat it as an automatic upgrade. Check the manual before engaging phantom power: modern active models may accept it, whereas older passive ribbons can be vulnerable. Reserve funds for a good stand, cable, and basic room treatment at home.
Common Polar Pattern Types
Beyond capsule type, a microphone’s polar pattern determines which directions it hears most strongly, so it directly affects room noise, bleed, and placement options. Polar pattern describes sensitivity around the mic. Omnidirectional models hear evenly from all sides, giving you natural room ambience but admitting more background noise.
Cardioid mics prioritize the front and reject much of the rear, helping you control spill in an untreated budget room. Supercardioid and hypercardioid designs narrow the front pickup further, but their small rear lobe means you must aim the mic carefully. Figure-eight patterns capture front and rear sound while rejecting the sides. They can support two-person or stereo recording methods, although side rejection only works when you position unwanted sound accurately. Check a mic’s published polar plot when comparing models.
Matching Mics To Sources
Choose a microphone by considering both the source’s volume and the detail you need to capture. A durable dynamic such as the Shure SM57 handles high SPLs, so you can use it on guitar cabinets, drums, or vocals without overspending. For vocal-focused work, the Sennheiser e835 gives you another practical dynamic option. The Neumann TLM 49, a solid-state model, delivers a smooth high end and present midrange; choose a condenser when articulation matters.
Match the polar pattern to your room. Cardioid mics reject much of the rear and side sound, helping you limit untreated-room pickup; omnidirectional mics hear all directions and suit controlled spaces or intentional ambience. Plan channels before buying: a Scarlett Solo accepts one mic, while a Scarlett 2i2 lets you place two mics.
Match Gear to Room Acoustics
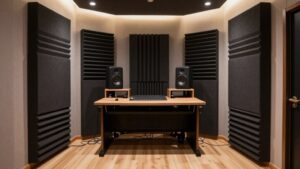
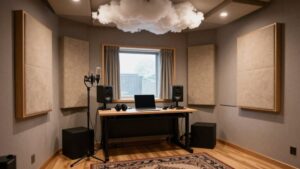
Before you upgrade a microphone or interface, assess how your room reflects sound: in a $400 to $600 home-studio budget, reserve roughly $100 to $150 for basic absorption, since controlling early reflections can improve recording clarity more than a pricier gear swap. Build yourself two to four DIY fiberglass panels for $30 to $50 in materials each, then place them at first-reflection points beside and behind your monitoring position. Use thick movable panels rather than thin foam for meaningful low-mid absorption.
Treatment reduces reflections inside the room; it doesn’t stop traffic or neighbors. If leakage is the issue, seal door gaps with $20 to $60 sweeps and weatherstripping, plus $8 to $15 acoustic caulk. Use mass loaded vinyl for airborne noise; choose resilient channels only during a wall rebuild to isolate structural vibration.
Condenser Mics Need Phantom Power
Once your room’s reflections are under control, make sure your mic has the power it requires: most condenser microphones run on 48V phantom power supplied through an XLR cable by an interface such as the Focusrite Scarlett Solo or 2i2. Before you connect anything, check the microphone’s specifications and both manuals; not every condenser accepts phantom power.
The Solo and 2i2 combine a preamp with switchable 48V, so you don’t need a separate power supply. Enable it only after connecting a compatible XLR microphone and following the manufacturer’s instructions. USB powers the interface, but the interface sends phantom power down the XLR cable. Dynamic options, including the Shure SM57 and Sennheiser e835, generally don’t need it; leave 48V off unless their documentation says otherwise.
Singer-Songwriter Bedroom Setup
For about $300, you can build a practical bedroom rig for singer-songwriter demos: pair a $99 Focusrite Scarlett Solo with a $94 Sennheiser e835, an XLR cable, mic stand, and wired EarPods for roughly $272.
The Solo’s microphone input lets you track vocals, while its instrument input takes a direct guitar or synth signal. Build arrangements in layers, using free Audacity or Cakewalk by BandLab.
The dynamic e835 handles vocals reliably and rejects room spill; choose an SM57 instead if you also want to mic guitar cabinets or drums. Set gain so singing doesn’t clip, monitor through EarPods, and position the mic on a stand near reflective walls. When your needs expand, move later to a two-input Scarlett 2i2, headphones, and $30 to $50 DIY treatment panels.
Fix USB Hub Noise
USB noise can undermine an otherwise solid budget setup, so plug your audio interface directly into a computer USB port rather than a hub shared with external drives, chargers, or other high-current devices. That simple connection often removes whine, clicks, and digital hash without buying a conditioner. If you need extra ports, use a powered hub for peripherals, but reserve a separate computer port for the interface.
- Test one device, cable, and port at a time; reconnect items until noise returns, then replace the offending part.
- Keep external drives and chargers off the interface hub, especially during recording.
- Run balanced XLR or TRS cables, route them away from USB and power leads, and unplug unused USB gear.
Before buying replacement gear or expensive accessories.
Calibrate Monitors to 79 dB
A repeatable monitor reference helps you make reliable mix decisions without buying premium measurement gear: play calibrated pink noise through one speaker at a time and adjust its level until it reads 79 dB SPL at your normal listening position.
Set a basic sound-level meter to C-weighting and Slow response. Place it at ear height where your head sits, with its microphone pointed upward. Mute the other speaker and calibrate each channel separately. This makes mix comparisons more consistent across days, projects, and monitoring systems.
- Don’t measure both monitors together; equal individual readings preserve a centered stereo image for balance.
- Mark the interface knob or monitor gain setting once you’re done.
- Return to this level before mixing, then turn down only for long sessions.
Conclusion
Your best home studio isn’t the priciest one; it’s the setup that fits your room, workflow, and budget. Start with a reliable interface, appropriate microphone, headphones or calibrated monitors, and acoustic treatment. Record at 48 kHz, supply phantom power only when your condenser needs it, and avoid noisy USB hubs. As you move from $300 to $3,000, spend first on room control and monitoring. You’ll make better decisions, capture performances, and upgrade without wasting money.