How to Record Guitar Directly Into an Audio Interface (Hi-Z Input, Gain and Amp Sims)
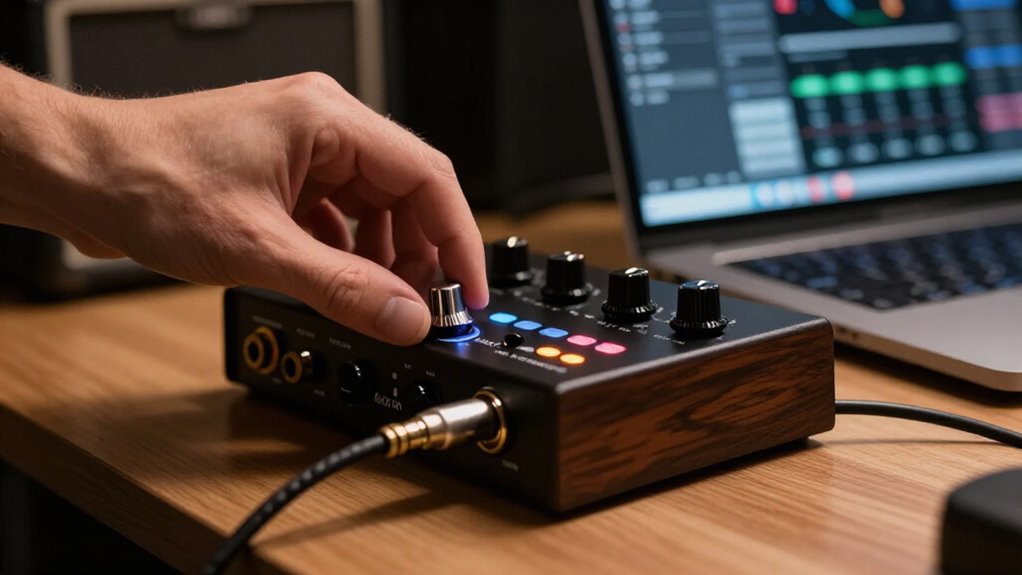
Place the interface within reach, connect your guitar with a TS cable to its Hi-Z/Instrument input, and enable Inst if required.
Select the interface’s ASIO or Core Audio driver in your DAW, then record a clean DI track. Start with low gain, play your hardest passages, and keep interface and amp-sim meters below clipping.
Monitor through an amp and cabinet simulator, then raise the buffer if crackles occur. Further guidance covers noise, phantom, and labels.
Capture a Clean DI Signal
To capture a clean DI signal, connect your guitar directly to the audio interface’s Hi-Z instrument input with a standard 1/4-inch guitar cable. This direct connection records the pickup output before any amplifier, speaker, microphone, or room coloration. Keep the recorded track neutral: don’t print amp-and-cabinet processing, distortion, or time-based effects unless they’re an intentional permanent choice.
A clean DI track preserves flexibility, letting you audition amp simulations, cabinets, pedals, and effects during mixing or reamping. Play the loudest passages you expect to perform, including hard-picked chords and sustained notes, while watching the interface meter and the amp-sim input meter. If either stage clips, lower the input level slightly and test again. Leave enough headroom for performance variation. You won’t need an external preamp.
Enable Hi-Z Instrument Input
Use the interface’s designated Hi-Z, or instrument, input for the direct guitar connection, typically a 1/4-inch jack marked “Inst,” “Hi-Z,” or with a guitar icon.
Hi-Z matches your guitar’s high output impedance and weaker instrument-level signal, preserving level and tone without an external preamp. It also prevents the dull, loaded sound a line input can produce.
- Plug a standard quarter-inch guitar cable from your guitar into that jack.
- Press the Inst button, or select Instrument in the control software, to activate the high-impedance circuit.
- Confirm the correct socket in your interface manual; combo inputs don’t always provide Hi-Z operation on every channel.
- Play your loudest parts and watch the input meter. Hot pickups can clip the converter, so reduce input gain if peaks overload.
Step 1: Place Interface Beside Guitar
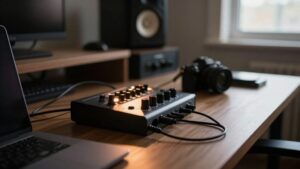
Place the audio interface beside your guitar, close enough for a quarter-inch instrument cable to reach the front-panel Hi-Z input without strain. This position lets you use a standard quarter-inch guitar cable and connect it directly to the jack labeled “Hi-Z,” “Instrument,” or marked with a guitar icon. Avoid stretching the cable across walkways or pulling its plugs at an angle; both can interrupt the connection or damage a jack.
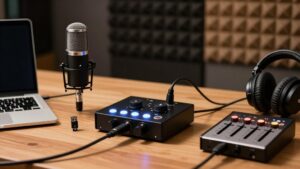
Keep the interface within arm’s reach of your playing position. You’ll be able to adjust the input-gain control between takes and watch the interface’s signal or clip indicator while playing normally. If you’re tracking a miked amplifier as well, choose a location that keeps both the guitar input and microphone connections accessible. Avoid loose cable loops underfoot.
Step 2: Select the Interface Driver
Open your DAW’s audio-device settings and select the dedicated driver for your interface. This lets the software communicate with the hardware and makes its inputs available for recording. On Windows, choose the manufacturer’s ASIO driver rather than a generic system driver whenever it’s available.
On macOS, select the interface under Core Audio. Set both the DAW’s audio input device and, if listed separately, its recording input to your interface. Then create or inspect the guitar track and choose the channel assigned to the interface’s instrument input. Verify that this input appears in the track’s input menu; otherwise, the DAW can’t receive the Hi-Z signal. If it or its instrument channel doesn’t appear, quit the DAW, reconnect it, and install or update the manufacturer’s driver.
Step 3: Connect Guitar via TS Cable
Connect the guitar’s 1/4-inch output to an interface input labeled “Hi-Z” or “Inst” with a standard TS guitar cable. A TS cable has one tip contact and one sleeve contact, making it the correct unbalanced connection for most electric guitars. Plug one end into the guitar’s output jack and the other into the interface’s instrument input.
If your interface provides an Inst button or switch, engage it for that channel. This activates high-impedance circuitry needed to accept the guitar’s weak instrument-level signal correctly. Don’t use a line-only input unless the manufacturer states that it supports instruments.
A dedicated Hi-Z input normally eliminates the need for an external preamp. If the input labels are unclear, consult your interface manual to identify the correct instrument-level connection.
Step 4: Set Gain Below Clipping
Set the interface gain while playing the loudest passages you expect to record, including hard-picked chords or aggressive lead notes. Begin with the gain low, then raise it as you play at full force. Watch the interface’s input meter and stop when the signal is healthy but remains below clipping. Leave practical headroom for harder attacks and unexpected peaks, especially with high-output or active pickups.
If the Hi-Z input clips, lower the interface input level slightly in its control software and test again. Also inspect the amp simulator’s input meter. Adjust the interface gain and plugin input level together so each stage receives a strong, unclipped signal. Don’t compensate for overload by turning down only the track fader; it occurs after input gain staging.
Step 5: Monitor Through Amp Simulator
To monitor through an amp simulator, insert the plugin on the DAW input channel receiving your guitar’s Hi-Z signal. Load your preferred amp and cabinet model, then play through your normal monitoring path. Before adjusting the amp tone, confirm that the interface input delivers a strong, clean signal to the simulator.
Watch the interface input meter while playing your loudest expected parts, including hard-picked chords and sustained notes. The meter must not clip. With a proper Hi-Z connection, you can generally leave the input at unity when the signal is full and clean. If hot pickups overload the input, lower the input level slightly in your interface software until peaks remain below clipping. You’ll then hear the amp simulator’s processed tone while recording guitar tracks.
Step 6: Disable Phantom Power Before Disconnecting
Before you unplug the guitar or instrument cable, disable the interface’s 48 V phantom power. Phantom power supplies DC voltage for compatible condenser microphones and isn’t required for a guitar connected to a Hi-Z instrument input. Locate the 48 V switch in the interface software, then turn it off. Confirm that the interface’s phantom-power LED or indicator has extinguished.
Wait seconds after disabling phantom power before removing the cable. This allows the voltage to discharge and reduces the chance of a pop or transient reaching your monitors, headphones, or connected equipment. If your interface provides phantom power in groups rather than per input, make sure you disable the group. Only disconnect the guitar after the indicator is off and the delay has fully passed.
Verify Noise-Free Sustained Notes
With the guitar connected to the interface’s Hi-Z or instrument input, play and hold a sustained note while monitoring its level and noise floor. Listen for a decay, hum, buzz, hiss, or interference. Set the interface input gain so your loudest attack remains below clipping. If your guitar has hot pickups, reduce the gain; a clean meter during picking doesn’t guarantee headroom for hard strokes.
Also watch the amp simulator’s input meter. Its input must remain unclipped, because overload at either the interface or plug-in can distort the note and mask its sustain. If noise appears, first confirm that the cable is plugged into the interface’s correct Hi-Z or instrument input. Then reassess the level settings and repeat sustained-note test at your monitoring volume.
Crackling? Raise Buffer Size
If sustained notes produce crackles or dropouts despite clean input levels, your audio buffer is likely too small for real-time processing. Open your interface control panel or DAW audio preferences and increase the buffer in small steps. After each change, play sustained notes through your amp sim and listen for artifacts. A larger buffer gives your computer more time to process each audio block, preventing interruptions.
| Buffer setting | What you hear | Action |
|---|---|---|
| Too low | Crackles or dropouts | Increase it |
| Stable | Clean, responsive monitoring | Keep it |
Use the lowest setting that remains stable. Excessive buffer size can eliminate crackling but adds monitoring latency, making the guitar feel disconnected from your playing. Test while using your normal amp-sim preset and active project with plugins enabled and loaded.
Label Takes by Pickup
Label every recorded take with the pickup selection used—such as bridge, neck, middle, or a numbered switch position—so you can identify and compare its tonal character later. Add the pickup name to your DAW clip or track label immediately after recording. Use the same terms on every take: bridge, neck, middle, or position 1–5.
If your guitar offers coil splits, series/parallel modes, or other pickup-specific options, append that setting: bridge-split or neck-series. Record this information beside the DI take, not only in notes, because you’ll need it when matching the clean signal to an amp-sim preset later. Consistent labels let you audition alternate pickup tones, comp performances, and re-amp selected parts without guessing. Include the selector position when combinations share similar names or sounds.
Conclusion
Recording guitar directly gives you a clean, flexible DI track for later processing. Enable the interface’s Hi-Z input, use a TS instrument cable, and select the correct driver before tracking. Keep the interface close to reduce cable noise.
Set gain below clipping, and confirm sustained notes remain clean. If you hear crackles, raise the buffer size. Turn off phantom power before disconnecting, and label each take by pickup so you’ll identify tonal options during mixing.