How to Use Reference Tracks When Mixing: Level-Match, Compare and Correct
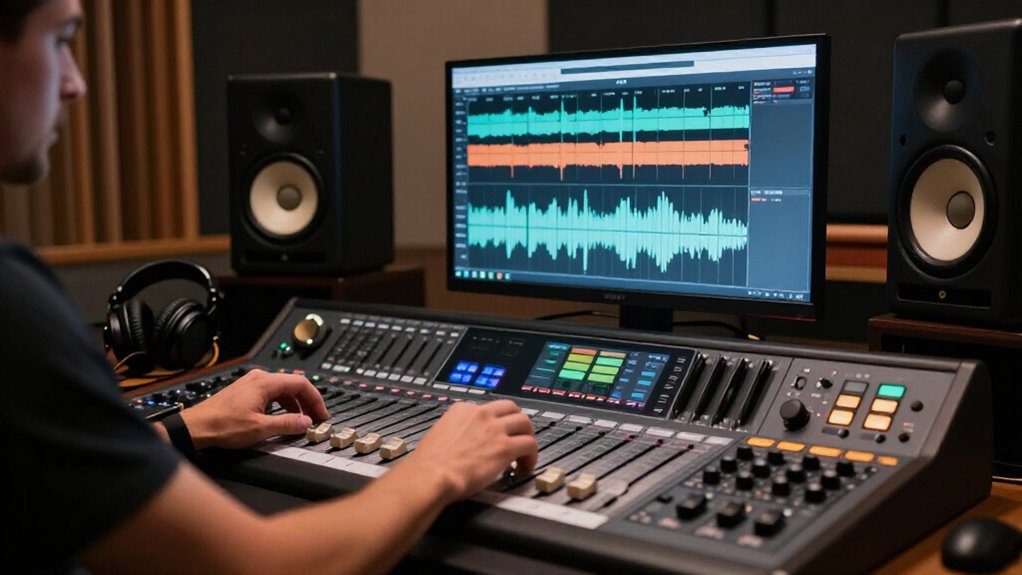
Calibrate your monitors to 85 dB SPL, then import a clean WAV, FLAC, or AIFF reference from the same release context.
Align matching chorus downbeats at the first kick or snare transient, loop eight to sixteen bars, and trim both tracks to the same short-term LUFS, such as -17.
Toggle five-second passages, judging vocal intelligibility against kick attack and weight, not loudness.
Correct masking; check low-mids and 7 kHz sibilance.
Next, refine each comparison systematically.
Target: Clearer Vocal-To-Kick Balance
To target a clearer vocal-to-kick balance, first level-match your mix against a vocal-forward reference in real time, ideally second by second, before making any judgment. Match both sources at the same short-term loudness reference, such as -17 LUFS, so perceived excitement doesn’t distort your decision. Compare verses with verses and choruses with choruses.
Ask whether the kick’s transient and low-end weight cut through without obscuring vocal midrange intelligibility. Then use master-bus tonal targets to inspect the vocal region against the kick’s low-midrange energy. Correct spectral excess or deficit before reaching for broad gain rides.
Finally, evaluate pairs sequentially: vocal against its effects return, then vocal against kick. This isolates context, confirms that the vocal remains forward, and preserves a tight, impactful kick in context.
Calibrate Monitoring to 85 dB
Calibrate your monitoring to 85 dB SPL at the listening position with an SPL meter; a reliable phone app can serve as a practical alternative. That fixed reference point prevents loudness-dependent perception from skewing your tonal judgments.
- Play calibration noise and adjust both monitors until the meter reads 85 dB SPL where you sit.
- Keep that controller setting documented; small SPL changes alter apparent tonal balance.
- At lower levels, bass and treble recede relative to mids; at higher levels, they exaggerate.
- After one to two hours, take ten minutes of silence, then switch five-second excerpts immediately.
Recheck calibration after moving speakers, changing interfaces, or altering room setup. Consistent monitoring lets you identify genuine EQ, dynamics, and balance differences rather than level-driven illusions more reliably.
Step 1: Import High-Quality Reference Tracks
With monitoring fixed at a known SPL, import clean, high-resolution reference tracks that represent the sound you’re targeting. Use WAV, FLAC, or AIFF; MP3 artifacts can alter brightness, transient definition, and stereo width, corrupting comparisons. Choose files from the same distribution context you’ll judge against, ideally a recent mastered release from that platform. Streaming delivery can introduce codec compression, normalization, or processing that changes loudness and tonal balance.
Select genre-appropriate references whose mastering approach matches your production aesthetic. Otherwise, you may steer EQ and dynamics toward an irrelevant target. If YouTube or Spotify is your option, treat its audio as provisional: extra compression and EQ can make you chase artifacts. Check files for clipping and low-bitrate re-encodes, so later LUFS and short-term measurements reflect mix differences.
Step 2: Align Chorus Start Markers
Align your mix and a like-for-like reference so each chorus begins on the exact same downbeat, preferably at the first kick or snare transient. Place markers at those transients in both files, then zoom in and verify that their waveform attacks coincide. Do not align to the bar before the chorus, a pickup, or a later hit; any offset changes the musical context and corrupts the comparison.
Set tight loop spanning eight to sixteen bars, beginning at marked attack. This isolates chorus from arrangement changes. Assess opening one to three seconds: does it arrive with weight, presence, and impact? If it seems weak or late, recheck marker placement before changing EQ, compression, stereo processing, or automation. Alignment prevents false tonal, width, and punch judgments.
Step 3: Level-Match LUFS Before A/B
Before you A/B the aligned chorus loops, level-match the reference and your mix by their LUFS short-term behavior, not by a single peak or fader reading. Insert loudness meters on both paths and observe their short-term, momentary movement through the same loop. If your mix sits near -17 LUFS short-term, trim the reference until it reaches the same value. This prevents a louder playback level from masquerading as added clarity, weight, or polish.
Don’t apply one fixed gain offset across the entire song. Sections change in density and loudness, so update trim in real time, or use a workflow that follows level second by second. Then switch quickly between the aligned loops. Any differences indicate tonal balance, stereo width, or dynamics, rather than loudness bias.
Step 4: Toggle Vocal Against Kick
Toggle between like-for-like five-second chorus sections, keeping the reference and your mix within the same LUFS short-term window, then isolate your attention on how the vocal and kick compete. Switch every five seconds, first comparing the reference vocal with yours, then evaluating each kick against its corresponding vocal balance.
Keep monitoring short-term LUFS: a difference of only a few tenths of an LU can make a louder vocal seem clearer or a louder kick seem punchier. Listen for whether kick energy obscures vocal fundamentals, or whether the vocal diverts attention from the kick’s attack and weight. Don’t judge either element alone; judge the relationship under matched playback conditions.
When you detect a mismatch, make one targeted correction: reduce vocal low-mid density or tighten the kick’s low-end relationship.
Step 5: Check Low-Mid Vocal Masking
Once you’ve level-matched your mix and the reference as closely as possible, A/B the same chorus section and listen specifically for vocal intelligibility through the 200 to 500 Hz region. If your vocal seems to disappear while its peak level remains comparable, test for low-mid masking rather than raising vocal gain. Sweep a narrow EQ band on the vocal, or inspect a midrange analyzer, to locate the frequency where kick and bass thickness obscure diction relative to the reference.
Assess the vocal-to-instrument balance, especially between 300 and 400 Hz. When the reference retains clarity at a similar vocal level, excess energy, not insufficient gain, is likely responsible. Apply a small subtractive cut to the masking instrument or vocal, then repeat the matched A/B. Keep the adjustment narrow and shallow.
Step 6: Save Gain-Matched A/B Notes
Use a loudness meter to gain-match the reference and your mix in short, section-specific windows, rather than relying on one overall trim. Check short-term loudness at fixed five-second switch points; then switch immediately between sources. This controls loudness bias and reduces ear-memory errors.
When you identify a difference, log it with a section tag and measurable description: “Verse 2: reference has tighter 80 to 120 Hz; my mix is 2 to 3 dB boomier.” Record image and spectral observations too: “Chorus: reference feels 10 to 20% wider; top end is smoother.” After each major EQ or compression move, save a matched-loudness snapshot. Note both short-term readings, such as reference and mix near -17 LUFS short-term, plus the correction made. These records preserve fair comparison conditions and let you revisit decisions without guessing.
Verify Vocal Intelligibility on Earbuds
Why do vocals that seem clear on monitors disappear on earbuds? Level-match your mix and a vocal-forward reference at the same section and level before judging intelligibility. Even small loudness offsets can make consonants seem clearer or duller for the wrong reason.
Switch in matched five-second intervals: your mix, then the reference. Focus only on front consonants, such as S, T, and K, to expose mud or missing 2 to 5 kHz presence. Compare aligned verses and choruses; density can obscure detail that survives sparse passages. Then lower earbud playback 6 to 10 dB. If the vocal suddenly clears, excessive bass or low-mid energy is masking it. Keep the comparison near your established short-term loudness cue, such as -17 LU, so you don’t mistake higher average loudness for vocal clarity during playback.
Sibilant Vocals: Tame 7 kHz
When “s” and “t” consonants sound spitty or abrasive, level-match your mix to a reference before diagnosing the problem; a louder vocal can falsely seem harsher. A/B five-second chorus or verse passages, keeping monitor level near 85 dB SPL. If your vocal still spits against the reference, inspect 6 to 8 kHz, where sibilance often centers around 7 kHz.
| Symptom | Check | Correction |
|---|---|---|
| Sharp “s”/“t” | Compare at matched level | Narrow 7 kHz dip |
| Persistent peaks | Sweep Q 3 to 8 | De-ess only as needed |
Start with surgical EQ, not heavy compression. Center a narrow cut near 7 kHz and adjust Q to isolate the peak without dulling the vocal. Then switch rapidly against the reference. If needed, set a de-esser for consonant smoothness and preserve brightness, tone, and intelligibility.
Archive Dated Reference Mix Versions
After you’ve checked sibilance against an external reference, archive dated mix bounces, such as “v3 2024-06-14” and “v4 2024-06-21,” to create objective internal checkpoints. Print each with the same quick master chain, or bypass mastering, then loudness-match versions in LUFS before A/B switching. Small offsets can falsely make one mix seem better.
When you revise a bounce, reanalyze and save its tonal-balance and stereo-width fingerprints. Compare identical sections, verse to verse, chorus to chorus, with section-locked level matching, so EQ, compression, and automation changes remain identifiable. Track whether kick and bass tighten, vocals sit clearer, and highs smooth out. Keep your rough mix as your baseline floor. Use older versions only as correction guides when measurements and listening show it improves critical areas.
Conclusion
Use reference tracks as calibrated measurement tools, not aesthetic shortcuts. You’ll obtain clearer vocal-to-kick balance when you monitor at 85 dB, align comparable chorus sections, and level-match LUFS before every A/B decision.
Document gain-matched observations, then correct only repeatable differences in vocal level, low-end weight, and 7 kHz sibilance. Finally, check intelligibility on earbuds and archive dated versions. This workflow lets you trace improvements, prevent level bias, and make revisions with confidence at every stage.