How to Get Rid of Ground Loop Hum in Your Home Studio
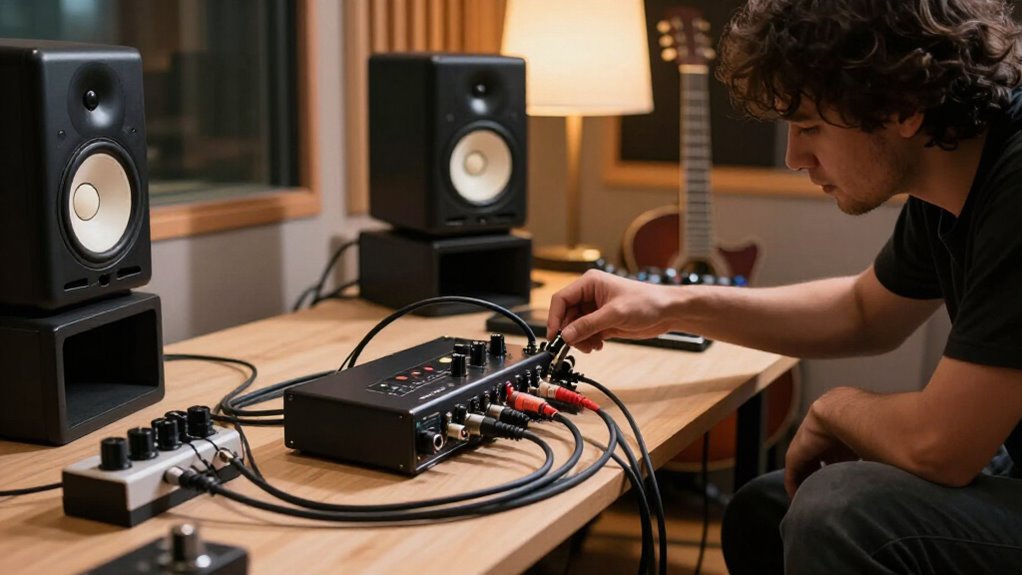
Photograph your connections, then keep monitor levels unchanged and note the baseline noise.
Power down the studio, disconnect monitor inputs, and test speakers individually with AC connected. If hum returns only after an audio link is restored, use balanced XLR/TRS cables or an isolation transformer.
Power your computer, interface, monitors, and outboard gear from one properly grounded distribution point. Never lift an AC safety ground.
Next, you can pinpoint charger, cable, and routing causes systematically.
Quiet Monitors: Easy 30-Minute Fix
Start by isolating the monitors: turn them off, disconnect their audio inputs, then power them back on. If the hum remains, the monitors’ power supply or grounding requires inspection. If it stops, reconnect devices one at a time. The link that restores the hum is your target.
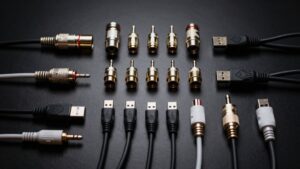
Check that connection’s cable routing. Replace unbalanced leads with balanced XLR or TRS cables where both devices support them. Keep signal cables separated from AC cords, lighting cables, and transformers.
If hum persists on the audio link, insert a balanced-audio isolation transformer inline. With a P-2400 IT, test its Ground Lift Switch in both positions and keep the quieter setting. Use a device ground-lift switch at one signal end only. Never ever defeat an AC safety-ground prong.
Use One Wall Outlet
If cable and isolation tests don’t eliminate the hum, power all interconnected studio gear from one properly grounded wall outlet through a correctly rated power strip or distribution unit. This arrangement minimizes voltage differences between chassis grounds, reducing the loop current that reaches your monitors or interface.
- Connect the computer, interface, monitors, mixers, and outboard gear to that single distribution point.
- Keep those devices off outlets served by other circuits or distribution boards; separate paths can create a hum-producing ground loop.
- Verify the outlet, strip, and power cords have intact earth connections and appropriate load ratings. Never lift or defeat a safety ground, and don’t daisy-chain strips. If hum remains, disconnect equipment one item at a time while keeping the shared power arrangement intact.
Step 1: Photograph Cable Connections First
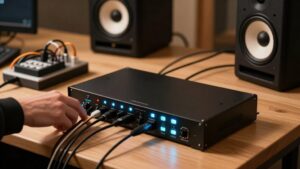
Before you unplug a single cable, photograph the rear panels of every device and each connection. Take clear, close-up images of both ends of every audio lead, ensuring the input and output labels remain readable. Document interface, monitor, computer, mixer, and outboard connections separately, so you’ll know exactly where each plug originated.
Include power cords and their routes in the frame. These details can reveal equipment linked across different outlets or circuits, a useful clue when tracing a ground-loop path. Photograph everything before you disconnect cables individually to isolate the connection that restores the hum. Keep the images open during reassembly and compare every plug, jack, and route against them. This record prevents accidental mispatches and lets you return quickly to the original configuration.
Step 2: Power Down Studio Gear
With your connection photos saved, turn off powered monitors, amplifiers, and other speaker systems before unplugging any audio cable. Wait until all speaker systems have fully shut down and their indicators are dark. This prevents switching transients and loud pops that can damage drivers or stress amplifiers.
For isolation, disconnect an instrument cable after powering down the relevant amp, then restore power and listen. If the hum persists, suspect the AC power or grounding arrangement rather than the instrument path.
With multiple amps or speakers, power off and unplug each unit’s AC cable separately. Then reconnect and power devices one at a time, noting when the 50/60 Hz hum returns. Never remove a plug’s ground prong or use a ground-lift adapter; it creates unsafe conditions.
Step 3: Disconnect Monitor Input Cables
After the monitors have powered down, disconnect their XLR, TRS, or RCA input cables while leaving their AC power connected. Restore power to both monitors, set their volume controls to listening positions, and listen for hum. This test separates the speakers’ power connection from the signal path.
If the noise stops, shut them down again and reconnect one input cable at a time. Power up after each connection, then note when the hum returns. The last cable connected, its source device, or that device’s connection is involved in the loop.
Test each monitor independently; disconnecting only the left or right input can expose a channel-specific problem. If hum remains when both inputs are removed, the monitor input cables and connected sources aren’t causing it.
Step 4: Install an XLR Ground-Loop Isolator
If reconnecting a specific XLR source brings the hum back, install an XLR ground-loop isolator in that audio path. Place the device between the offending source and the speaker or amplifier input. These units, also called isolation transformers or hum eliminators, break the unwanted ground-current path while passing the balanced audio signal. Select a model rated for balanced XLR operation, rather than a generic unbalanced adapter, to minimize level loss, noise, and tonal changes.
Confirm the diagnosis first: disconnect XLR inputs, then reconnect each device one at a time until the hum returns. Keep every component’s protective AC ground intact; don’t defeat it by removing a plug’s ground prong. Use shielded XLR cables, and keep them separated from AC leads, transformers, and fluorescent fixtures.
Step 5: Test Each Monitor Independently
Test each monitor independently to determine whether the hum originates inside a speaker or enters through an external connection. Power off the first monitor, disconnect every audio input, and turn it on by itself. If it remains quiet, its amplifier and power system are less likely to be the source. Repeat the same procedure with the other monitor; don’t judge both speakers while they share a strip or remain interconnected, because those paths can mask the fault.
Next, reconnect one cable or device at a time and listen after every change. A hum that returns with a specific connection indicates noise entering there. Keep the AC ground prong intact. Instead, fit a suitable audio-line isolator to the identified connection, then retest each monitor separately.
Step 6: Tighten XLR Connector Screws
With the suspect connection identified, power down the connected equipment and inspect its XLR plugs and jacks. Verify that every plug is fully seated and that its locking tab has clicked into place. A partially engaged connector can create intermittent noise that resembles hum, so reseat it before proceeding.
If the connector uses a screw-fastened shell, select the correctly sized screwdriver and snug each loose screw gently. Secure the shell enough to prevent movement, but don’t overtighten, strip threads, or force the connector. Check both cable-end shells and chassis-mounted fittings where applicable. This step corrects mechanical looseness only; it won’t fix a ground loop or substitute for intact shielding, balanced wiring, and safe mains grounding. Document any damaged parts for replacement before restarting equipment.
Listen for 60 Hz Hum
Listen for a steady, low-pitched 60 Hz hum—the familiar mains-frequency sound in North America—after restoring power to the system. Note whether the sound appears immediately or changes as you connect or disconnect each device, move a cable, or switch equipment on and off.
To isolate an amplifier, turn it off, disconnect its audio cable or instrument, and power it back on. If the hum remains, suspect a ground-loop or power-related issue rather than the input source. For multiple amplifiers or speakers, test each unit separately and record the connection that restores the noise.
Also log when you hear it: hum that tracks HVAC cycling or business hours can indicate changing electrical conditions nearby. Compare your notes across sessions before changing wiring or replacing equipment.
Laptop Charger Buzz Diagnosis
If the hum begins only when you connect your laptop charger, unplug the charger and monitor the system again. If it stops, suspect the charger or its power connection. Reconnect it, then remove the laptop’s audio cable. A silent result points to a loop through both paths. Pause playback to isolate charging noise from source or software artifacts.
| Test | Result | Likely Cause |
|---|---|---|
| Charger disconnected | Hum stops | Charger path |
| Audio cable disconnected | Hum stops | Ground loop |
Power the laptop and audio gear from outlets on the same circuit. Keep audio leads away from the charger and mains cable; poor shielding can collect interference. Never defeat the AC ground pin. If the signal connection remains responsible, fit a properly designed audio isolator while preserving safety grounding.
Document Baseline Noise Levels
Before you change any cables or power connections, document the hum or buzz in your studio’s normal operating configuration. Power up your usual signal chain and listen from the same position you’ll use for every test. Keep monitor volume, interface gain, playback level, and software settings unchanged.
Identify the noise: note a steady 50/60 Hz hum, a higher-pitched buzz, or noise that appears or shifts when you connect a specific device. Log the date, every connected device, cable path, and power outlet or strip. Record any recent changes, such as new equipment or relocated plugs.
If you have a meter or spectrum analyzer, measure the noise floor and save a screenshot or reading. Check for a peak near 50 or 60 Hz. This baseline shows whether each step improves it.
Conclusion
You can eliminate most home-studio ground loop hum by simplifying power, inspecting connections, and testing one variable at a time. Start with a shared wall outlet, then document your original cable layout and noise level. Power down equipment before reseating inputs or tightening XLR hardware. If hum remains, isolate monitor cables and test the laptop charger. Listen for changes after each step, and keep the configuration that produces the quietest monitors possible in your studio.