How to Set Up a Home Recording Studio: Gear, Room and Signal Chain
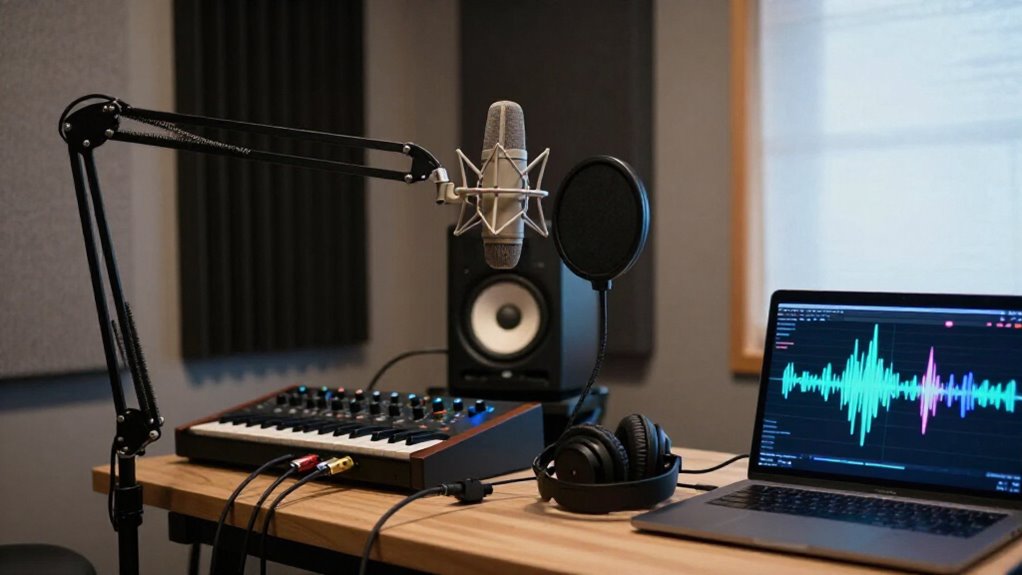
Plan two full days: treat first reflections and corners, then wire microphone, preamp/interface, and DAW.
Set WAV at 44.1 kHz and 16 or 24-bit, then test without clipping.
Place monitors symmetrically, clear the front wall, and position your chair about 38% into the room.
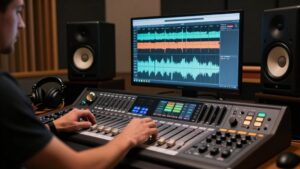
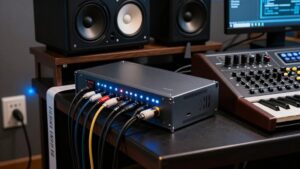
Use balanced monitor cables, label every lead, verify routing and levels, and isolate hum links one at a time.
Continue for calibration, DI, and backup details that keep systems reliable daily.
Plan Two Days for Setup
Plan at least two full days to set up your home studio, because you need to control the room before you can reliably evaluate microphones, recordings, or mixes. On day one, reduce first reflections and treat corners, then assemble the signal path: microphone to preamp, if required, to a quiet interface and your computer/DAW. Set the session to WAV, 44.1 kHz, and 16 or 24-bit depth; record test takes without clipping. Position each microphone for its source, using cardioid orientation with its rear toward the worst room area.
On day two, confirm DAW outputs, channel input routing, and monitoring volume. Run a brief record, monitor, and edit pass to establish workable levels. Perform a clap test for ringing or echo, adjust treatment, then re-record.
Confirm Outlet Circuit Capacity
Verify the circuit that supplies your studio before connecting equipment: switch off the suspected breaker, then test nearby receptacles with a lamp to identify every outlet on that circuit. Power faults can masquerade as audio problems, so map the circuit before planning loads.
- Read the panel rating: 15A or 20A is common.
- Limit continuous demand to 80%: 12A on 15A, 16A on 20A.
- Total simultaneous wattage; divide watts by voltage to estimate amperage.
- Include monitors, computer, interface, and preamps; heaters or dehumidifiers draw 1,000 to 1,500W.
- Use separate circuits for high-draw gear, and verify grounded receptacles.
Avoid adapters and multi-plug chains. Don’t feed multiple high-draw devices through strips on one circuit; voltage sag can create noise or glitches during recording sessions unexpectedly for you.
Step 1: Clear Front Wall for Monitors
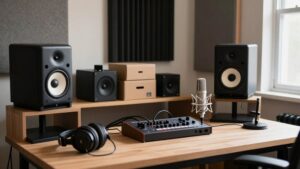
Clear the wall in front of your mix position so nothing sits between the monitor drivers and your ears. Remove display screens, shelves, slat features, hanging objects, and unused stands from this zone. These obstacles create early reflections that smear imaging, alter tonal balance, and reduce translation reliability.
Position your chair slightly forward of the room’s centerline. Then place each speaker with identical distance to the front wall and its nearest side boundary. Match left and right geometry because unequal return paths produce inconsistent comb filtering.
If a desk must remain, keep its surface uncluttered and don’t put monitor or microphone stands against furniture. Raise and toe-in the speakers so their direct axes meet at your listening position before desk or wall reflections dominate.
Step 2: Install Broadband Acoustic Panels
Install 4 to 6 inch-thick broadband absorbers at the first-reflection points on both side walls and the ceiling, where early sound from each monitor would otherwise reach your ears after bouncing off those surfaces. Locate each point with the mirror method: while seated at the mix position, have a helper move a mirror along each surface; mark locations where you can see either monitor.
Mount panels with a one-to-two-inch air gap when practical, which improves midrange absorption versus flush installation. Aim for a dry response: clap, listen for mid/high flutter, then add coverage only where reflections persist. Thin foam isn’t an equivalent substitute. Broadband panels won’t control sub-200 Hz modal buildup, so use dedicated thick corner or tube traps. Recheck with mixes, headphones, and sweeps, refine placement.
Step 3: Set Desk 38% Into Room
With broadband panels handling early reflections, place your desk so the listening position sits about 38% of the room length from the front wall rather than against a wall or at the exact center.
Measure the room’s internal length, then calculate x = 0.38L from the front wall. In a 10-foot room, position your seated ears approximately 3.8 feet forward. This placement reduces the likelihood of sitting in a strong modal peak or null, while avoiding the problematic center. Keep the listening axis aligned with the room and arrange the desk so speakers don’t compromise accuracy. From seat, perform a clap test or tone sweep; compare flutter echo and bass unevenness at nearby positions. After moving, recheck desk, side-wall, and console first-reflection points for clarity.
Step 4: Route Monitors Through Interface Outputs
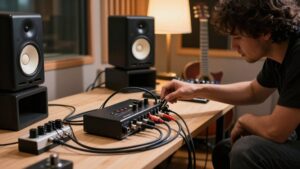
Connect your studio monitors directly to the audio interface’s dedicated left/right monitor outputs, often labeled “MON OUT,” “MAIN OUT,” or “L to R,” instead of the computer’s headphone or speaker jack. Use balanced cables when both devices support them, and connect the interface’s left output to the left monitor and its right output to the right monitor.
If the interface provides several output pairs, select the designated monitor pair in its control panel and verify that channel assignments match the physical wiring. Then choose the interface as your computer’s system audio device, so your DAW and other playback reach the same outputs.
Keep computer volume fixed; use interface monitor knob for gain staging. Route headphones from its headphone output and disable DAW double monitoring to prevent delayed duplicates.
Step 5: Calibrate Monitor Levels at 79 dB
Set a repeatable mixing reference by calibrating your monitors to 79 dB SPL at the listening position. Feed pink noise or a 1 kHz tone through the same DAW, interface, monitor outputs, sample rate, and format you use when mixing. Place an SPL meter, or measurement microphone, at ear height where your head normally sits. Select the weighting and response specified by your method; C-weighting with slow, one-second averaging is common.
Play the test signal and adjust the monitor level until the meter reads 79 dB SPL. Mark this setting as your working reference. Keep the monitor control near that point during sessions; frequent changes alter perceived tonal balance and translation. Recheck the reading whenever you move monitors, change desk placement, or reroute outputs.
Step 6: Label Every Cable End
Once your monitor reference is fixed, label both ends of every USB, audio, power, MIDI, and Ethernet cable before routing it behind the desk. Use matching IDs, such as “IF-AUDIO OUT L” and “MON-AUDIO IN,” and identify complete paths: “Mic1 → Preamp IN 1 → Interface XLR IN 1.” Put a directional arrow on each end, so you can’t reverse a run later. Apply consistent colors: audio, MIDI, USB/Ethernet, and power remain visually distinct.
Record exact port names—“Interface: Line 2,” “Headphone Out,” or “AES3”—rather than generic device labels, because layouts vary by model and driver configuration. Choose narrow, durable printed labels or tape that remains readable in crowded rear-panel spaces. Inspect and update each label whenever you alter cabling, hardware, driver settings, or routing configuration.
Record a 30-Second Test Vocal
Start with a clap-and-echo check in the quietest available spot, then aim the microphone at your mouth and point the rear of its cardioid pattern toward the room’s strongest reflections.
Fit a pop filter and stand 5 to 8 inches (13 to 20 cm) away. Power on your interface, select the microphone input in your DAW, and verify that the interface also handles audio output. Create a mono WAV track at 44.1 kHz and 16 to 24-bit depth. Set direct monitoring, or a low-latency monitor path, so you hear clearly. Leave reverb and EQ off. Record a 30-second vocal pass, watching meters and adjusting preamp gain so peaks remain 6 to 12 dB below clipping. Replay it immediately; assess dryness, vocal tone, room coloration, and overload or distortion before continuing with notes.
Hum: Ground Loop, Use DI
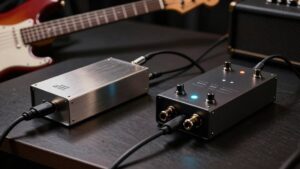
If you hear a steady low-frequency hum, suspect a ground loop: connected devices such as a USB interface and powered monitors can sit at slightly different ground potentials and circulate noise through the audio path. Isolate links one at a time to locate the loop. For guitar or bass, feed a mono unbalanced instrument cable into a DI box. Send its balanced mic-level XLR output to the interface. Engage the DI ground-lift switch; if hum vanishes, grounding caused it. If available, reverse polarity and listen for a change. Use balanced XLR or TRS lines wherever possible. Don’t connect unbalanced outputs alongside separate ground references or duplicate unbalanced return paths.
| Source | Cable | Check |
|---|---|---|
| Guitar | TS to DI | Isolate |
| DI | XLR | Balanced |
| Lift | Engaged | Silence |
| Monitors | TRS | Quiet |
Back Up Sessions Automatically
Protect every recording session with automatic versioned saves in your DAW, enabling its “save backup” or “create backups” option so a crash doesn’t erase recent edits. Configure the interval for frequent saves and retain multiple generations, not merely one overwritten file. Route every recorded take to a Project_Recording folder inside the session directory, then enable continuous backup for that folder through your DAW or operating system.
Follow a 3-2-1 rule: maintain the working copy, an automatically synced external SSD or HDD copy, and a cloud or second-drive copy. Run sync every few hours and on session close. Test recovery monthly: open a recent backup from the second drive, verify project links, and audition the WAV files. A backup is reliable only when restoration works.
Conclusion
You’ll build a reliable home studio by treating setup as a measured system, not a pile of gear.
Give yourself two days, verify circuit headroom, position monitors and desk correctly, and control reflections with broadband treatment. Label every connection, then test-record a short vocal before tracking real work. If you hear hum, isolate the loop with a DI or appropriate grounding strategy. Finally, automate session backups so your recordings remain protected after every take safely.