Soundproofing vs Acoustic Treatment: What’s the Difference and Which Do You Need?
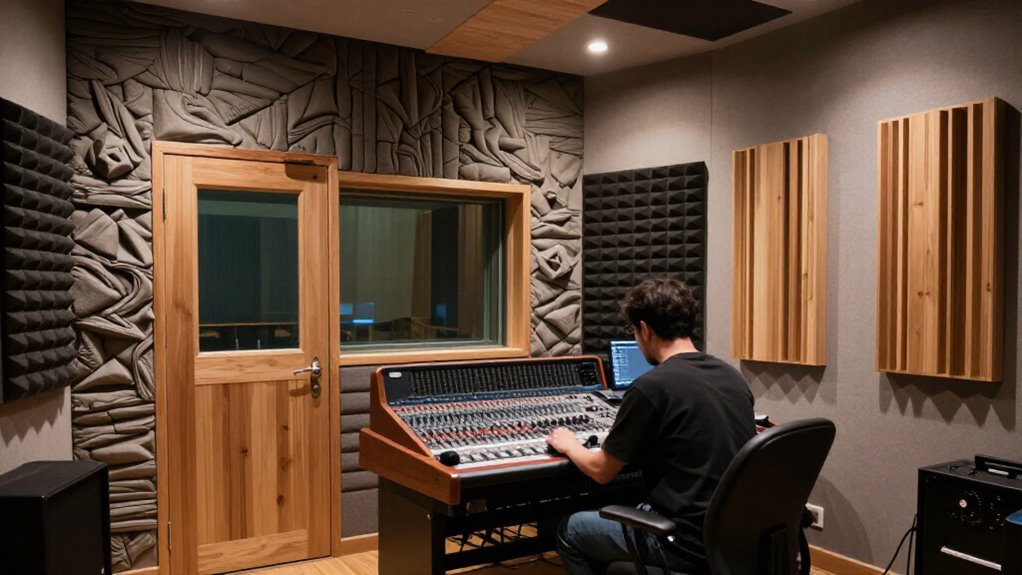
You need soundproofing when noise must stay out of or inside a room; it controls transmission through walls, ceilings, floors, doors, gaps, and flanking paths.
You need acoustic treatment when echo, reverberation, or speech clarity is the problem; absorptive panels reduce reflections but don’t reliably block neighbor noise. STC measures airborne isolation, while NRC measures absorption, so don’t substitute one for the other.
Room use, boundaries, and clap-test results point to your key next steps.
STC vs. NRC Ratings
STC and NRC ratings describe different acoustic functions, so you shouldn’t use them interchangeably. STC rates a tested building element or assembly’s ability to limit airborne sound transmission between spaces; higher values mean stronger isolation. NRC measures the sound a material absorbs under specified conditions; higher values indicate greater absorption within a room.
| Rating | Measures | Higher value means |
|---|---|---|
| STC | Airborne transmission | Better isolation |
| NRC | Sound absorption | Less reflected sound |
You can’t use NRC to determine whether a product blocks room-to-room noise, and you can’t use STC to predict panel echo control. Request test reports for the exact product and mounting arrangement. Backing, air space, insulation, and substrate affect measured performance, so published values apply only to the tested configuration under laboratory test conditions.
Decoupling vs. Fiberglass Panels
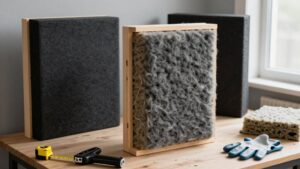
Decoupling and fiberglass panels address different parts of an acoustic problem: decoupling limits vibration transfer through a wall or ceiling assembly, while fiberglass panels absorb reflected sound within a room. If you need to reduce noise passing between rooms, use decoupling. It separates framing or finish layers from the building structure, interrupting mechanical vibration paths.
For reliable isolation, include it in a complete assembly: seal perimeter gaps and evaluate flanking paths through floors, ceilings, walls, doors, and other openings.
Choose fiberglass panels when you want clearer sound at the listening position. They reduce reflected energy and reverberation inside a room; they don’t meaningfully soundproof a shared wall. Absorption varies with thickness, facing, air gap, and mounting, so verify documented product test data before installation.
Noise Transfer vs. Room Echo
The distinction comes down to where the sound travels: noise transfer is sound entering or leaving a room, while room echo is sound reflecting within it. If traffic, voices, or a neighbor’s music crosses your boundary, you need to control the entire sound path: walls, floors, ceilings, doors, windows, and gaps. A few acoustic panels won’t soundproof the space.
If speech sounds muddy or music feels overly live, reflections are the issue. You can use absorbers to reduce reflected energy and diffusers to scatter it, improving clarity and controlling reverberation. Foam may reduce echo, but it doesn’t block airborne sound between rooms. Check ratings carefully: NRC quantifies absorption, whereas STC measures airborne transmission through a tested building element or assembly. Goals differ.
DIY Panels vs. Wall Demolition
DIY acoustic panels can improve a room’s sound by absorbing reflections and reducing reverberation, but they won’t reliably block neighbor noise or provide privacy through a shared wall. If your issue is echo, select panels using documented absorption data, mounting details, and coverage matched to the room’s surfaces and use.
For substantial isolation, demolition may be necessary because you may need to rebuild the assembly with added mass, decoupling, cavity insulation, and sealed gaps. First, have a professional identify transmission through the wall, penetrations, and connected structure; treating one face can miss flanking paths. Compare NRC, which measures absorption, with STC, which rates airborne transmission through a tested element or assembly. Use the assessment to determine whether demolition will deliver measurable improvement in practice.
Home Theaters vs. Rental Apartments
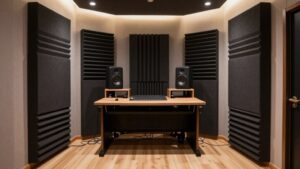
Room use and occupancy constraints change the right approach: in a home theater, absorbers at early-reflection points and bass traps in corners can reduce reverberation and low-frequency buildup, improving clarity at the listening position. These measures improve in-room response, but they don’t stop movie energy from transmitting through building assemblies. To limit leakage into other rooms, you need an isolation plan addressing walls, floor, ceiling, door assemblies, and air gaps.
In a rental apartment, removable panels can reduce reflections, yet they won’t reliably exclude neighbors’ noise or contain yours. With landlord approval, you may seal gaps; however, meaningful isolation requires construction affecting shared walls or floors. Diagnose the path: choose treatment for echo and clarity, but request an isolation assessment when sound crosses boundaries.
Panel Cleaning and Replacement
Proper maintenance preserves an absorptive panel’s appearance and performance: remove dust gently with a vacuum’s soft-brush attachment or a clean, dry microfiber cloth, and follow the manufacturer’s care instructions. If you need a cleaner, test it first on an inconspicuous area. Moisture and harsh chemicals can stain fabric, degrade finishes, or alter panel materials.
Replace panels that are torn, water-damaged, moldy, or supported by loose or deteriorating hardware. Before installation, verify that the replacement’s tested absorption data matches your room’s acoustic objectives. Confirm that its mounting arrangement preserves the intended air gap and placement. Cleaning and replacement help you maintain absorption and control reflections, reverberation, and speech clarity. They don’t create a sound barrier or stop transmission; treatment improves room conditions, not sound isolation.
Flanking Paths Through Door Gaps
Even a high-performance wall can lose much of its sound isolation when sound flanks through gaps around a door. Airborne sound follows these leakage paths, undermining the assembly’s tested performance. Inspect the closed door perimeter systematically; the bottom, jamb sides, and head are common failure points.
- Look for visible light, worn weatherstripping, or missing seals around the frame.
- Play white noise on one side, then listen and feel along edges to locate leaks.
- Replace degraded perimeter seals, install a door sweep or threshold seal, and caulk suitable frame cracks with flexible-drying caulk or silicone.
Keep sealant out of moving joints so the door opens and latches correctly. A continuous, compressed seal matters: even narrow openings can transmit enough sound to make the room seem poorly isolated.
Cost, Labor, and Reversibility
Your budget and installation effort rise sharply when soundproofing requires added mass, decoupling, and complete air sealing. You can install many acoustic panels more easily, but their results depend on the product, placement, and mounting method. Choose permanent construction for isolation needs, or use removable treatments and targeted weather stripping when reversibility matters.
Budget And Installation Effort
Acoustic treatment usually costs less and installs with far less disruption because you can mount panels, bass traps, and diffusers onto existing surfaces. That approach lets you target reflection points and low-frequency buildup without opening assemblies. Soundproofing, by contrast, often requires work across walls, floors, ceilings, doors, windows, and perimeter gaps. Those linked tasks raise material costs, skilled-labor hours, and project coordination.
- Price the complete tested assembly, not a single panel or drywall layer.
- Verify product test data, mounting hardware, coverage area, and room dimensions before ordering.
- Include installation labor, access constraints, and finishing work; thickness and appearance don’t predict acoustic performance.
Your budget should match the measured objective: improve in-room sound quality or reduce transmission between spaces through a properly designed system instead.
Permanent Versus Removable Solutions
Beyond upfront price and installation effort, permanence determines how much construction, disruption, and future flexibility a solution requires. Permanent soundproofing, including added drywall, decoupled wall assemblies, and sealed openings, can reduce sound transfer, but it often needs professional assessment, invasive work, and substantial expense. You can’t assume that attaching material to one surface will block neighbor noise: isolation depends on the complete assembly and every significant sound path.
Removable acoustic panels install and come down more easily, so they suit rentals, temporary setups, or spaces you may reconfigure. They reduce reflections and echo within your room, but ordinary panels don’t soundproof shared walls. Compare labor and disruption with your need for reversibility, then verify documented performance for the product, installation method, and mounting arrangement.
Drum Practice vs. Podcasting
If you practice drums, prioritize a well-sealed, decoupled enclosure, because acoustic panels reduce internal reflections but won’t stop drum energy from reaching neighbors. If you podcast, use absorptive treatment to reduce echoes and reverberation for clearer speech, adding isolation when exterior noise contaminates recordings. When you both practice and record in one room, combine isolation for transmission control with absorption for usable acoustics.
Drum Practice Needs Isolation
Drum practice demands sound isolation because a drum kit generates high sound-pressure levels and low-frequency energy that readily travels through walls, floors, ceilings, doors, and unsealed gaps. You’ll get little from panels alone: they reduce reflections inside the room but don’t provide mass, decoupling, airtightness, or structural control to limit transmission. Prioritize:
- Continuous, high-mass wall and ceiling assemblies
- A decoupled floor or isolated drum riser
- Sealed doors, penetrations, and other leakage paths
Low frequencies can excite building structures, so treat every boundary as part of the isolation system. Reportedly, a 7-by-7-foot WhisperRoom reduced drum noise sufficiently to prevent disturbance to household members and neighbors. A 4-by-6-foot double-wall booth also enabled day-and-night tone experiments. Your design must control airborne leakage and structure-borne vibration together.
Podcasting Needs Absorption
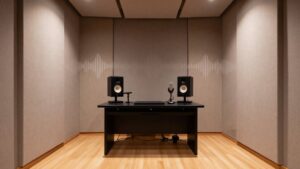
Podcasting primarily needs acoustic absorption, because your goal is to reduce early reflections and reverberation that blur speech rather than prevent high sound levels from leaving the room. You’ll improve intelligibility by controlling reflected energy near your microphone. Install broadband absorptive panels on walls or ceilings at first-reflection points, where sound would reach the mic shortly after direct voice.
Use a mirror: at your recording position, move it along surfaces; treat locations where you can see the talker or microphone from the relevant path. Prioritize hard, nearby boundaries, since short-delay reflections most strongly color speech. Foam or panels can reduce echo and decay, but they don’t soundproof the room. Select thickness, coverage, and placement according to your room’s measured or audible reverberation and reflection problems.
When Both Make Sense
When you need both quieter drum practice and cleaner recordings, combine sound isolation with interior acoustic treatment because each solves a different problem. Isolation controls transmission through walls, gaps, doors, and ventilation; treatment controls reflections, reverberation, and low-frequency buildup inside the room.
- For shared-home drumming, seal and isolate the enclosure first. A reported 7-by-7-foot booth reduced drum noise enough to avoid disturbing household members and neighbors.
- Add absorptive panels and bass traps inside, but don’t expect them to block transmission; they improve monitoring and reduce reflected energy.
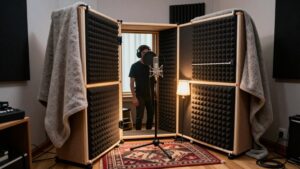
- For podcasting, isolate traffic and household interruptions, then treat echo for intelligible speech. Vox Media’s isolated booth supports remote guests and voiceovers while its interior setup supports production.
This yields quieter practice and cleaner, more predictable recorded takes.
Start With a Clap Test
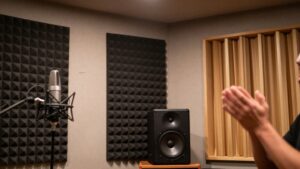
Clap once sharply from several locations in the room, then listen for a lingering decay or a rapid “ping-pong” flutter between parallel hard surfaces. A long, obvious tail indicates strong reflections and reverberation, conditions that absorption can reduce by removing acoustic energy from the room. Repeat the test near corners, walls, and seating positions because furniture, geometry, and exposed hard finishes alter the response.
Treat this as a qualitative screening tool, not a reverberation-time measurement. It can’t quantify RT60, identify frequencies precisely, or evaluate isolation. If your clap sounds controlled indoors but conversations, traffic, or music still pass through a wall, ceiling, or door, you have a transmission problem. Address it with soundproofing measures that add mass, seal air gaps, or decouple assemblies—not additional absorption alone.
Conclusion
Choose soundproofing when you need to limit noise transfer, and choose acoustic treatment when you need to reduce echo inside the room. Use STC to compare partitions and NRC to compare absorptive materials, but don’t treat either rating as a complete prediction. You’ll get better results by identifying the dominant path: walls, doors, vents, or reverberant surfaces. Start with a clap test, then match your budget, labor tolerance, and reversibility needs to your measured problem.
Home Studio Room Calculator: Acoustic Treatment & Monitor Placement
Enter room size and finishes to get room modes, RT60 per octave, a panel count, monitor triangle, SBIR null and first-reflection points.