How Do Bass Traps Work? Taming Low-End Buildup in Small Rooms
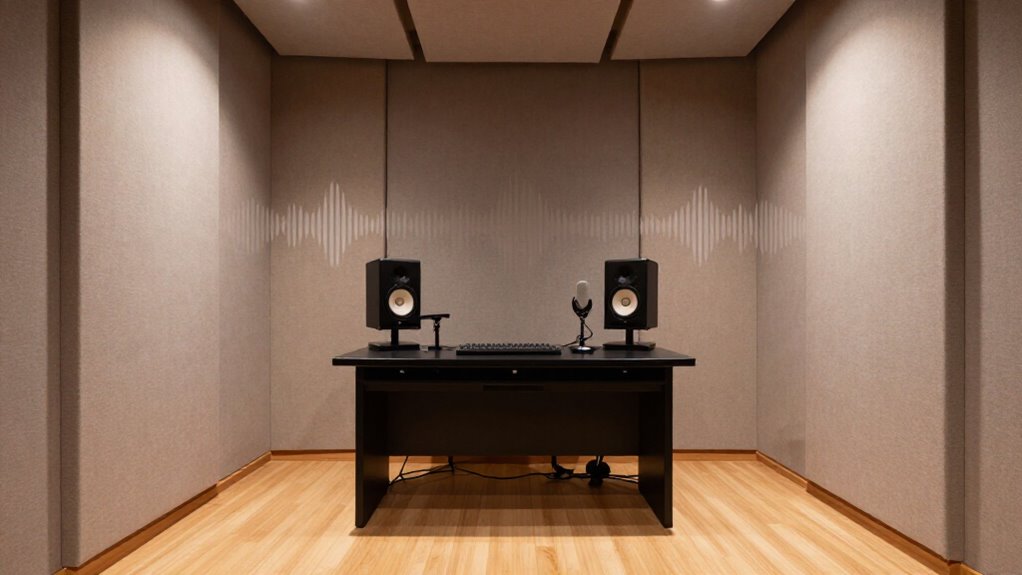
Bass traps reduce low-end buildup by converting acoustic energy into heat and shortening the decay of room modes.
In a small room, bass waves reflect between boundaries, creating pressure peaks, nulls, and lingering boom. Thick porous traps in corners absorb broadband energy where air movement is useful, while membrane traps target pressure-driven resonances.
You’ll get better monitoring and smoother subwoofer response, not sound isolation.
Placement, depth, air gaps, and REW measurements reveal the next steps.
Bass Pressure Becomes Heat
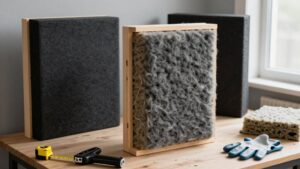
Bass traps reduce low-frequency energy by converting part of the sound wave’s motion into heat. In a porous trap, you drive air through interconnected pores in mineral wool, fiberglass, or open-cell foam. As those particles move, friction against pore surfaces and neighboring air molecules dissipates a small fraction of their acoustic energy as thermal energy.
You obtain stronger absorption where particle velocity is greatest, so you can space porous panels from walls or straddle corners to expose more material to moving air. Resonant designs use another mechanism: a membrane or enclosed chamber responds to a selected bass range, and its motion loses energy through damping. By removing energy that would otherwise remain in the room, these treatments reduce bass buildup and shorten low-end decay.
Low-Frequency Room Modes
Low-frequency room modes arise when bass reflects between walls, floor, and ceiling, then reinforces itself at specific frequencies to form standing waves. In a small room, wavelengths below roughly 300 Hz can span several feet, so boundary reflections create variation. You may hear a frequency as excessive at one location yet absent nearby: modes produce pressure peaks and nulls across the room.
At each mode, sound pressure and particle velocity remain 90 degrees out of phase; where pressure is highest, particle velocity is lowest, and the reverse also applies. These resonances store energy and extend low-frequency decay. Consequently, you can perceive bass as boomy or muddy, while level errors and lingering resonances cause your mixes to translate poorly on other playback systems.
Bedroom Studio Monitoring
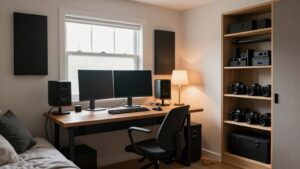
In a bedroom studio, room modes can make frequencies from roughly 30 to 300 Hz seem exaggerated at one listening position and deficient only a few feet away. This variability can distort the monitoring decisions you make: a kick may seem heavy at the desk yet disappear elsewhere, while a bass line you compensate for may become excessive in a car or on headphones.
Place your monitors and listening position deliberately, then measure the room response and check mixes on references. You can’t judge low-end balance from one seat; compare measured response, test tones, and familiar tracks. Apply corner-based treatment to reduce decay and spatial variation, then re-measure. It improves monitoring accuracy inside the room, but it won’t provide sound isolation from adjacent spaces.
Porous and Membrane Bass Traps
You can use porous traps to convert air-motion energy into heat, with thick corner-mounted designs extending absorption into lower frequencies. You can use membrane traps at high-pressure locations, where their vibrating surfaces target specific bass problems. Choose broadband porous treatment for wide coverage or tuned membranes when measurements identify narrow resonances.
Porous Absorption Principles
Porous bass traps absorb sound by forcing moving air through fibrous materials such as mineral wool or fiberglass, where viscous friction converts part of the acoustic energy into heat. You improve their performance by placing them where particle velocity is high rather than flush against a wall. Straddling a corner creates an air gap, letting the absorber interact with slower low-frequency energy more effectively.
| Your choice | What you feel and measure |
|---|---|
| 6–12-inch panel | Greater bass absorption and steadier mixes |
| Added corner air gap | Less boom, more confidence in decisions |
Thickness matters because longer wavelengths require more absorptive depth. Thin panels mainly affect upper bass and above, whereas thicker mineral-wool or fiberglass traps provide broader low-frequency control while also reducing midrange and treble reflections measurably.
Membrane Trap Mechanics
Membrane bass traps address low-frequency energy through pressure rather than air velocity: a flexible, heavy panel vibrates in response to bass pressure, converting part of that motion into heat. Instead of relying on air movement, you use the panel’s mass and compliance to absorb pressure-driven bass. Internal damping and mechanical losses dissipate vibrational energy, reducing modal decay and peak amplitude.
Limp-mass designs can cover a broad 40 to 200 Hz range, whereas resonant membranes use panel mass, cavity depth, and stiffness to concentrate absorption near a specific room-mode frequency. For effective control, you place a membrane trap where its target frequency produces high sound-pressure conditions, often near rigid boundaries. This differs from porous absorbers, which depend on high particle velocity and gain low-frequency efficiency when mounted across corners.
Choosing the Right Trap
Choosing between porous and membrane bass traps starts with the acoustic problem you need to solve: broadband excess energy or a persistent low-frequency mode. Choose porous traps when you need wideband absorption across lows, mids, and highs. Fiberglass or mineral wool converts sound energy to heat as air particles move through its fibers.
Prioritize thickness: 6 to 12-inch traps absorb low frequencies more effectively than thin panels. Add an air gap or place them in corners to improve low-end performance. Choose membrane traps when measurements identify a stubborn, narrow low-bass problem, typically within 40 to 200 Hz. Their flexible panels vibrate under sound pressure, so they target tuned frequencies rather than a broad spectrum. Install them at the relevant mode’s high-pressure location; otherwise, tuning won’t address the peak.
Trap Thickness and Air Gaps
You extend low-frequency absorption by increasing porous-trap thickness, with 6–12-inch panels generally outperforming thinner designs. You can also add an air gap behind the panel, moving it farther from the wall where low-frequency particle velocity is higher. Match total depth to your target range: for example, a 4-inch panel mounted 6 inches off the wall improves low-end control.
Thickness Determines Low-End Reach
Thickness sets the low-frequency limit of a porous bass trap: thicker material gives bass energy a longer path through resistive fibers, converting more of that energy to heat. Choose 6 to 12-inch traps when you need meaningful low-end control; thin panels mainly address higher-frequency energy. Greater depth increases the resistive travel path, so bass loses more energy before it exits the absorber.
| Depth | Low-end reach | Best use |
|---|---|---|
| Thin | Limited | Reflection control |
| 6 to 12 in. | Higher | Bass trapping |
Where space is limited, prioritize maximum thickness. You can also angle a porous trap across a corner, creating an air space behind it and extending its effective low-frequency reach. Use rigid frames to maintain it in position over time.
Why Air Gaps Help
An air gap behind a porous bass trap moves the absorber farther from the wall, where low-frequency particle velocity is higher and the material can dissipate more energy. You don’t need to make the absorber denser to gain this benefit. Instead, spacing increases the effective depth of the treatment system and improves its ability to attenuate bass energy.
For example, mounting a 4-inch panel 6 inches from the wall creates a 6-inch gap, which can noticeably improve low-frequency absorption compared with flush mounting. You can also angle a panel across a corner, creating an air space behind it while preserving room area. Combined with practical trap thicknesses of 6 to 12 inches, gaps let porous materials work effectively at low frequencies in small rooms.
Matching Depth to Frequency
Deeper porous traps control lower bass because their added thickness and air space place absorbing material nearer the high particle-velocity region associated with long wavelengths. You should choose depth according to the bass range causing the problem: greater depth moves porous absorption toward the quarter-wavelength region and extends useful control downward.
| Configuration | Practical low-frequency effect |
|---|---|
| 2-inch panel | Limited bass control |
| 4-inch panel, 6-inch gap | Improved lower-bass absorption |
| 6 to 12-inch corner trap | Stronger low-bass reach |
Mounting a 4-inch panel 6 inches off the wall can outperform the same panel flush-mounted at lower frequencies. For more demanding modal problems, angle 6 to 12-inch traps across corners; the resulting cavity increases effective depth. You won’t choose depth by aesthetics: specify it from the lowest bass range you need to attenuate.
Home-Theater Subwoofer Integration
Because room modes redistribute low-frequency energy across the room, a subwoofer that sounds balanced at one seat can boom or nearly disappear at another. Before installing treatment, place your subwoofer and evaluate bass across several seats. This identifies location-dependent peaks and nulls and prevents you from treating a problem created primarily by placement.
Thick porous corner traps, particularly floor-to-ceiling designs, absorb bass over a broad range and shorten decay, reducing the lingering boom that obscures movie effects and dialogue. If corners don’t provide sufficient control, add absorption at the rear wall and wall-ceiling junctions. Don’t expect traps to correct every deep cancellation; positioning and seat layout remain essential. Then calibrate level, delay, and crossover after treatment to achieve more consistent bass between seats overall.
They Cannot Fix Structural Noise
Bass traps improve low-frequency behavior within a room, but they don’t provide sound isolation. They absorb energy after it enters the space, reducing modal ringing and bass response variation. They do not prevent traffic rumble, building vibration, or voices from transmitting through walls, floors, and ceilings. Those problems involve structural paths and airborne leaks that porous absorption cannot block.
If noise enters or escapes your room, you need isolation construction: add mass to partitions, decouple surfaces to interrupt vibration transfer, and seal gaps around doors, windows, outlets, and penetrations. A vocal booth such as the PIB Vocal Booth Pro controls reflections and decay near your microphone; it isn’t designed to soundproof the surrounding space. Use bass traps for bass control, then treat noise transmission separately.
Treating Foam as Bass Traps
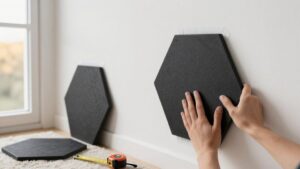
Foam panels can reduce midrange and high-frequency reflections, but typical thin products don’t absorb enough low-frequency energy to function as effective bass traps. You may hear less glare, yet room modes can still store energy and cause boomy, uneven bass.
- Thin foam on a wall primarily affects shorter wavelengths, not deep modal resonances.
- Open-cell foam needs substantial thickness before it provides meaningful low-frequency absorption.
- Dense fiberglass or mineral wool delivers stronger porous absorption at practical trap depths.
- Corner-mounted thick panels create air gaps, extending absorption toward lower frequencies.
- Don’t confuse reflection control with bass trapping or soundproofing performance.
For reliable low-end control, you need sufficiently deep, dense porous treatment positioned where pressure-related corner buildup is strongest, rather than relying on surface coverage alone.
Measure Decay With REW
Use Room EQ Wizard (REW) to verify low-frequency decay rather than judging bass traps by listening alone: run a sweep through your speakers, measure it with a calibrated microphone at the listening position, and inspect the Waterfall or Spectrogram for lingering bass ridges. Then examine RT60/decay by frequency, concentrating on 30 to 300 Hz; a figure can hide modal ringing.
Repeat sweeps at listening positions, since modes shift peaks, nulls, and decay time across the room. After installing or moving traps, preserve microphone coordinates, sweep level, windowing, and REW settings. Compare ridge length and frequency-specific decay, not only response amplitude. Keep placement and settings consistent for comparison.
| View | Check | Meaning |
|---|---|---|
| Waterfall | Ridges | Lingering |
| Spectrogram | Persistence | Resonance |
| RT60/decay | 30 to 300 Hz | Decay |
You need shorter, smoother bass decay.
Conclusion
By installing sized bass traps, you convert low-frequency pressure energy into heat and shorten modal decay rather than merely reducing volume. You’ll hear tighter bass, make reliable monitoring decisions, and integrate a subwoofer with fewer peaks and nulls. Use thick porous traps with air gaps or tuned membrane designs where measurements justify them. Don’t expect treatment to stop structural noise, and don’t mistake thin foam for bass control.
Verify results by measuring decay in REW.