Does Acoustic Foam Work? What It Fixes and What It Can’t
Acoustic foam works when you need to reduce echo, flutter, and mid/high-frequency reflections around speech or recordings. Its open-cell structure absorbs energy, so your voice can sound clearer on podcasts and calls.
It doesn’t soundproof: it adds too little mass to block traffic, neighbors, or sound passing through walls, doors, windows, and gaps. Thicker foam reaches somewhat lower frequencies, but deep bass needs dedicated traps.
Placement, testing, and fire ratings shape decisions you make next.
Foam Reduces Echoes, Not Noise
Acoustic foam improves what you hear inside a room, but it doesn’t soundproof the room. It reduces echo and flutter, which can make speech and recorded sound seem clearer. However, foam doesn’t provide the mass or airtight barrier needed to stop airborne noise.
Sound can still pass through drywall, doors, gaps, and connected structural elements to neighbors or from outdoors. Its benefit also drops at low frequencies, so bass and low-mid boom may remain even when the room feels less echoey. Thicker panels primarily improve reverberation time, not isolation.
If you need quieter boundaries, use mass, sealing, and decoupling to interrupt transmission paths. You should judge results by listening conditions, not by expecting privacy or lower external noise levels from the treated room itself alone.
Open-Cell Foam Absorbs Reflections
Open-cell foam absorbs sound from room reflections as air moves through its porous structure, where friction converts part of the wave energy into heat. This process primarily attenuates midrange and high-frequency reflections, which are short enough to interact effectively with the material’s pores. In a hard-surface room, you can hear the result as less echo and reduced flutter between parallel surfaces.
Thickness determines how far absorption extends toward the midrange: 2 to 3-inch foam usually outperforms 1-inch material. Placement also matters; treating roughly 20 to 30 percent of wall area produces a measurable reduction in reflected energy than applying small, scattered patches. However, don’t expect substantial low-frequency absorption. Bass wavelengths require thicker, purpose-built treatment, so boomy or muddy bass may persist despite foam coverage.
Podcast Booth Vocal Clarity
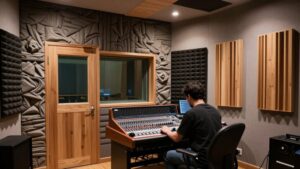
In a podcast booth, foam can sharpen vocal recordings by absorbing mid- and high-frequency reflections, especially above roughly 500 Hz, that otherwise create echo, flutter, and smeared consonants. You’ll hear cleaner articulation when you place it at primary reflection zones, commonly the wall behind your microphone and the wall behind you. Use 1 inch to suppress flutter and upper-mid reflections; 2 inches offers speech-band control, while 3 to 4 inches reaches somewhat lower frequencies.
Foam doesn’t soundproof your booth. Its low mass won’t stop traffic, neighbors’ music, or transmission through doors, walls, and floors. It also has limited low-frequency absorption, so bass buildup can remain boomy or muddy. Don’t cover every surface: excessive high-frequency damping can produce a dull vocal capture. Combine targeted foam placement with additional low-frequency treatment.
Wedge and Pyramid Profiles
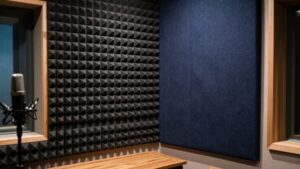
Wedge and pyramid surfaces increase exposed foam area, but thickness—not profile—dominantly determines absorption. You’ll find broadly similar mid- and high-frequency performance from either shape, so select the profile that fits your installation and appearance goals. Use them to reduce flutter echo and reflections, but don’t expect them to soundproof walls or control bass without thicker, purpose-built treatment.
Surface Area and Absorption
Wedge and pyramid foam profiles increase the material’s exposed surface area, which helps dissipate reflected sound energy and reduce room echo. This added area creates more pathways for incident sound to enter the porous structure, where air movement converts part of the acoustic energy into heat through viscous and thermal losses. You’ll get the most useful result when you place panels at strong reflection points and treat roughly 20–30% of the relevant wall or ceiling area, depending on room use and existing surfaces.
Surface geometry doesn’t override thickness. Thin panels primarily control midrange and treble reflections; thicker foam extends absorption more effectively toward lower frequencies. Use profiled foam to improve in-room decay and speech clarity, not to stop sound transmission through walls, floors, or ceilings.
Wedge Versus Pyramid Performance
Profile shape has far less effect on absorption than foam thickness and overall material properties. Wedge and pyramid panels both function chiefly as porous absorbers, converting incident sound energy into heat through air movement and friction within the foam. In typical room conditions, each profile primarily reduces midrange and high-frequency reflections and flutter echo.
You shouldn’t expect a reliably measurable absorption advantage from one surface geometry over the other when thickness, density, and installation are equivalent. Thickness governs the more consequential difference: 1-inch foam mainly affects mid and high frequencies, whereas 3- or 4-inch material extends absorption lower. Choose wedge or pyramid based on visual preference and how the panels fit your wall layout. Their shared underlying material determines performance, not the visible pattern.
Best Uses and Limits
Use wedge or pyramid foam to reduce in-room reflections, flutter echo, and reverberation, especially at first-reflection points on side walls and ceilings. You’ll get the most predictable benefit by treating these early-reflection surfaces and, for general echo control, covering roughly 20–30% of wall area. Profile geometry has little effect on absorption compared with thickness: choose one-inch material for flutter and primarily mid/high-frequency control, or 3–4-inch panels when you need broader absorption that extends somewhat lower.
Don’t expect either profile to soundproof the space or reliably manage bass. Foam absorbs airborne energy inside the room; it doesn’t block transmission through walls, doors, or ceilings. To reduce noise transfer, you need construction measures—added mass, airtight seals, and structural decoupling—and dedicated bass treatment for low-frequency problems.
Foam Thickness Affects Low Frequencies
Thickness determines how effectively foam absorbs longer, lower-frequency wavelengths: 1- and 2-inch panels chiefly control flutter echo and mid-to-high frequencies, while 3- and 4-inch panels extend absorption lower. You’ll get the strongest low-frequency performance from 4-inch foam, but it still won’t soundproof the room or fully control bass buildup. For persistent bass issues, pair deeper foam with dedicated bass traps.
Why Thickness Matters
Foam depth largely determines which frequencies a panel can absorb: thicker panels interact with longer sound waves and consequently extend absorption below the midrange. When you increase thickness, you increase the material depth available for acoustic energy to enter and dissipate as heat. A 1-inch panel primarily reduces flutter echo and absorbs mid-to-high frequencies.
At 2 inches, you gain more total absorption, though performance remains centered on mids and highs. A 3-inch panel reaches somewhat lower, while retaining useful midrange and high-frequency control. Choose 4-inch foam when you need stronger absorption toward lower frequencies. Thickness consequently changes the panel’s effective operating range, not merely its appearance. For best results, match panel depth to the frequency range you need to control most directly in your room.
Low-Frequency Absorption Limits
Low-frequency absorption remains the main limitation of acoustic foam because bass wavelengths require substantially more material depth to dissipate effectively. You can reduce flutter echo and much of the midrange and treble with one-inch panels, but low bass will pass through or reflect back into the room. Three-inch foam extends absorption somewhat lower, and four-inch panels provide a further measurable improvement, particularly above the deepest bass range.
However, thickness doesn’t transform porous foam into a full-range solution. If you rely on foam alone, low-mid energy and bass modes can remain largely intact, producing boominess, muddy detail, and uneven bass response at listening positions. You should thus expect foam to control surface reflections more effectively than it controls the long wavelengths that dominate room buildup.
Choosing Effective Foam Depth
Choosing the right panel depth determines how far down the frequency range your foam can absorb effectively. Thickness, not wedge or pyramid texture, sets the useful absorption range. You should select depth according to the frequencies causing problems, rather than expecting surface shape to compensate.
| Panel depth | Primary effect |
|---|---|
| 1 inch | Controls flutter echo and mid-to-high frequencies |
| 2 inches | Increases overall absorption; remains strongest at mid-to-high frequencies |
| 3 inches | Adds some lower-frequency absorption alongside mid and high control |
| 4 inches | Provides the strongest low-frequency absorption of these options |
If bass buildup persists, don’t treat four-inch foam as a complete bass solution. Deep bass can remain largely untreated, so you’ll need purpose-built bass trapping or other low-frequency measures to correct the remaining modal energy effectively.
Video-Call Echo Control
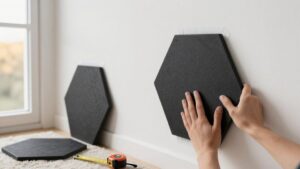
Hard walls near your desk reflect your voice back into the microphone, creating the hollow, reverberant sound that can reduce video-call clarity. Place acoustic foam on the wall behind or beside your desk, then address nearby first-reflection points.
Treating roughly 20 to 30% of the relevant wall surface provides a practical starting target for echo reduction. Choose thickness according to the frequencies you need to absorb: 1–2-inch panels primarily reduce mid- and high-frequency reflections, whereas 3–4-inch foam extends absorption lower. This treatment improves perceived vocal clarity within your room and can reduce what your microphone captures. It won’t block neighbor noise or prevent your voice from reaching other rooms. Avoid covering every surface; excessive absorption can make the space sound unnaturally dead during calls and meetings.
Check Fire-Retardant Ratings
Before you install acoustic foam, verify that the exact product and thickness carry documented fire-test certification, such as an ASTM E84 Class A rating. Don’t rely on a retailer’s broad “fire-retardant” label: the classification must apply to the foam model, density, and thickness you will use. Request the test report, listing, or certificate and confirm its scope, test standard, and stated classification.
Follow the manufacturer’s mounting, spacing, and use instructions. Cutting panels, applying coatings, adding adhesives, or covering the foam can change the assembly from the tested configuration and may alter fire performance. If you use fabric-wrapped acoustic panels, select fabric, backing, and attachment materials the manufacturer identifies as compatible with the panel’s fire rating. Keep documentation, and check local code requirements before installation.
Covering Windows With Foam
Covering a window with acoustic foam can reduce reflected mid- and high-frequency sound inside the room, but it won’t reliably stop outside noise from entering. You may hear fewer sharp reflections from glass, improving speech clarity and reducing flutter-like brightness near the window. However, foam changes room absorption, not the window’s transmission loss.
- Its porous, lightweight structure adds too little mass to impede airborne sound effectively.
- It leaves perimeter leaks unsealed, allowing exterior sound to bypass the foam.
- It primarily absorbs mid- and high frequencies; bass and traffic rumble largely pass through.
- For isolation, install a heavy, properly sealed window insert or glazing system designed to limit transmission.
Use foam for clearer sound indoors, not isolation; incoming noise requires sealed, massive glazing.
Measure Your Room’s Reverberation Time
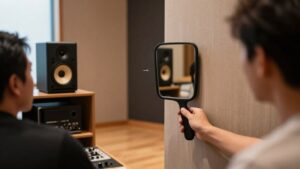
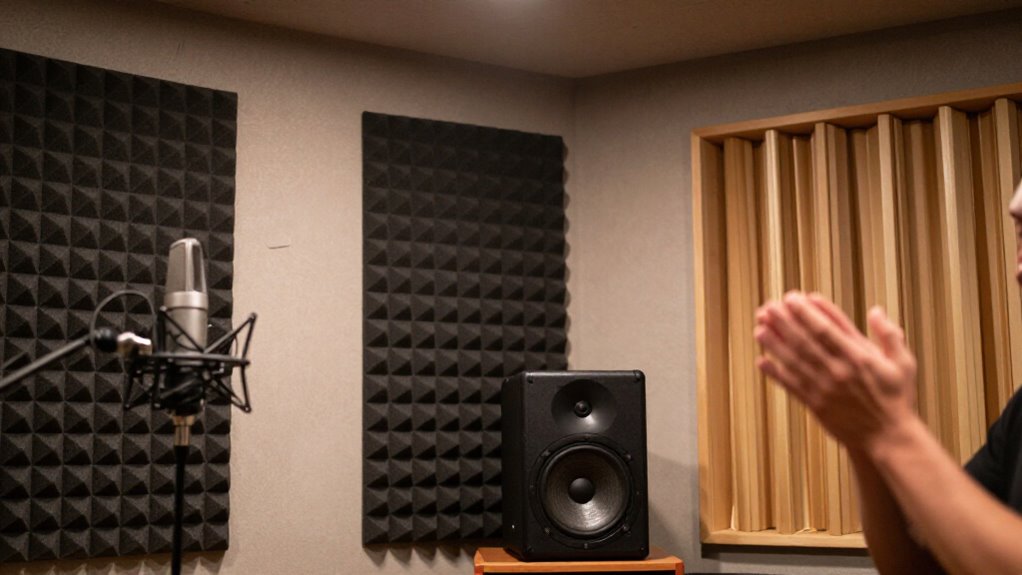
To assess whether acoustic foam or panels improve your room, measure its reverberation time—the rate at which sound decays after the source stops. Start with a practical check: clap once and listen to how long the sound lingers. A prolonged decay indicates excessive reverberation.
For an objective result, record the clap, then use audio software to calculate RT60, the time required for the recorded level to fall 60 dB. Take readings at several locations, since listener position and nearby surfaces can change the decay you observe. Repeat the same measurements before and after installing foam or panels, keeping the room setup and sound source consistent. If RT60 decreases, treatment has reduced reflected sound and echo. RT60 evaluates acoustics; it doesn’t indicate transmission through walls.
Conclusion
Acoustic foam works when you use it to reduce mid- and high-frequency reflections, shorten reverberation time, and improve speech clarity. It won’t block traffic, neighbors, or bass transmission because it adds little mass and provides limited low-frequency absorption. Choose fire-rated, open-cell panels, use adequate thickness, and place them at first-reflection points rather than covering every surface. Measure your room before and after treatment, then add bass traps or isolation construction where foam can’t solve the problem.