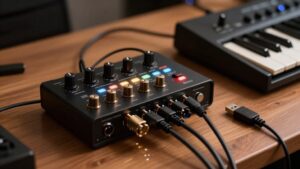
How to Set Up an Audio Interface With Your DAW: Drivers, Routing and First Test
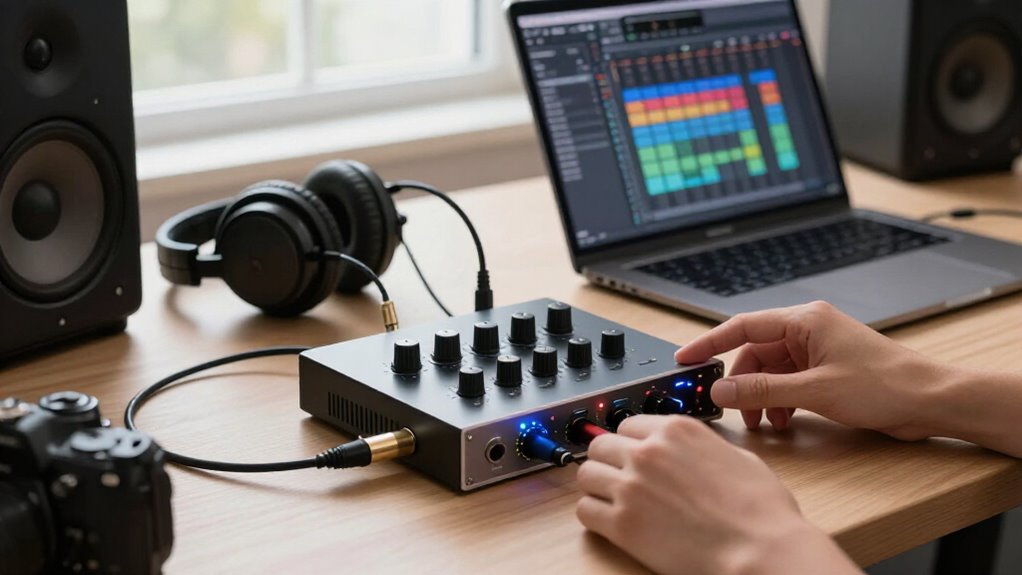
Connect your interface directly with a data-capable cable, then close other audio apps.
In your DAW, select the manufacturer’s ASIO driver on Windows or Core Audio on macOS, and match the interface, system, and project sample rates.
Route the master output and headphones to the interface’s main outputs. Create a mono input track, arm it, and test levels below 0 dBFS.
Start with a 128 to 256 sample recording buffer; upcoming steps cover troubleshooting and safe shutdown.
DAW Playback Through Interface
To route DAW playback through your audio interface, select the interface as both the playback and output device in the DAW’s audio preferences. On Windows, choose the manufacturer’s ASIO driver to obtain reliable, low-latency playback. On macOS, select the interface through Core Audio. In Pro Tools, open Setup → Playback Engine, choose the interface, then open Setup → I/O → Output and confirm the channel assignments.
Route your session’s master output to the interface’s main left and right outputs. Connect monitors or headphones directly to those outputs. If you hear no playback, inspect the DAW’s track and master routing, raise the interface’s output volume, and verify that your operating system selects the interface for computer audio output. This guarantees the DAW sends its signal to your monitoring path correctly.
Verify USB Cable Compatibility
Reliable DAW routing also depends on a USB cable that matches both the interface and computer ports. Identify each connector: interfaces commonly use USB-A, USB-B, or USB-C, while your computer must provide a compatible port. Consult the interface manual before buying a replacement; USB-C describes a connector, not automatic Thunderbolt support.
- Use a data-capable cable; charge-only leads can’t carry audio streams.
- For bus-powered units, select a cable rated to deliver the required power.
- If detection fails, substitute a known-good compatible cable.
- Connect that test cable directly to the computer, not a hub.
- Inspect both ends for secure fit and port damage.
A correct cable establishes the physical data and power link your interface needs before you evaluate its connection reliably during setup and testing.
Step 1: Close Other Audio Applications
Before launching your DAW, close other applications that may use the audio interface, including browsers, video-call clients, media players, and recording software. These programs can hold the interface or its driver, creating device conflicts, missing audio, or dropouts. This is especially important on Windows, where an application using the interface’s ASIO driver may block your DAW from connecting to it or applying its audio-device settings.
Quit the applications completely, not merely their visible windows. Check the system tray or task manager for background processes, then close them. Open your DAW again and confirm that the interface is selected as the playback engine. If the problem remains, verify that the operating system and DAW both select the same interface. Then restart DAW and test playback.
Step 2: Match DAW Sample Rate
With other audio applications closed, set the audio interface, operating system, and DAW to the same sample rate. This prevents rate mismatches that can produce crackling, pitch changes, or other unwanted audio behavior. Choose 48 kHz for video, podcasting, and general recording; choose 44.1 kHz for music-only projects.
On macOS, open Audio MIDI Setup and verify or change the interface’s device rate. On Windows, check the audio device’s settings, then confirm the matching value in your DAW’s audio preferences.
Save the setting before opening or creating a project. If you change the rate while the DAW is open, close and reopen it if necessary. This lets the DAW reconnect to the interface at the new rate and guarantees the project uses intended timing and conversion settings.
Step 3: Select the Interface ASIO Driver
Open your DAW’s audio preferences, set the audio system to ASIO, and select the manufacturer-provided driver for your audio interface. This driver gives the DAW direct, low-latency communication with the hardware. If it isn’t listed, download and install the current driver from the interface manufacturer’s official support page. Restart your computer when the installer requests it.
Then return to the DAW and verify that the interface appears as the selected device.
Don’t use generic WDM or MME drivers for recording when the native ASIO driver is available; they usually add substantial latency. Confirm the interface is connected and powered on if it still doesn’t appear. If the installation checks out but no native ASIO driver exists, use ASIO4ALL as a third-party fallback, not a replacement.
Step 4: Create a Mono Input Track
Create a new mono audio track for a single microphone or instrument connected to one interface input. In the track’s input selector, choose the channel matching the physical jack you’re using, such as Input 1. A mismatched assignment routes the wrong source and leaves the track meter inactive.
Set the track’s output to your interface’s main stereo output. This routes playback and monitored signal to your normal listening path. Record-enable the track, then speak into the microphone or play the instrument. Watch the track’s input meter for activity. If it remains flat, recheck the selected input against the interface jack and confirm the source is connected correctly. Once activity appears, the mono track is correctly routed and ready for the following recording-level check stage.
Step 5: Set Gain Below Clipping
Once the mono track shows input activity, set the interface preamp gain before recording. Begin with the gain control low. Ask the performer to play or speak at the loudest level you expect during the take, then raise the preamp gradually while watching the interface meter or the DAW input meter. Keep every peak below 0 dBFS, where digital clipping occurs.
Target peak levels between −12 and −6 dBFS. This range preserves headroom for louder syllables, accents, or notes that occur after the test. If either meter indicates clipping, reduce the preamp gain and repeat the test recording. Don’t rely on lowering the DAW track fader afterward: a fader changes monitoring or playback level, but it can’t repair distortion already captured at the interface input.
Step 6: Power Down and Label Cables
Before you disconnect or reroute anything, turn monitor and headphone levels down, then switch off the audio interface and any connected speakers. This prevents loud clicks, pops, and accidental signal transients while you change connections. Grip each plug firmly and pull it straight from its socket; don’t tug the cable itself, because that can strain conductors and damage connectors.
Label both ends of every cable with its source and destination, using durable tags. For example, write “Mic 1 → Interface Input 1” on the ends. Apply a consistent scheme to output pairs: “Monitor Left” and “Monitor Right.” Mark USB or Thunderbolt leads so you can identify the computer connection during setup. Keep labels positioned near plugs, so they won’t obscure locking tabs or connector housings.
Confirm Headphone Output Signal
With cables labeled and the interface powered on, connect your headphones directly to the interface’s headphone jack and set its headphone level fully down.
In your DAW, choose the interface as the playback engine. Route a test track to the output pair feeding the headphone jack, typically Outputs 1–2. Start playback, then raise the interface headphone control gradually. Verify that the signal is clean and present in both earpieces.
If you hear nothing, confirm the track’s output assignment, headphone-level setting, and full plug insertion. Interfaces with independent headphone routing or a source/mix control require an additional check: select DAW playback, or select the input source you intend to monitor. Don’t use the computer headphone socket; it bypasses the interface routing you’re verifying during testing.
Resolve Buffer Underrun Pops
If you hear clicks, pops, or dropouts during playback, increase the DAW audio buffer to 512 samples or higher and test the session again. Larger buffers give your computer more processing time, reducing underrun events during mixing.
| Use | Buffer | Goal |
|---|---|---|
| Playback | 512 | Stability |
| Recording | 128 | Latency |
For recording, start at 128 or 256 samples, then raise the buffer when pops persist and the added latency remains acceptable. Close unnecessary applications and browser tabs. Confirm that the operating system, interface, and DAW use the same sample rate; mismatches can interrupt audio. If artifacts remain, bypass any USB hub and connect the interface directly to another computer USB port. Retest after each change and document stable settings for future sessions. This isolates faults without changing routing.
Register Interface Warranty Online
Once your interface runs reliably, register its warranty online to document ownership and preserve access to manufacturer support. Before opening the registration form, locate the interface’s model and serial number, usually printed on the chassis or original packaging. Visit the manufacturer’s official website and open its product- or warranty-registration page.
Create an account or sign in, then enter the requested product details, purchase date, and retailer information exactly as shown on your invoice. Keep the receipt or invoice, because support staff may require proof of purchase to verify the warranty start date. Save the confirmation email or screenshot, and review the warranty terms for coverage length, regional restrictions, exclusions, and registration deadlines. Store these records with your driver downloads and support case details securely.
Conclusion
You’ve now established a reliable DAW-to-interface path: compatible USB connection, exclusive audio access, matched sample rates, and the correct ASIO driver. With cables powered down and labeled, you can verify playback on both monitor and headphone outputs. If pops occur, increase the buffer until underruns stop. Document your routing and settings, then register the interface warranty. This baseline configuration gives you repeatable sessions and a controlled starting point for recording and mixing with confidence today.