Audio Interface vs Mixer: Which Do You Need for Home Recording?
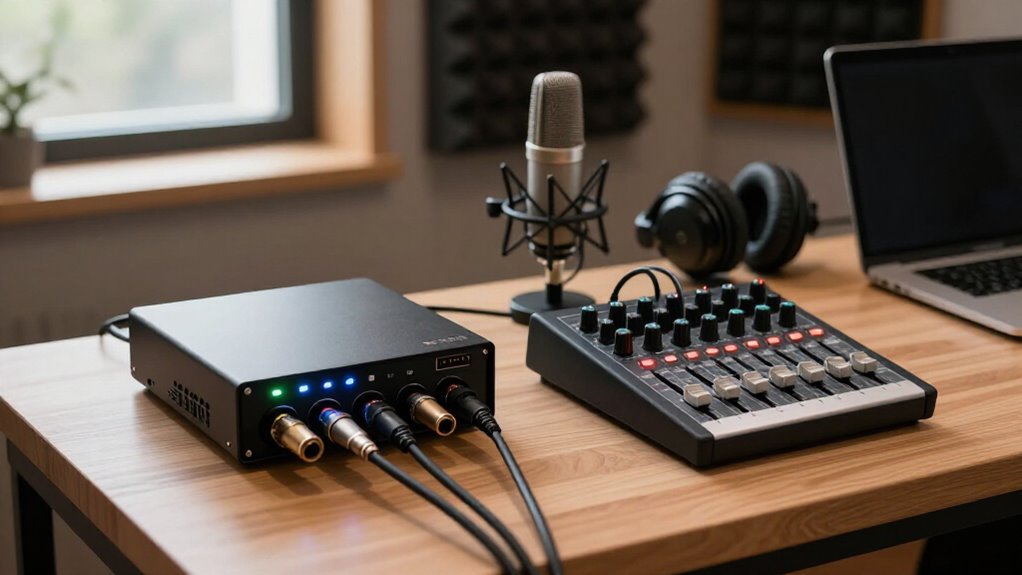
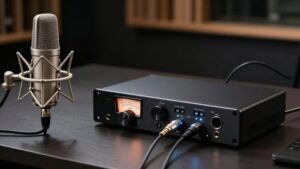
Choose an audio interface if you want editable DAW tracks from each mic or instrument; confirm inputs, preamps, USB multitrack capability, and direct monitoring.
Choose a mixer when you need hands-on faders, EQ, headphone mixes, or live balancing.
An analog mixer won’t create DAW tracks without USB conversion.
For iPad, verify class compliance, power, and adapters.
Your workflow, latency, desk space, and future mic count determine the fit.
The next sections help you plan confidently.
USB Inputs vs. Live Faders
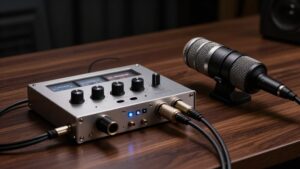
USB inputs determine how many separate audio channels you can send to your computer, while live faders let you adjust levels immediately with physical controls. For simultaneous microphones, count actual XLR and line inputs, not faders. Some USB mixers send only a stereo main mix, so confirm multitrack support.
| Need | Device | Check |
|---|---|---|
| Four mics | Interface | Four inputs |
| Hands-on mix | Mixer | Faders |
| Multitrack | Interface | USB channels |
| Cue mix | Mixer | Sends |
Interfaces often provide direct monitoring, which keeps latency manageable while you track. Mixers instead use internal routing and sends for cue mixes.
Choose an interface if you need separate, editable recordings; choose a mixer if you need fast physical balance and headphone-mix control during rehearsals, streaming, or performance-style sessions, where software control can slow decisions.
Preamps, Converters, and Signal Flow
Beyond input counts and fader control, the recording path determines what reaches your DAW and how cleanly it gets there. An interface routes a mic or instrument through its preamp, applies gain, converts the signal from analog to digital, and sends it to your computer via USB or Thunderbolt. Playback reverses that conversion through its D/A stage.
A mixer can provide preamps, EQ, and effects, but an analog model sends an analog mix or outputs to recorder or PA. It won’t create DAW tracks without built in USB audio interface conversion. Check phantom power assignments before connecting condenser microphones: most need +48V, but some devices provide it only on channels. For tracking, set gain; follow mic XLR through preamp, A/D converter, computer, and DAW.
Latency in DAW Monitoring
Latency is the delay you notice between performing into a microphone or instrument and hearing that signal return through your headphones or monitors. It’s caused by USB and driver buffers, DAW processing, and your interface’s A/D to D/A conversion.
For responsive software monitoring, set the buffer to 32 to 128 samples and keep plug-in chains light. Smaller buffers reduce round-trip delay, but raise CPU demand and can cause pops or dropouts. Test your session and choose the lowest stable setting.
When tracking vocals or instruments, use your interface’s direct-monitor feature or a mixer’s headphone mix. You’ll hear the input before it reaches the computer, avoiding round-trip delay. A mixer with USB still adds latency if you monitor its computer return; check for direct monitoring or loopback for cues.
Routing Menus Versus Knobs
The biggest workflow difference is how you control signal flow: an audio interface typically uses software routing menus to select inputs, assign DAW tracks, and configure monitoring, while a mixer puts level, EQ, pan, and aux-send controls under physical knobs and faders.
With an interface, map multiple inputs to separate DAW tracks quickly, but make monitoring and headphone-balance changes in its control app. A mixer lets you grab a channel fader, adjust EQ, pan a source, or build an aux mix without going through screens. Check phantom-power control: interfaces often use per-input or grouped software switches, while many mixers use a hardware button. USB mixers blur the distinction, combining channel strips with DAW routing. Choose software routing for multitrack sessions; choose knobs for monitor adjustments.
iPad and Driver Compatibility
If you record on an iPad, confirm that the interface supports iPadOS through USB class-compliant operation rather than requiring a desktop-only driver or control app.
Many units connect immediately, but verify the port and power arrangement before buying. Most iPads need a USB-C-to-USB or Lightning-to-USB adapter, and higher-draw interfaces may need external power rather than bus power. Check the iPad-supported sample rates, commonly 44.1 or 48 kHz, plus the simultaneous input count.
Also confirm that your DAW or streaming app recognizes inputs and supports the unit’s control mode and routing. For tracking, choose direct hardware monitoring or an onboard DSP mixer; either lets you hear signals without relying on software monitoring latency. These checks prevent silent inputs, unavailable channels, and unstable connections during session.
Replaceable Faders Versus Fixed Ports
Replaceable faders and fixed ports solve different problems: faders affect hands-on control and serviceability, while ports determine how many sources you can connect and record.
On an interface, you usually won’t find channel faders; you set levels in your DAW or the unit’s software monitor mixer. Its combo XLR/quarter-inch inputs and outputs are fixed, so your microphone capacity depends on input count, connector type, and phantom-power options. If you need more simultaneous mics, choose a larger interface or use supported ADAT expansion.
A mixer gives you physical channel strips and faders for fast adjustments, while its main outputs, aux paths, returns, and headphone jack remain fixed connections. Replaceable faders matter when wear or damage makes maintenance necessary. They don’t increase inputs or connector capacity.
Single-Point USB Failure
Why does a single USB connection matter? Your interface, or a mixer with an interface, can lose every computer input and monitoring path when its only USB link drops. Connect it directly to a reliable rear-panel desktop port or another USB controller, not an unpowered hub. Seat a data-rated cable firmly; charging-only cables won’t provide dependable audio transfer.
Match the sample rate in your interface’s control panel and DAW, then use conservative buffer settings to reduce dropouts after reconnecting. Keep a tested spare cable, and choose class-compliant operation when available.
With a USB-equipped mixer, disconnection can stop multichannel recording plus USB monitoring or loopback. Test disconnect/reconnect behavior before a session, including driver recovery, routing, and whether your DAW resumes cleanly without buffer errors afterward.
Rack Space and Desk Footprint
You can rackmount many interfaces in 1U or place compact 2×2 units directly on your desk. An 8 to 16 channel mixer typically needs far more width and depth, plus stable access to its faders, EQ, and aux controls. A mixer with USB can consolidate gear, but it usually can’t match a standalone interface’s small footprint.
Rackmount Interface Options
Rackmount audio interfaces give a home studio a predictable physical layout: a 1U or 2U chassis occupies standardized rack height while keeping the recording hardware off the desk. You can measure rack depth, allow rear-panel cable clearance, and reserve accessible front-panel space before buying. Most models provide eight to sixteen computer-connected mic/line channels, while ADAT optical expansion can increase capacity later. If you track more microphones simultaneously, choose a higher-input model or confirm ADAT/S/PDIF aggregation support.
Prioritize balanced XLR and 1/4-inch TRS connections, dedicated headphone outputs with independent level controls, and direct hardware monitoring. Front-panel gain controls and clear metering let you adjust sources quickly without bringing the unit onto your work surface. This keeps controls organized when the interface sits away from computer.
Mixer Desk Footprint
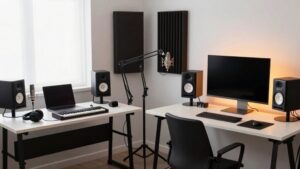
Footprint often separates a compact audio interface from a mixer: a USB or Thunderbolt interface can sit beside a keyboard or under a monitor, while a 16-channel mixer may occupy most of a desk or require a dedicated stand. Before you buy, measure the operating area, not just the chassis. Faders need hand clearance, meters need sightlines, and rear connections need bend room.
- Choose a compact interface when your keyboard and computer already fill the desk.
- Allow mixer width, depth, and space to reach headphone and monitor controls.
- Check whether a digital mixer uses rack units instead of desktop depth.
- Reserve space for power supplies, effects, and monitoring hardware.
- Leave cable clearance behind the unit for reliable routing during sessions.
You’ll work faster daily.
Podcasting, Bands, and Beatmakers
For podcasting, you’ll usually get the cleanest, simplest workflow from an interface with low-latency monitoring and loopback. When recording a band, choose enough mic inputs, headphone mixes, and verified USB multitrack channels, not just a mixer’s main stereo output, and confirm 48V is available where your condensers connect.
As a beatmaker, use multiple line inputs for synths and drum machines, then handle routing and gain staging in your DAW or with basic mixer controls.
Podcasting Input Needs
Your input count should drive the choice between an audio interface and a mixer: a two-person podcast needs at least two XLR mic preamps, one each for host and guest, plus practical monitoring outputs for headphones or speakers. You’ll also need clean gain, low-noise preamps, and direct monitoring to prevent distracting latency.
- Two independent XLR inputs let you set each voice’s gain separately.
- Dedicated headphone outputs support host and guest monitoring without splitters.
- Independent cue mixes let each person hear a comfortable balance.
- Loopback routing captures browser audio, calls, and music alongside microphones.
- USB mixers must provide multichannel recording, not only the stereo main mix.
For future guests, select expandable inputs; avoid devices that collapse every source into one stereo recording track during longer production sessions.
Band Recording Workflows
When you record a band, prioritize simultaneous, isolated capture: an audio interface sends each mic or instrument to its own DAW track, while a mixer/interface adds physical faders and aux sends for quick headphone and monitor mixes during tracking.
Choose an interface when you need multitrack capture and can work within its input count; many units provide two to eight inputs, though ADAT expanders can add channels. Choose a mixer/interface when performers need cue mixes you can adjust immediately.
Before buying, confirm its USB output delivers channel stems, not only the stereo main mix. Also verify phantom power reaches XLR inputs for condenser mics, and match sources to mic-level, instrument-level, or line-level inputs. Plan drum, vocal, guitar, bass, and talkback inputs, leaving spare channels.
Beatmaker Production Setups
Beatmaker or podcaster will usually start with an audio interface: it connects directly to your computer, accepts mic-, instrument-, and line-level sources through XLR and TRS/¼-inch inputs, and provides low-latency monitoring while you track vocals, instruments, or spoken audio. For beat production, prioritize clean preamps, stable drivers, and enough outputs for monitors and external gear. This keeps your signal path reliable as projects expand quickly.
- Choose two inputs for vocal overdubs and stereo hardware synths.
- Use 48V phantom power when connecting condenser microphones; verify input coverage.
- Confirm USB mixers deliver per-channel tracks, not only a stereo master.
- Use loopback routing to blend DAW, browser, and microphone signals live.
- Choose a mixer only when hands-on EQ, aux sends, and separate cue mixes speed sessions.
Plan for Future Mic Needs
Plan for the largest mic setup you’re likely to use, not just today’s single-source recording: choose an interface with enough XLR preamps now, commonly 2, 4, or 8, or ADAT expansion for additional inputs later.
Check whether every mic input needs +48V phantom power; many condensers and active mics do, but some units supply it only on selected channels. If you expect co-hosts, drum mics, or a band, consider a USB mixer with sufficient preamps. Confirm it sends each channel independently to your DAW, not merely a stereo mix. Also plan XLR inputs, monitor and line outputs, routing, and loopback for streaming, so upgrades don’t require replacing everything. Choose a model with adequate gain, per-channel phantom switching, and stable drivers for your recording workflow over time.
Conclusion
Choose an audio interface when you record into a DAW, need dependable low-latency monitoring, and want clean preamps, converters, and simple USB routing. Choose a mixer when you manage several live sources, adjust levels by touch, or need standalone operation.
Check driver support, iPad compatibility, channel expansion, and USB reliability before buying. Don’t let fader count outweigh signal-flow needs. Your best setup matches today’s sessions while leaving enough inputs, outputs, and space for tomorrow’s microphones.