Audio Interface vs Preamp: What Each Does in Your Signal Chain
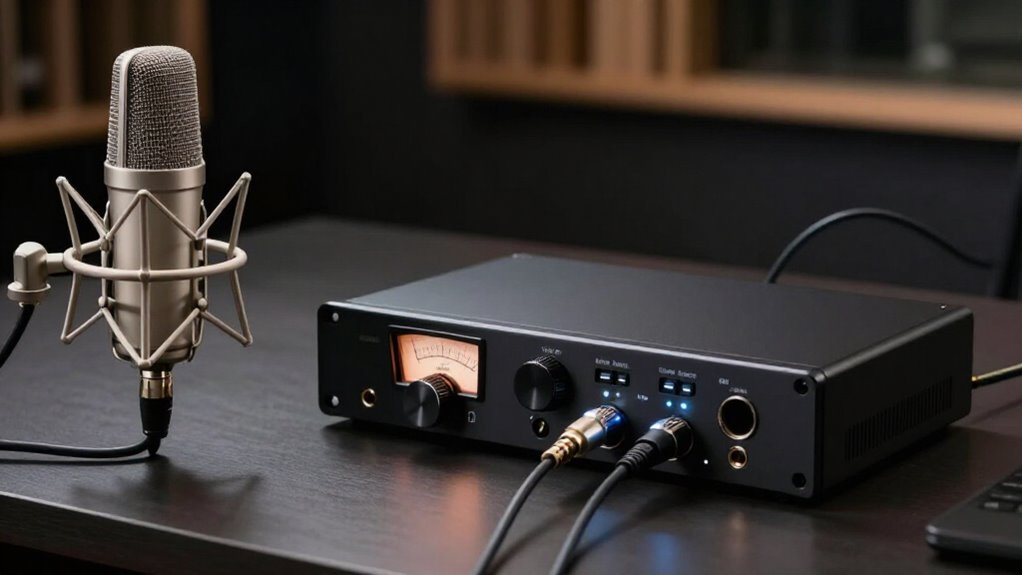
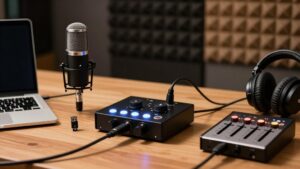
Your audio interface connects microphones and line-level sources to your computer, converts analog audio to digital, and provides headphone and monitor outputs.
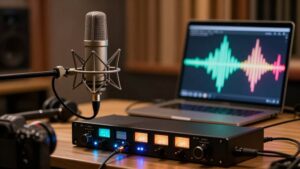
Its built-in mic preamps raise mic-level signals, while an external preamp can add cleaner gain or a distinct analog character.
Send its line-level output to an interface line input, not a mic input, and use meters to preserve converter headroom.
Direct monitoring reduces latency; the sections ahead clarify gain, routing, and expansion choices.
I/O and Phantom Power
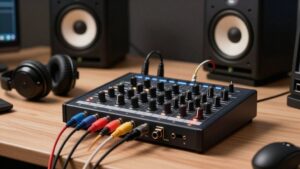
An audio interface handles the signal path between your gear and computer: it accepts mic-level XLR and line-level TRS or RCA inputs, then provides outputs for headphones and studio monitors. You can connect condenser microphones with +48 V phantom power; dynamic microphones usually don’t need it. Route an external preamp to a line input, not a mic input, and leave phantom power off unless that chain requires it. Direct monitoring lets you hear the input with near-zero latency, while ADAT optical and S/PDIF or AES extend digital I/O.
| Connection | Signal type | Role |
|---|---|---|
| XLR mic | Mic level | Mic input |
| TRS/RCA | Line level | External preamp |
| ADAT/S/PDIF | Digital | Channel expansion |
Balanced monitor outputs and multiple headphone jacks let you feed performers and speakers independently during tracking sessions.
Gain Staging Before Conversion
Before the signal reaches the A/D converter, set the mic preamp or interface input so recorded peaks sit well above the noise floor without approaching clipping. Use the input meter, not intuition: conversion permanently captures overload and low-level noise.
- Raise gain until vocal or instrument peaks register solidly, leaving converter headroom.
- If your interface’s roughly 60 dB mic gain isn’t enough, drive an external preamp and connect its output to a line input; watch for hidden preamp stages or pads.
- For a hot source, engage attenuation: a -24 dB pad creates space before the input overloads.
- On an AT 4050, use its 10 dB pad and 80 Hz low-cut when needed; you’ll reduce low-frequency buildup and clipping risk.
Set gain for loudest expected passage, then test.
Round-Trip Latency and Monitoring
Proper input gain protects the conversion stage; monitoring determines whether you can perform comfortably while that signal travels through it. Round-trip latency begins when your microphone’s signal enters the interface, passes through A/D conversion, computer processing, and D/A conversion, then returns to your headphones or speakers.
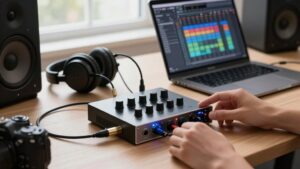
Latency depends on interface, computer, DAW buffer size, and monitoring path, so identical interfaces can feel different in systems. If you hear your voice late, use the interface’s direct or zero-latency monitoring path, which bypasses computer for the monitored input. This lets you perform naturally while recording. DAW monitoring follows buffer-dependent processing; smaller buffers shorten delay but raise CPU demand and dropout risk. When latency becomes distracting, enable interface monitoring or latency-friendly monitoring mode rather than changing preamp settings.
DAW Driver Setup and Workflow
Reliable DAW operation starts with the interface’s vendor ASIO driver on Windows or CoreAudio driver on macOS, rather than a generic OS audio driver. Install it; it gives your DAW a stable, low-latency path to the converter.
- Match the DAW project’s sample rate and bit depth to the interface, 44.1, 48, or 96 kHz, so audio doesn’t undergo unintended resampling.
- Set the hardware buffer in samples: lower values tighten performer response, while higher values give your CPU room and prevent clicks or dropouts.
- Route each track to its physical source, such as the XLR mic input or line input, then watch the meter and leave headroom before recording.
- Engage direct monitoring when available. You’ll hear the preamp’s signal immediately, while you balance DAW playback in headphones.
USB-C Class Compliance
USB-C carries the interface’s digital audio stream, but USB Audio Class compliance determines whether your operating system can recognize it as a standard audio device without a vendor driver. When you connect a class-compliant interface, macOS and many Linux systems can route its input and output channels directly to your DAW with little or no installation. This simplifies portable recording: your computer identifies the converter, exposes available I/O, and passes audio over the USB connection.
Class compliance doesn’t guarantee every operating mode. The device may provide only 44.1 or 48 kHz through its native class driver, while higher sample rates, expanded bit-depth options, or lower-latency buffer control require the manufacturer’s driver or a dedicated mode. A non-compliant interface generally depends on that driver for correct format support and low-latency monitoring.
Capacitor Aging and Resale Value
Even a working analog preamp can lose value as its electrolytic capacitors age: heat and operating time can raise noise, shift low-frequency response, and reduce available headroom. You’ll usually see the earliest drift in power-supply and regulated capacitors, especially when a chassis runs hot or ventilation is poor. Endurance ratings matter: 85°C and 105°C parts can determine when audible changes emerge.
Listen for:
- A hiss floor rising beneath a quiet vocal, masking the preamp’s specified noise performance.
- Gain that wanders during a take, making your input level less predictable from session to session.
- Bass transients losing definition, so kick drums feel softer and less controlled at mixdown.
- Documented recapping with correct voltage and temperature ratings reassures buyers and supports a stronger resale price.
Bus-Power Limits on Interfaces
Bus-powered USB interfaces draw from a finite port-current budget, so their headphone amps, analog outputs, and +48 V phantom circuits must share limited available power. This constraint can limit headphone voltage, line-output swing, and current reserve to reproduce peaks cleanly. When you enable phantom power for condenser microphones while monitoring loudly, the interface may have less headroom; peak signals can clip or distort sooner.
Manufacturers respond by offering modest headphone level, fewer output paths, or phantom-power capability. High-impedance headphones expose the limitation because they need voltage swing, while low-impedance models demand current. An externally powered interface has a supply reserve, so it can sustain louder low-latency monitoring and stable phantom operation. If you track with demanding headphones or several condensers, choose external power instead.
Price-Per-Channel Trade-Offs
You’ll find that interface cost rises quickly as you add simultaneously usable mic channels, even when their gain ceiling remains below roughly 60 dB. Paying for more inputs doesn’t always buy independent line-stage headroom, since some designs share mic-pre and pad circuitry. An external preamp can concentrate your budget on one higher-quality or characterful gain stage and feed the interface’s line inputs.
Interface Channel Economics
Interface pricing tracks simultaneous I/O capacity more closely than raw sound quality: a $150 to $200 2-in/2-out unit often delivers the most efficient cost per channel for a single mic, voice-over, or stereo source. You’ll hear no automatic fidelity jump merely because the front panel grows wider; added sockets purchase concurrent signal paths, not inherently better conversion.
- One vocal mic occupies a preamp, converter path, and single track.
- Two inputs let you capture stereo pairs or guests without repatching.
- Eight inputs place microphones simultaneously, increasing chassis complexity and cost sharply.
- Extra outputs feed headphone mixes or outboard routing, expanding monitoring flexibility.
Choose capacity from your maximum simultaneous sources: paying for idle inputs leaves gain staging, headroom, and monitoring materially unchanged in use.
When External Preamps Pay
An external preamp earns its added per-channel cost when it provides more usable gain, lower noise, or greater headroom than your interface’s mic inputs; many of which top out near 60 dB of gain. It’s most valuable with low-output dynamics or ribbons on quiet sources, where an interface preamp may require near-maximum gain and expose its own noise floor. You can also pay for deliberate color: discrete analog stages may offer selectable voicings rather than merely cleaner amplification.
Check the routing: a line input doesn’t always bypass the mic-pre stage; some designs pad and attenuate it, while others use separate paths. If your mic delivers adequate level and you set correct pads and filters, such as a -24 dB pad, spend only if you’re chasing different sound.
Dynamic-Mic Gain Requirements
Dynamic mics produce relatively low voltage, so you need substantial preamp gain, often 40 to 60 dB or more, to reach usable recording peaks.
Check whether your interface can reach about -12 to -6 dBFS without running its gain control near maximum, especially if you work farther from a low-sensitivity mic. If it can’t, an inline booster can add clean gain before the interface preamp and reduce audible hiss.
Why Dynamic Mics Need Gain
Because they generate a comparatively low output voltage, dynamic mics need substantially more preamp gain to bring speech or instruments to a usable recording level. Their output can sit tens of decibels below a condenser’s, so you must amplify the mic signal before conversion without sacrificing peak headroom.
- A quiet voice enters the capsule as a small electrical ripple.
- The preamp lifts that ripple until your converter receives a healthy level.
- If gain is insufficient, software boosting raises room hiss and electronic noise with the performance.
- For loud syllables or drum hits, leave headroom so transient peaks don’t clip.
When your meters remain low despite correct placement, use a preamp that supplies clean additional amplification. Preserve SNR; avoid post-recording gain.
Interface Preamp Gain Range
Interface preamp gain range determines whether you can raise a low-output dynamic mic to a healthy converter level without excessive noise. Many interfaces offer roughly 60 dB of microphone gain, which may leave a low-sensitivity dynamic near the control’s maximum for normal speech or quiet sources.
Check the mic’s sensitivity, expressed in mV/Pa or dB re 1V/Pa, against the interface’s usable gain and maximum input level. You need enough clean voltage gain to place peaks safely below converter clipping while maintaining practical recording level. If clipping approaches as you raise gain, source level and input headroom also matter. When your interface lacks clean gain, use an external preamp with greater gain and headroom, feeding the interface’s line input instead of its mic-level input path.
Choosing An Inline Booster
Choosing an inline booster when your dynamic mic needs more clean gain than the interface can supply without audible hiss. Dynamic capsules often deliver only a few mV/Pa, so a preamp with roughly 60 dB or more may reach usable level only near its noisy upper range.
- Match booster gain to your mic sensitivity and target monitoring level.
- Route its output to a line input when possible; otherwise lower the interface mic gain.
- Engage a -10 to -24 dB pad or filter if the boosted signal approaches input clipping.
- Watch the interface meter: the booster raises analog level, while the interface still performs A/D conversion.
For latency-free monitoring, set headroom before conversion, not after. You want stronger signal, controlled input, and no clipped peaks.
Compare Expansion Options Before Buying
Before you buy, map the inputs, outputs, and monitoring paths your sessions will actually require. A basic $150 to $200 interface may handle two microphones, but adding a drum kit, external preamp, or separate cue mix can force a replacement.
If you expect to add channels, choose an interface with ADAT or comparable digital expansion, rather than locking yourself into fixed 2-in/2-out I/O. Check whether its software mixer supports direct monitoring, independent headphone levels, additional headphone feeds, and balanced line outputs. More inputs don’t help if you can’t route performers and control-room signals cleanly.
When you connect digital preamps or converters, match sample rates and establish a clock source; mismatched clocking causes clicks, dropouts, and unstable audio. Buy only the expansion capacity you’ll use, not features.
Conclusion
Choose the interface for conversion, I/O, drivers, monitoring, and phantom power; choose the preamp when your microphones need more gain, different input impedance, or specific analog character before conversion. Set gain so peaks remain below clipping while preserving usable headroom.
Check round-trip latency, bus-power limits, and class-compliant operation against your workflow. Before buying, compare channel cost and expansion paths. You’ll build a quieter, scalable signal chain that matches your microphones and sessions reliably.