Do I Need a MIDI Interface? When USB Isn’t Enough
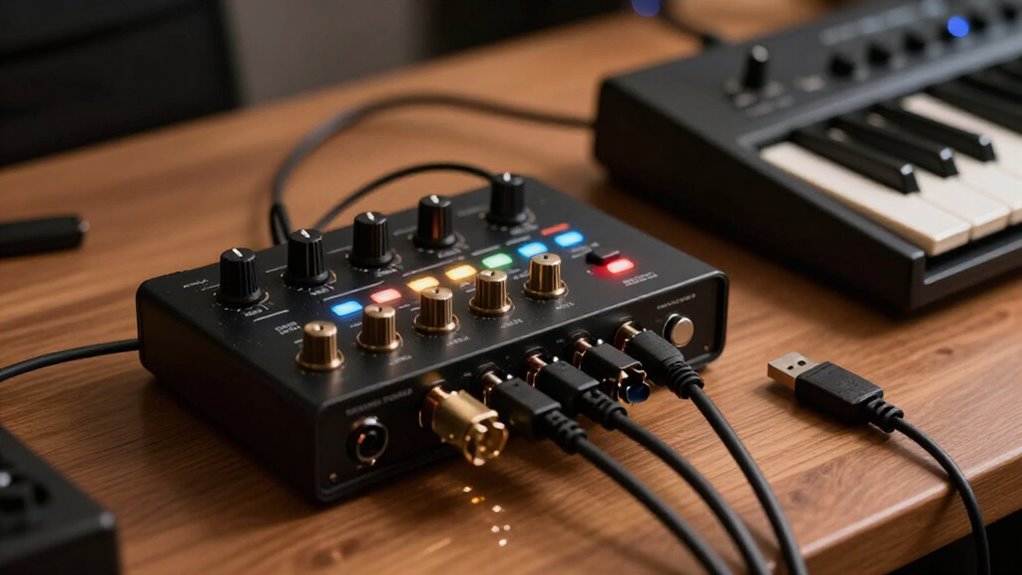
You don’t need a MIDI interface for one class-compliant USB-MIDI keyboard: connect it directly, select its DAW input, and confirm it enumerates.
You need an interface when you connect 5-pin DIN gear, require independent multi-device ports, or send clock and transport to hardware.
Use a powered hub if USB devices drop out.
Check cables, drivers, power, and port selection first.
The setup details below help you isolate routing, timing, and compatibility problems more reliably, quickly.
One Keyboard: USB-MIDI Usually Suffices
For one MIDI keyboard, USB-MIDI usually gives you everything you need: connect the keyboard directly to your computer, select it as the input in your DAW, and the computer handles the MIDI connection without a separate 5-pin DIN interface. Most class-compliant models appear automatically in your operating system, so you can choose the correct port and record immediately.
If your DAW receives no notes, verify that the USB cable carries data, confirm the keyboard is powered, and enable its MIDI input. USB doesn’t meaningfully change playing response: MIDI messages are tiny, while buffer size and ASIO latency determine audible soft-synth delay. Install the manufacturer’s driver only when you need its additional ports or routing; basic keyboard-to-DAW control won’t require it. Verify its port name.
Five-Pin DIN Enables Expansion
Once you add external synths, sound modules, or drum machines, five-pin DIN MIDI and a dedicated interface give you separate physical MIDI inputs and outputs beyond a single USB keyboard connection. Connect each hardware OUT to an interface IN, and route an interface OUT to the device’s IN; this point-to-point path makes signal direction easier to verify.
It also keeps MIDI traffic off a crowded USB bus, reducing cable variables during troubleshooting. DIN is practical for longer runs where USB may need repeaters. Choose an interface when legacy gear lacks class-compliant USB support or when its USB implementation doesn’t expose the ports you need. If a module won’t respond, confirm interface port, MIDI channel, cable direction, and whether Local Control or receive is enabled.
Recording Two Controllers Simultaneously
You can record two class-compliant USB-MIDI controllers at the same time by selecting each device as a separate MIDI input in your DAW and arming separate tracks.
Each device should deliver its own MIDI stream, often with up to 16 channels available per port. Route the keyboard to one track and the pad or control surface to another, then verify that each track receives only its intended messages. MIDI data volume is negligible, so timing is normally limited by your computer, driver, and DAW routing rather than USB transport.
If one controller isn’t recognized, check its driver, cable, and DAW input permissions. If a controller has DIN-only output, connect it through a MIDI interface and arm that input alongside the USB device for recording.
Multi-Port MIDI Interfaces
When you connect multiple keyboards, modules, and controllers, a multi-port MIDI interface gives each device its own independent 16-channel port. Choose enough MIDI IN/OUT pairs to match your hardware and leave room for expansion, rather than forcing several devices through one connection.
In your DAW, route each track to the correct interface port to prevent channel conflicts and identify the source of any missing or misdirected MIDI data.
Connecting Multiple MIDI Devices
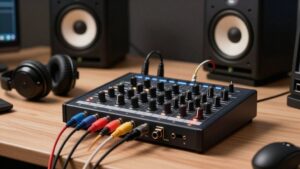
A multi-port MIDI interface gives your computer separate, stable MIDI inputs and outputs for multiple hardware devices instead of funneling everything through one USB stream or a stack of adapters.
Each port carries its MIDI data path, typically with up to 16 channels, so you can address a keyboard, drum machine, and synth independently in your DAW. Labeled ports prevent the problem of selecting the wrong device or merging controller data. DIN-equipped interfaces consolidate 5-pin connections, reducing hub and adapter clutter.
Although USB hubs work, they can produce device enumeration issues when several units connect. A dedicated interface presents consistent inputs and outputs to the operating system. Before troubleshooting routing, verify your DAW sees each interface port, then assign tracks and returns to ports and channels.
Choosing the Right Port Count
Choose port count by mapping your actual MIDI routes, not by chasing bandwidth: each interface port provides an independent 16-channel path for a device or channel group. USB bandwidth isn’t the limit; MIDI note data arrives practically instantly relative to USB.
Instead, count distinct input and output groups you must address. If your USB keyboard and synths each appear as separate class-compliant DAW ports, you may need no interface expansion. Add ports when shared channel assignments force track ambiguity or repeated remapping. With per-track MIDI input selection, independent ports stop “monitor everything” mistakes and let you target the intended instrument track. Diagnose wrong-note triggers by checking the selected port first; then verify its channel. Choose only enough ports to keep those paths clean and fixed.
Routing Across Hardware Setups
Multi-port MIDI interfaces separate your hardware into distinct 16-channel routing paths, so you can direct each instrument without channel collisions or ambiguous DAW inputs. Each port carries 16 channels, so a two-port interface gives you 32 independently addressable channels. Treat the interface as a router: assign a synth’s DIN input or output to one port, then map its messages only to the intended destination.
In a mixed rig, your controller can send USB MIDI straight to the computer while rack synths use the interface’s DIN or USB endpoints. In Cakewalk, select the exact input and output port on each track; don’t rely on similarly named generic devices. If notes trigger the wrong module, verify the track port before changing channel numbers. Bandwidth isn’t limiting.
Computer Port Availability
If your computer has few USB ports, each USB MIDI controller can quickly consume a separate connection. You can add a powered USB hub for more devices, but check for stable detection and timing under load.
If you need DIN MIDI or cleaner routing through one USB link, use an audio interface with MIDI I/O or a dedicated multi-port MIDI interface.
Limited USB Port Count
USB port availability can become the limiting factor before MIDI capability does. If your laptop has one free USB socket, you can’t attach a controller, pad unit, and USB-MIDI synth simultaneously without a hub. Check the connection count before diagnosing DAW routing, drivers, or channel settings. A single USB-MIDI connection may also expose only a limited number of ports, commonly groups of 16 MIDI channels, which can restrict device addressing.
An audio interface with MIDI DIN IN/OUT reduces computer USB demand: connect it once, then route external MIDI hardware into the DAW through its ports. Keep a controller direct if it needs USB power. For several USB devices, use a powered hub; a cheap unpowered hub can cause dropouts, disconnects, or unreliable MIDI data.
Expanding MIDI Connectivity
When your computer runs out of physical USB ports, you can’t add more USB-MIDI devices without a hub or another connection strategy.
A USB-MIDI device usually creates a 16-channel endpoint, so channel capacity doesn’t equal connector capacity. Your keyboard may work correctly while no path remains for another controller or synth. Check OS MIDI lists and DAW inputs: absent, duplicated, or renamed endpoints suggest enumeration, not cable failure.
Class-compliant gear typically appears without drivers, but your OS may expose limited routing or port functions. If you need independently addressable ports, manufacturer software or dedicated MIDI hardware can provide them. For legacy 5-pin DIN synths, USB sockets cannot carry DIN plugs; you need a bridge presenting MIDI In, Out, and Thru connections. Verify every port name before recording.
Hub And Interface Considerations
Computer port availability, not MIDI channel count, often determines whether you need a hub or dedicated interface. Your USB MIDI keyboard can normally connect directly: the computer acts as USB host, and its class-compliant “USB-MIDI/USB-Audio” driver handles note and controller data.
Add a hub when you only need more physical ports, but troubleshoot power first. A bus-powered hub shared with high-current drives, controllers, or audio hardware can cause dropouts, failed enumeration, or intermittent detection. Use a powered hub where appropriate.
Choose a dedicated MIDI interface when several DIN devices need one USB link. Separate DIN I/O pairs reduce hub pressure, leaving ports for your keyboard and USB audio interface. Check your audio interface first: its DIN I/O may route other DIN gear without more USB ports.
Syncing a Drum Machine
To sync a drum machine that only offers DIN MIDI, you’ll need a MIDI interface that carries your DAW’s clock and transport signals from USB to the machine’s MIDI IN. Connect the interface’s MIDI OUT to the drum machine’s MIDI IN, then select that output in your DAW’s synchronization settings. Set the DAW as clock master and enable MIDI Clock plus Start/Stop transmission.
MIDI clock sends 24 pulses per quarter note, so routing clock to the wrong port produces silence, drifting tempo, or a machine that won’t start. Configure the drum machine to receive external MIDI clock rather than use its internal tempo. If it also needs notes or pattern changes, connect its MIDI OUT for return messages where required. Use a MIDI interface.
USB Driver Compatibility Issues
USB MIDI can fail at the driver layer even though the controller powers on and appears connected. Your operating system may enumerate it as USB-Audio rather than an obvious MIDI device, so check every DAW input and output port.
Many controllers are class-compliant, but manufacturer-specific features may require a current vendor driver. After an OS update, reinstall that driver or enable class-compliant mode if available.
If ports are missing, verify that your DAW recognizes each 16-channel port group instead of assuming one combined connection. For MIDI 2.0, confirm your OS and DAW support USB MIDI 2.0-capable drivers; otherwise, physical USB connectivity won’t deliver the expected MIDI data or functions. Test with the vendor diagnostic utility, then rescan devices and restart the DAW after installation completes.
USB-to-DIN Cables Need Hosts
USB-to-DIN MIDI Cable Need Hosts
A USB-to-DIN MIDI cable only works when a computer, tablet, or phone acts as the USB host. It doesn’t create standalone MIDI ports: the host enumerates the USB-Audio/MIDI device, initiates transfers, and routes messages to its DIN plug. In your DAW, select that cable’s correct MIDI input or output; otherwise, the connector stays silent.
- A laptop sends clock pulses down the cable.
- A DAW routes note events to the output.
- An unselected port leaves DIN pins idle.
- A missing driver prevents device enumeration.
- One reported USB port may carry only one 16-channel group.
If your system can’t detect or support the cable, you can’t pass MIDI between DIN gear through it. Use a dedicated MIDI interface with physical DIN ports for reliable routing instead.
Check iPad Compatibility
Before you buy an interface, verify that your iPad can act as a USB host through the correct USB-C or Lightning adapter and enumerate the keyboard as a USB-MIDI device. Class-compliant controllers are the safest choice: they don’t need drivers and often appear in apps as Audio/USB-Audio MIDI devices. Confirm that the keyboard’s USB port carries MIDI data, not only power, then select its named input in your DAW.
If the iPad powers the keyboard but no MIDI input appears, test another approved adapter, cable, and powered hub. Persistent non-enumeration indicates that you may need an iPad-compatible MIDI bridge or dedicated interface. For an older keyboard with five-pin DIN ports, use an interface with DIN MIDI inputs; the iPad can’t read DIN signals.
Conclusion
If you run one class-compliant USB keyboard, you usually don’t need a MIDI interface. Add one when you must route DIN gear, record multiple controllers independently, preserve ports, or distribute clock to drum machines.
Verify drivers, OS support, and iPad power requirements before buying. Remember that USB-to-DIN cables require a USB host, not a direct device link.
Diagnose your signal path: identify the host, ports, channels, clock source, and required simultaneous connections first every time.