How Do Audio Interfaces Work? From Mic Signal to Digital Track
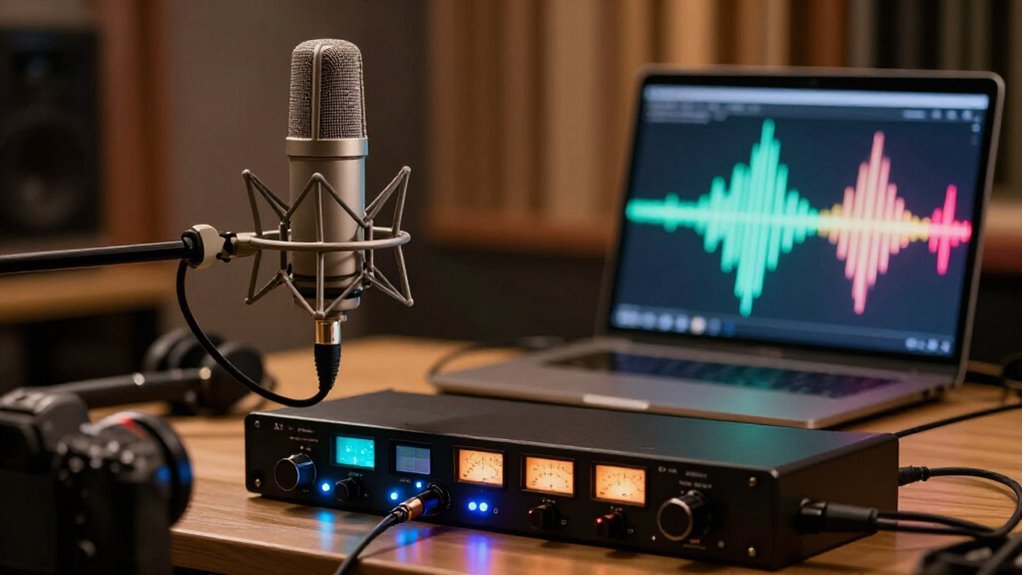
Your microphone converts sound pressure into a analog voltage, and your interface preamp raises it to a level. You set gain below clipping, then the ADC samples and encodes the signal at your sample rate and bit depth.
The interface sends that audio to your DAW over USB, where you arm track, monitor it, and record it. Buffer settings balance latency against stability, while monitoring avoids delay. See how routing and power keep sessions reliable.
Mic Signal to Digital Track
A microphone converts sound-pressure changes into a low-level analog voltage, and the audio interface’s preamp raises that signal to a usable recording level. You set preamp gain so the signal reaches the converter with adequate level while retaining headroom and avoiding clipping. If you use a condenser microphone, you can enable 48 V phantom power at the interface’s XLR input; dynamic microphones normally don’t require it.
The interface’s ADC samples the amplified waveform and encodes those measurements as digital audio. Sample rate specifies the number of measurements per second, whereas bit depth determines each sample’s amplitude resolution and dynamic range. At 24-bit/96 kHz, your session uses 96,000 samples per second, each represented with 24-bit precision. Your DAW receives, stores, and processes this digital track.
The Preamp-to-Converter Journey
Because your microphone outputs only a low-level analog signal, the interface’s preamp must boost it to a usable recording level before anything else happens. If you’re using a condenser mic, you’ll need to enable 48V phantom power through the XLR input, since the capsule can’t function without it. Once the preamp applies clean gain, the boosted analog signal moves to the analog-to-digital converter (ADC). There, it’s sampled at a fixed rate and quantized into digital data your DAW can process.
Your recording’s clarity hinges on two factors: how little noise the preamp introduces while amplifying, and how accurately the converter captures the waveform. Most interfaces operate at 24-bit/96kHz, balancing resolution and file size: higher settings increase both detail and storage demands. Each stage directly shapes your signal’s final digital integrity.
Recording a Vocal Take
With the preamp and ADC path established, you can record a vocal by connecting the mic to an XLR input and setting its gain for a strong signal that doesn’t clip.
If your condenser requires it, switch on 48V phantom power before tracking. The preamp raises the mic-level waveform; the converter samples that amplified voltage and sends digital audio to your DAW. Use headphones, and engage direct monitoring when you need near-zero-latency feedback.
| Input | Signal | Action |
|---|---|---|
| XLR capsule | Millivolt vocal | Preamp boosts level |
| 48V switch | Condenser circuit | Polarizes microphone |
| Peak meter | Loud phrases | Leave headroom |
| Headphones | Returning signal | Check timing |
Arm a mono track, choose the correct interface input, and capture the performance. If peaks approach overload, lower gain rather than apply reduction afterward.
ADAT vs. USB-C Interfaces
USB-C carries your interface’s audio streams directly to your computer, while ADAT optical links expand I/O between compatible audio devices. At 44.1 or 48 kHz, ADAT can carry up to eight channels, though higher sample rates reduce that count. Choose an interface by checking its USB-C channel capacity and whether its ADAT ports provide inputs, outputs, or both.
Connection Types Compared
Although both appear on audio hardware, USB-C and ADAT Optical serve different signal paths. USB-C links your interface to your computer, carrying audio over one cable when port and interface are compatible. ADAT Optical doesn’t connect you to the computer; it transfers extra digital input and output channels between compatible audio devices.
| Connection | Primary path | What you check |
|---|---|---|
| USB-C | Interface to computer | Port and supported connection |
| ADAT Optical | Device-to-device digital audio | Sample-rate channel count |
| AXR4 ADAT | Added digital I/O | 16 inputs and 16 outputs |
Choose USB-C when you record microphones or instruments directly into your computer. Choose an interface with ADAT when your setup requires added channels. Because ADAT capacity changes with sample rate, verify both devices’ specifications before you plan a high-channel-count setup.
Channel Expansion and I/O
Channel count determines whether an interface can cover your current recording setup and scale to larger sessions later. You need enough analog inputs for current sources and expansion capacity if you later mic drums or record a band. ADAT Optical expands compatible hardware’s digital I/O; the Steinberg AXR4, for example, adds 16 digital inputs and outputs alongside analog connections.
USB-C and ADAT don’t perform the same job. USB-C carries audio data between your interface and computer, whereas ADAT carries digital audio between compatible interface and expansion devices. Check the available ADAT channel count at your intended sample rate, because supported channel capacity depends on both devices’ specifications. Also verify USB-C compatibility with your computer and confirm the total I/O count supports your recording needs.
Choosing the Right Interface
How do you decide between a simple USB-C interface and one with ADAT expansion? Start with signal count: determine how many sources you’ll record simultaneously. A vocal-and-guitar setup may need only two inputs, while drums or a full band can exceed eight.
Choose USB-C for a computer connection, but verify compatibility among your computer, operating system, DAW, and interface drivers. Choose ADAT Optical when you need converter channels: an AXR4, for example, adds 16 digital inputs and outputs through ADAT. Compare I/O, not just connection type. The UR22C provides two inputs and two outputs, whereas the AXR4 provides 28 inputs and 24 outputs. Leave expansion headroom so your routing and tracking needs don’t outgrow the interface as you add microphones, preamps, and external converters.
Driver Buffer Size and Latency
Your driver buffer stores audio samples while your computer processes each input and output stream. Smaller settings reduce round-trip latency for recording and monitoring, but they increase CPU demand and can cause clicks or dropouts. Larger buffers improve stability for playback and mixing, while direct monitoring bypasses DAW-buffer latency at the headphones.
Buffer Size Basics
The driver buffer holds a temporary block of audio samples while the interface and computer process them for playback. You set its size in your DAW or driver panel. Each block must clear before the next one moves through the playback path.
| Buffer setting | Signal behavior | Best use |
|---|---|---|
| Small | Shorter monitoring delay; higher CPU demand | Tracking |
| Large | More processing headroom; steadier playback | Dense mixes |
Choose a small setting for software monitoring during recording. If CPU overload prevents a block from clearing, you’ll hear clicks or pops. Increase the buffer for plug-in-heavy sessions, virtual instruments, or dense tracks.
Don’t force the lowest value; use the smallest reliable setting. Direct monitoring sends the input signal directly to headphones before the computer processes it, avoiding buffer delay.
Understanding Round-Trip Latency
Why does a recording feel delayed even when everything’s set up correctly? You’re hearing round-trip latency: the time from an input signal entering your interface, moving through computer and DAW processing, then returning to headphones or speakers. The driver buffer determines that delay. It collects samples into blocks before processing, and each block adds time to input and output paths.
At larger buffer settings, the signal waits longer for each processing cycle, so vocal monitoring, instruments, podcast speech, and software effects can feel disconnected from the performance. At smaller settings, the interface sends shorter blocks, reducing the delay you hear. Direct, or zero-latency, monitoring instead routes your input through the interface to its output before the computer processes it, bypassing DAW monitoring delay.
Balancing Latency And Stability
Driver buffer size sets the practical tradeoff between low monitoring latency and reliable audio processing. It temporarily holds audio moving between your interface and computer. Smaller settings shorten input-to-monitor delay but demand faster processing.
| Buffer | Best use |
|---|---|
| Low | Recording; responsive monitoring |
| High | Mixing; dense sessions |
Use the lowest setting that remains stable. If you hear clicks, pops, or dropouts, raise it; your computer then has more time to process each signal block. For tracking, direct monitoring sends the interface input straight to your headphones before computer buffering, so you can hear yourself in real time.
During playback or mixing, increase the buffer when many tracks and effects raise processing load. This adds monitoring latency, but it protects continuous audio output. Test at your actual session load.
Podcast Interview Setup Walkthrough
Before you hit record on a podcast interview, you’ll need to get every microphone properly connected and configured. Connect each mic to its own XLR input, then raise its low-level output with the interface preamp. Enable 48V phantom power only on channels serving microphones that require it, such as many condensers; dynamic mics generally don’t.
Set the interface and DAW to 24-bit/48-kHz recording, and route each input to a separate track. Watch each meter while speakers perform a level check, keeping peaks below clipping. Use direct or zero-latency headphone monitoring rather than the computer-return path. If your interface provides separate headphone outputs or cue mixes, give the host and guest independent monitor level controls. This keeps spoken signals isolated, audible, and ready for clean editing.
Bus Power Limits Phantom Current
A bus-powered interface draws its operating energy from the computer’s USB port, so its available current depends on the port, cable, and any hub in the connection path. Phantom power adds a 48-volt load for each condenser microphone, and the interface must convert limited USB power into microphone supply voltage. Enable it on several channels, and their combined current demand reduces the margin available for preamps, converters, and monitoring circuitry.
If the supply sags, you may encounter unreliable operation or unavailable phantom power. Before connecting condensers, check the interface specifications for its phantom-power current capacity, supported channel count, and bus-power requirements. When the budget doesn’t cover your microphones, use the manufacturer’s recommended external supply or connect through a properly powered USB port or hub.
Plugging Line Level Into Hi-Z
Hi-Z inputs present the high impedance that a direct electric guitar or bass needs, but they don’t attenuate a line-level source by default. A keyboard or synth can consequently drive the instrument preamp too hard, creating clipping before conversion.
- Send keyboards and synths to a line input.
- Connect a direct guitar or bass to Hi-Z.
- On combo jacks, select line or instrument mode.
- Watch the meter and reduce gain before peaks clip.
The connector shape alone doesn’t establish the signal path. You must match source level and input mode, then set gain from the meter. If peaks approach the interface’s maximum range, turn the gain down; preserving headroom prevents overload and keeps the converter receiving a clean, usable signal for recording without distortion artifacts.
Verify macOS Driver Compatibility
Verify that the manufacturer supports your exact interface model on your installed macOS version, not merely the same product family. Check the driver download page before purchase. Match the model number, macOS release, and your DAW; unsupported drivers can interrupt device enumeration, clocking, or input monitoring.
| Check | Verify | Result |
|---|---|---|
| macOS | Model driver | Compatible |
| DAW | Tested release | Stable |
| Port | USB/Thunderbolt adapter | Connected |
Install the approved driver and any firmware update before you arm a track. Confirm whether the interface uses USB or Thunderbolt, then verify your Mac has the required port or adapter. If you also record on iPhone or iPad, validate support and cabling separately; mobile class compliance doesn’t guarantee macOS driver operation.
Reboot, reconnect, and confirm stable input meters first. Test recording after each operating-system update.
Conclusion
Your interface turns microphone voltage into a clocked digital stream: the preamp sets gain, the converter samples it, and the driver delivers it to your DAW. You prevent distortion by matching mic, line, and Hi-Z sources correctly, setting phantom power only when required, and leaving headroom. You control monitoring delay with buffer size, expand channels through ADAT when supported, and confirm USB-C power and macOS driver compatibility before recording. That keeps takes stable and usable.