How Does a Multitrack Recorder Work? DAW-Less Recording Explained
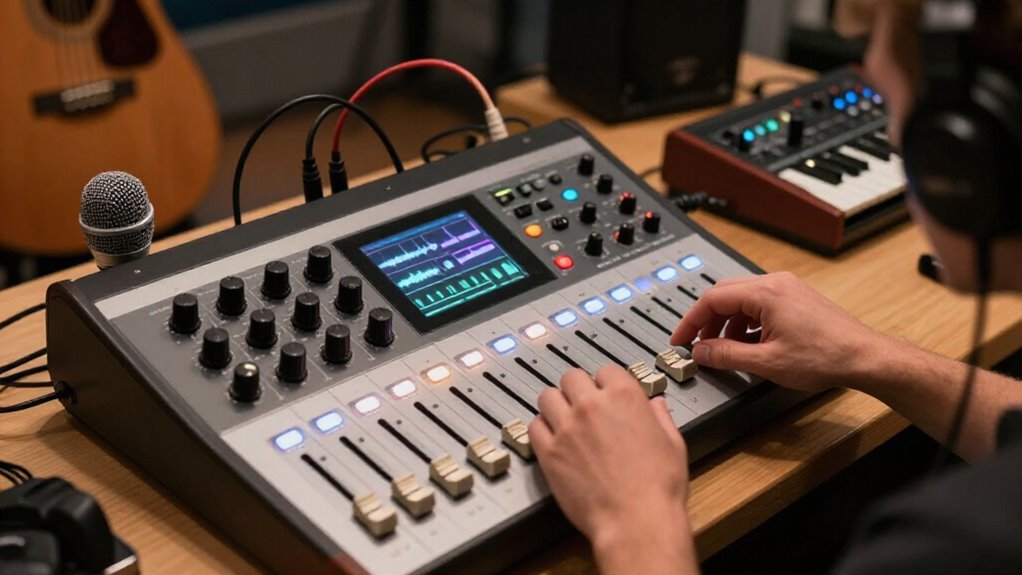
A multitrack recorder lets you connect microphones, instruments, and line sources, set gain, assign each input to a separate track, and capture them in sync to tape, SD media, or a drive. You monitor performances, then overdub or punch in fixes without changing other tracks.
During mixing, you adjust level, EQ, and effects independently. Check media limits, sample rate, and bit depth before takes; use phantom power only with compatible condenser microphones. You’ll see workflow.
Capture Tracks Computer-Free
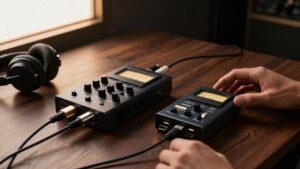
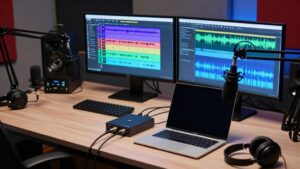
A computer-free multitrack recorder lets you capture each microphone, instrument, or line input on its own discrete track without relying on a DAW. You connect sources to the recorder’s inputs, set input gain, assign each source to an available physical track, and arm those tracks for recording. The unit writes audio to its internal storage, such as SD, USB, or SSD media, or to tape on compatible machines.
Its built-in clock maintains timing during capture. If your setup includes compatible external hardware, you can use synchronization signals, including legacy SMPTE timecode, to lock devices together. Use the hardware REC, PLAY, and STOP controls to run sessions. You can pause between passes, then record overdubs or use punch-in and punch-out functions to replace a section.
Why Separate Tracks Matter
Separate tracks preserve control after recording because each instrument or vocal occupies its own time-aligned audio channel rather than becoming part of a fixed stereo blend. You can set the level, EQ, and effects for each part independently, so reverb can sit on a lead vocal while the bass remains dry. If a guitar bar contains an error, you can punch in on that section without disturbing the drums or bass.
Separate channels also improve checking and mixing. Mute all but one track to inspect drum timing, guitar tone, noise, or performance details; this changes monitoring, not the source recording. At mixdown, route tracks through the mixer to a stereo master. You can revise balances later, avoiding compromises from a single stereo capture when mixing.
Overdub Vocals on Track Eight
To overdub a vocal on Track 8, connect the microphone to an unused recorder input, assign that input to Track 8, and arm only that track for recording.
Set your input gain while listening to the playback mix and your live vocal. Leave enough headroom to prevent clipping on Track 8. Select an overdub or punch-in mode, so the recorder captures vocals only where you need an addition or replacement. Monitor the incoming vocal with reverb if it helps your performance, but record it dry so you can process it later.
After recording, stop playback and check Track 8’s timing against the intended bar, beat, or time position. If the placement or performance isn’t right, rewind and record another take, preserving the previous one.
Analog Tape vs Digital Units
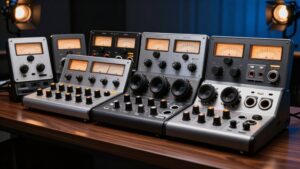
With analog tape, you capture each channel on a physical tape strip, so track count, sync allocation, and machine alignment shape your workflow. Digital units store audio as data, keep tracks available for recording, and let you edit, copy, and synchronize sessions faster. You’ll also weigh tape’s saturation and required maintenance against digital’s consistency and lower mechanical overhead.
Signal Capture And Storage
Analog tape multitrack recorders capture each input on its own track area across a shared tape strip, preserving a common timeline for playback, overdubs, and punch-ins. You feed separate channels; the machine magnetizes matching tape areas. A 2-inch professional reel carries 24 tracks, while cassette systems offer four to eight. With SMPTE-locked tape machines, a designated track carries reference, while adjacent tracks may stay blank to prevent interference. This reduces audio capacity.
| Tape capture | Digital storage |
|---|---|
| Magnetic track area | Per-track media data |
| SMPTE may reserve tracks | Sync preserves audio tracks |
Digital units reliably convert each input to data on internal media during recording. Sync information is inserted or saved without consuming an audio track, keeping recording channels available. You retain capacity and source-to-track relationships.
Editing And Workflow Differences
Editing on analog multitrack tape ties every decision to the physical track layout and tape position. When you use SMPTE timecode, one track carries sync so linked machines lock to one timeline. You may also leave adjacent guard tracks blank to prevent interference, reducing the channels available for instruments.
To correct a passage, you set precise punch-in and punch-out points and rerecord that section onto the existing tape. Your track plan must account for tape format, whether you work on an 8-track or 24-track machine. Digital multitrack units handle timecode without sacrificing audio tracks. You can replace or compile takes more directly, while the recorder keeps each edit aligned without neighboring-track spacing constraints. This lets you revise arrangements efficiently before committing your final mixdown.
Sound Character And Maintenance
Although both formats capture the same performance, analog tape and digital multitrack units shape it differently and demand different upkeep.
On an analog machine, you record magnetic variations onto tape, so head layout limits track count. Professional 2-inch formats commonly provide 8, 16, or 24 tracks. A dedicated SMPTE track may also force you to leave adjacent tracks empty to limit interference. Push tape hard, and you can use saturation, soft clipping, and high-frequency roll-off to warm sources and tame transients.
Digital units sample audio without tape, giving you repeatable results, yet overload before conversion still clips harshly. You maintain tape decks with cleaning, condition checks, azimuth, and bias calibration.
For digital recorders, instead, monitor updates, drive or SD health, clocking, and synchronization carefully.
Storage Media Limits Recording Time
Your recorder’s available time depends on media capacity, whether you use an SD card, drive, or tape reel. Higher track counts and demanding formats raise the data rate, while sample rate, bit depth, and compression settings determine how efficiently you use storage.
Check remaining space, calculate the required recording time, and adjust settings before you begin.
Media Capacity Limits
Storage media sets a multitrack recorder’s practical recording-time limit: the card, USB drive, or SSD must hold the data generated by every active track. Your available time depends on device capacity, formatting overhead, and any space the recorder reserves for system use. As you arm more channels, the recorder writes proportionally more data, so the same medium fills sooner.
Check the recorder’s remaining-time display before a session, but also verify its maximum continuous file length. A unit may stop or split a recording at that limit despite free space. Use media that meets the manufacturer’s approved size and speed requirements, and format it in the recorder. Near-full flash media can slow recording when block management works, increasing dropout risk or forcing a stop.
Recording Format Impact
Recording format directly determines how quickly a multitrack recorder consumes its available media. On digital units, each track adds data, so raising track count, sample rate, or bit depth shortens record time roughly in proportion to the increased bit rate. Lossless and lightly compressed codecs retain more audio information but require more storage; high-compression options extend duration while demanding additional encoding processing.
Tape-based machines instead depend on reel or cassette length and track layout: allocating more tracks across the tape can reduce available duration or fidelity. Also check the recorder’s operational specifications. File-size ceilings may split a long take into separate files, and simultaneous-track limits can constrain continuous multitrack capture even when media remains. These limits affect the duration of an uninterrupted recording session.
Managing Available Storage
Managing available capacity starts with calculating the recorder’s required data rate for the chosen track count, sample rate, bit depth, and file format. Multiply that rate by expected recording seconds, then compare the result with free SD-card or USB-drive space.
More tracks, 48 kHz instead of 44.1 kHz, 24-bit audio, and uncompressed files shorten runtime quickly. Check the recorder’s file, session-block, and track-count limits too; they can end a take before media fills.
Use approved, fast media: a slow card may exhaust its buffer and stop despite unused capacity. To extend sessions, record only necessary tracks, then bounce or stem completed parts, reducing files and reclaiming workable space.
Before each project, format or clear media safely, verify remaining time, and leave practical headroom available.
Record Band Rehearsals Live
A multitrack recorder lets you capture the full band playing together while keeping drums, bass, guitars, and vocals on separate tracks. Route each microphone and instrument to its own input channel before rehearsal, using an all-in-one recorder or mixer with SD/USB multitrack capability. Confirm input levels, monitor mixes, and track assignments, then record a complete, uninterrupted pass.
Afterward, mute and unmute tracks to diagnose specific issues, such as kick and bass masking each other or a vocal drifting out of tune. You can evaluate the performance without asking everyone to replay the entire song. Record another full take if needed, or target only weak sections with overdubs.
Use timecode, MIDI, or bar-based locate functions to return to exact song positions. Without those tools, establish consistent count-ins, start points, and song arrangements so repeated passes remain aligned.
Track Bouncing Degrades Analog Fidelity
Each analog track bounce trades flexibility for fewer available tracks, but it also re-records the combined signal onto tape. You route selected channels through the mixer, then print their balance, effects, noise, and imperfections onto one unused track. That new generation adds tape hiss and head-to-tape nonlinearities, reducing effective signal-to-noise ratio.
High-frequency transients and detail can soften, while limited headroom and tape compression add saturation during every pass. Plan arrangements before recording: keep critical sources separate, set conservative levels, and bounce only when necessary. If your deck reserves tracks beside timecode to prevent interference, you’ll have less clean tape space and may need more reductions.
Unlike digital consolidation, analog bouncing inherently compounds fidelity loss with every additional tape pass. You’ll hear that accumulation later.
Phantom Power Isn’t Line Level
Phantom power doesn’t raise a microphone to line level; it supplies 48 V DC to power compatible condenser-mic electronics. You send this DC bias through a balanced XLR cable, placing +48 V on pins 2 and 3 relative to pin 1. Because both signal conductors carry DC voltage, it doesn’t reverse polarity or become part of the audio signal.
- Line level is AC audio voltage, commonly +4 dBu, or about 1.23 Vrms, in professional equipment.
- A microphone produces a tiny AC signal, while its internal condenser circuitry uses phantom power as a supply.
- In a correctly wired balanced mic, the DC component cancels in the output path, leaving audio for the preamp.
Dynamic mics usually don’t need phantom power. Balanced ribbons need caution.
Set Input Gain Before Recording
With the mic powered and connected, set input gain before you record so the converter receives a strong signal without clipping. Have the performer play or sing the loudest expected passage, then target peaks between -12 dBFS and -6 dBFS. On analog-style meters, that’s roughly 0 VU to +3 VU.
Record a one- to two-minute test using the final mic position or guitar pickup settings, and listen for distortion while checking peak readings. If your recorder provides trim or preamp level plus an input knob, set coarse level with trim, then use input gain to control peaks. Adjust every channel independently: raise quieter backing vocals enough to capture detail, but leave snare hits ample headroom. You can’t repair ADC or preamp distortion later in mixing.
Conclusion
You can record a complete performance without a computer by assigning each source to its own track, setting gain correctly, and monitoring levels before you press record.
Separate tracks let you edit, balance, and overdub later, while your recorder’s storage capacity determines session length. Choose analog tape for its workflow and character, or digital media for convenience. Avoid unnecessary tape bouncing, use phantom power only with compatible microphones, and treat line-level inputs correctly every time.