Do Mic Preamps Make a Difference? What You Can Actually Hear
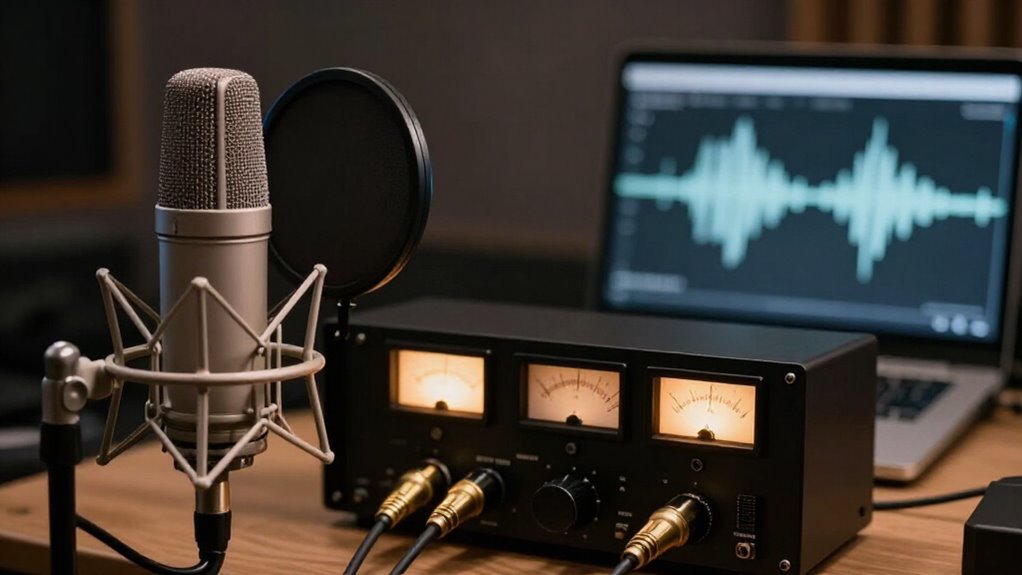
You’ll usually hear little difference between competent mic preamps at moderate gain, but differences emerge near their limits.
With quiet dynamics or passive ribbons, 60 dB or more can reveal noise, distortion, bandwidth loss, and loading effects.
Transformer stages may add saturation and softer transients; transformerless designs tend to stay cleaner.
On close vocals, pauses expose hiss.
Level-match tests: louder isn’t more detailed.
The sections below show how gain, impedance, and source level alter sound.
Audible Differences at High Gain
At roughly 60 dB of gain and above, mic preamps that sound indistinguishable at moderate settings can begin to diverge audibly. Small nonlinearities in flat circuits can produce measurable high or low frequency losses of a couple of dB, which you may perceive as less sparkle or punch.
Classic designs and interface preamp chips often remain transparent through moderate gain ranges, yet their lowest-noise, lowest-distortion behavior may not extend beyond 50 dB. When you amplify a quiet source, the preamp’s own noise and distortion become proportionally apparent, adding brittleness or altered texture.
Match gains carefully: tiny trim-pot deviations become large output-level differences at extreme settings. A louder path can seem clearer, while a quieter one can seem duller, even when their frequency responses differ little.
Input Impedance Shapes Ribbon Mics
With passive ribbon microphones such as the Royer SF12, the preamp’s input impedance becomes part of the microphone’s electrical load and can audibly shape its response. If you lower that load impedance too far on a ribbon designed for roughly 1,000 ohms or more, you can attenuate high-frequency energy and make the top end sound duller.
An adjustable preamp lets you test this directly. Select its highest impedance setting to preserve the ribbon’s intended frequency response and transient detail. Since passive ribbons often demand substantially more gain than condensers, higher gain settings may also reveal slight preamp nonlinearity, changing perceived brightness or thickness. Keep microphone placement fixed while switching only loading settings. That controlled comparison isolates impedance’s tonal contribution from source and positioning changes.
Close-Miked Vocals Expose Noise
Close-miked vocals expose a preamp’s noise floor because pauses, breaths, and soft consonants leave little musical content to mask hiss or gain-stage grain. When you raise gain for a quiet or thin singer, a preamp that remains clean through roughly 50 dB may reveal low-level nonlinearities above 60 dB. You may hear less sparkle or changed top-end detail around sibilants.
With passive ribbon microphones, which need substantial clean gain, these limitations can emerge sooner than with many capacitor microphones. Compare preamps at matched output levels; otherwise, a louder signal can seem more detailed or quieter. Use calibrated metering to isolate actual noise performance. Listen between phrases and at low dynamics: rising hiss and grain indicate the limitation, even if response curves appear similar.
Transformer-Coupled vs Transformerless Designs
Transformer-coupled preamps shape your signal through magnetic saturation, harmonic distortion, and level-dependent phase shifts, adding thickness as you increase gain. Transformerless circuits use direct active stages to preserve cleaner highs, tighter lows, and more linear transient response.
Choose the transformer topology when you want controlled coloration, or choose transformerless gain when your source demands speed and transparency.
How Transformers Shape Tone
Although both designs amplify a microphone signal, transformer-coupled preamps use input and/or output transformers for impedance matching and balancing, and those magnetic components can shape the result. When you drive a transformer harder, its core and winding characteristics can introduce level-dependent nonlinearities, harmonic content, and low-frequency changes.
That behavior explains why tube and early transistor console preamps, which commonly used transformers at their interfaces, acquired tones engineers now call vintage. You’ll hear the effect most clearly when source level and gain push the transformer toward its operating limits; at modest levels, the same circuit may remain comparatively restrained. Core material, winding ratio, and loading determine where changes begin. Modern retro circuits may simulate transformer-like behavior electronically without placing a transformer in the signal path.
Transformerless Clarity And Speed
Transformerless preamps remove the magnetic interface that gives transformer-coupled designs much of their level-dependent character. Without transformer saturation, hysteresis, or magnetics-driven frequency nonlinearity, you hear a closer “wire-with-gain” result: cleaner high frequencies, less low-frequency phase shift, and consistent transient edges.
The absence of transformer loading also changes how the preamp interacts with your microphone’s source impedance. With many modern mics and an input impedance around 1 kΩ or higher, you may perceive attacks as faster and spatial detail as more precisely defined. At gains near 60 dB and above, restraint becomes easier to hear.
A transformerless circuit can preserve sparkle and punch while some transformer stages begin to saturate or load the source. Designs such as the Maselec MMA-4XR prioritize this clarity and speed.
Choosing The Right Circuit
Choosing between transformer-coupled and transformerless preamps means matching circuit behavior to the microphone, source, and sonic objective, not simply choosing “vintage” or “clean.” A transformer stage can alter impedance relationships and introduce level-dependent harmonic content, low-frequency phase changes, and midrange density as you drive it; a transformerless input generally remains flatter and preserves transient definition until its active circuitry approaches clipping.
| Circuit | Choose when | Likely result |
|---|---|---|
| Transformer | You want density | Richer mids |
| Transformerless | You need attack | Clearer transients |
| Either | You test loading | Match wins |
Check microphone output impedance and level: transformer loading varies by source. Choose transformer coupling for controlled vocal or bass density; choose transformerless gain for cymbal air and fast attacks. Neither is superior. You’ll avoid saturation or clipping through careful gain staging.
Microphone Output Level Matters
Your microphone’s output level determines how much preamp gain you need to reach line level. With a low-output ribbon or quiet dynamic, you may need 60 dB or more, exposing the preamp’s noise floor, bandwidth limits, and loading behavior.
As you increase gain, subtle nonlinearities can reduce punch or high-frequency detail, making preamp quality more audible.
Output Level And Gain
Microphone output level sets the gain demand you place on a preamp, and that demand can substantially affect the recorded result. A typical dynamic microphone may deliver 20 to 30 dB less level than a condenser, so you must set the same preamp very differently to reach line level.
In many chip-based stages, operation remains nearly transparent through about 50 dB of gain; near 60 dB or more, small nonlinearities can soften frequency extremes and reduce punch or sparkle. You should also match recorded levels precisely when comparing preamps: trim each output to the same 24-bit converter meter reading.
Input sensitivity and impedance further change the required setting, because loading alters the microphone’s delivered voltage and the circuit’s operating conditions. That interaction determines what differences you can reliably hear.
Low-Output Microphone Demands
Low-output dynamics and passive ribbons force a preamp to supply far more gain than a typical condenser, often 60 dB or beyond. At that setting, the preamp’s gain structure becomes part of the audible chain rather than a minor technical detail.
You need sufficient clean gain to bring the source to a usable level without compressing transient peaks or shifting frequency response. Some circuits exhibit small nonlinearities or bass and treble roll-off near their upper gain range; you may hear reduced punch, softened low-end weight, or less sparkle.
Passive ribbons add another variable: their output and frequency behavior depend strongly on the preamp’s input impedance. A poorly matched input can alter the ribbon’s damping and tonal balance before amplification. Choose a linear, wideband preamp.
Noise At Higher Gain
At higher gain settings, preamp noise becomes more audible because a quieter microphone signal forces you to amplify both the source and the input stage’s residual noise. Your microphone’s output determines where the preamp operates on its noise-versus-gain curve.
When you place a mic farther away, use a low-output ribbon, or capture room ambience, you need more gain, so faint hiss, grain, and other artifacts rise closer to audibility. Many preamps measure cleanly at moderate settings yet lose slight low-end weight or high-frequency smoothness near 60 dB, making tracks seem less punchy. Transformerless designs and well-executed chip stages generally remain more transparent here. Match levels precisely when comparing units; tiny gain errors can make noise or brightness differences seem larger than they are in practice.
Drum Overhead Transient Handling
Drum overheads reveal transient behavior quickly because cymbal strikes and stick attacks rise fast enough to expose differences in headroom, slew response, and distortion onset. At typical 40 to 60 dB overhead gain, a less transparent preamp’s small nonlinearities can soften leading edges and produce apparent high- or low-end loss. You’ll hear cymbals as less immediate, even when the change measures only a couple of decibels.
Transformer-coupled or deliberately colored circuits may add thickness or smear to the initial cymbal texture; modern chip-based stages often preserve attacks more like wire with gain. Noise is usually secondary, but hard gain requirements can mask microdynamics through hiss or HF roll-off. Compare units at precisely matched metered levels: a few tenths of a dB can falsely suggest sharper, brighter transients.
Phantom Power Can Damage Ribbons
Preamps also determine whether a microphone receives phantom power, which demands caution with ribbon designs. Phantom power, typically +48 V DC on XLR pins 2 and 3 relative to pin 1, is generally safe for dynamic microphones and most condensers, but passive ribbons require model-specific verification.
If your ribbon lacks a protective path, voltage can force current through unintended transformer or circuit paths, stressing components and potentially causing subtle or permanent damage. A step-up transformer can partially saturate or heat under those conditions. Some modern ribbons use protection or active electronics and tolerate phantom, but you must consult the exact datasheet. Turn phantom off before connecting or disconnecting the microphone, then confirm compatibility before you record. This prevents imbalances while you connect or disconnect.
More Gain Doesn’t Add Detail
More gain raises level, not the microphone’s captured information. If your preamp behaves like a wire with gain, turning it up makes the same signal louder; it doesn’t uncover hidden harmonics or transient detail. Real detail depends on signal-to-noise ratio and low distortion, not amplitude.
- You may mistake louder playback for a thrilling increase in clarity.
- You can hear growing noise or brittleness as fatigue, not resolution.
- Above roughly 50 dB, slight high- or low-end loss can dull confidence.
- Around 60 dB or more, compression and impedance effects may soften punch and sparkle.
Set gain for the loudest realistic peaks, then stop. Extra gain amplifies noise and artifacts. It can also introduce small nonlinearities that smear fast attacks, leaving your recording louder but less revealing.
Level-Match Your Preamp Tests
Level-match every preamp before you judge its tone: even a small output-level advantage can sound like added clarity, punch, or bass weight. Use a hardware meter, such as Orpheus control-panel software, to set each preamp’s gain so recorded peaks reach the same target. Loudness differences otherwise masquerade as tonal differences.
Feed a consistent signal, such as an NTI Minirator MR Pro into a small balanced active loudspeaker, and adjust each gain until the meters agree. Stepped or clearly indexed controls on Maselec, ART, or Neve units permit finer matching than Mackie-style trim pots. Match on your control-panel’s selected scale, often 24-bit/44.1-kHz meters, and recheck after changing cables or input impedance. Match before the ADC; DAW gain offsets mustn’t influence the comparison at all.
Conclusion
You’ll hear preamp differences most clearly when gain, impedance, noise, and transient demands stress the circuit. With low-output ribbons or close vocals, choose sufficient clean gain, appropriate input loading, and low self-noise.
Transformer designs may add saturation and altered transient behavior; transformerless units usually remain linear. Match microphone output to available gain, protect passive ribbons from phantom power, and level-match comparisons. You don’t gain detail by turning up gain, you only reveal the preamp’s limits.