How to Start a Podcast at Home: Equipment, Room Setup and First Episode
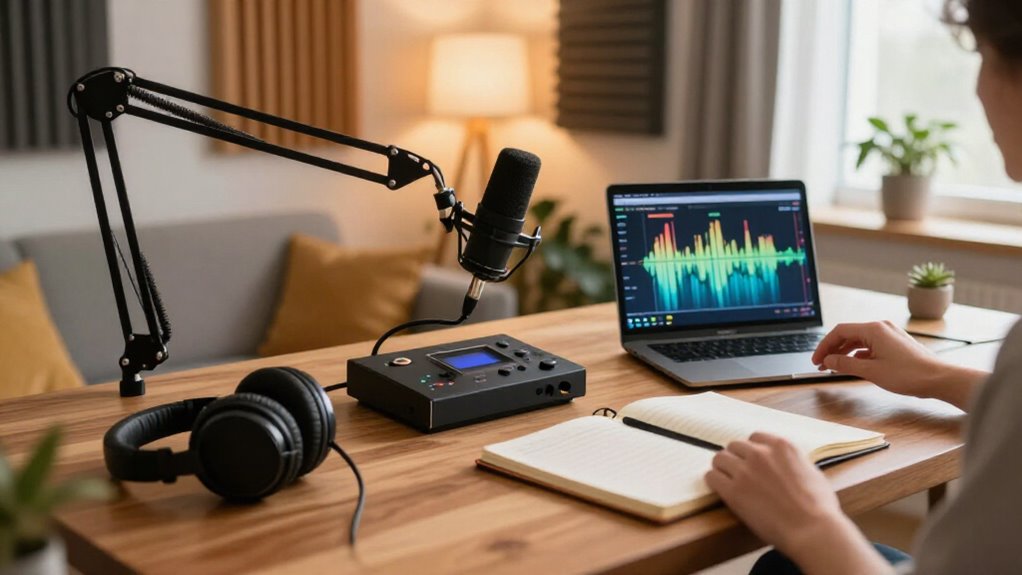
Start with a dynamic USB microphone such as the Samson Q2U, plus wired headphones and a stand.
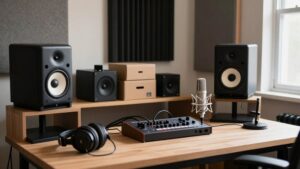
Record in your quietest closet or soft-furnished room after silencing appliances and unplugging unnecessary electronics.
Keep the mic 4 to 6 inches from your mouth, slightly off-axis, and run a 30-second test.
Set gain so peaks stay below -6 dB, save raw takes in date-labeled folders, and back them up.
Next, you’ll refine hum issues and mic care.
One-Hour First-Episode Recording Plan
You can record a solid first podcast episode in about an hour if you prioritize a clean signal over extra gear tweaks. Spend the opening minutes unboxing your Samson Q2U, fitting its foam windscreen, and positioning it 4 to 6 inches from your mouth, aimed directly toward it. Connect USB, then select Q2U for input and output in your recording software.
Plug wired headphones into the 3.5 mm jack to monitor at roughly 5 ms latency, rather than the 160 to 260 ms common with wireless connections. This helps you catch errors without confusing bleed. Record in your quietest, softest space; use a closet if needed to reduce reflections. Run a test and target 30 to 40 dB. Then record uninterrupted takes, pausing only when necessary, and save a raw file for editing.
Choose a Dynamic USB Microphone
A dependable microphone keeps that one-hour recording plan simple: choose a dynamic USB model such as the Samson Q2U. Plug its USB connection directly into your laptop or desktop and record without an interface. Its XLR output also lets you expand later. Dynamic capsules reject more ambient pickup than many condensers, so you’ll get focused speech in a home, hotel, or closet setup.
- Choose the kit: mic, stand, windscreen, and cables eliminate compatibility shopping.
- Monitor through wired headphones connected to the mic or interface; roughly 5ms latency helps you catch problems during take one.
- Rely on the Q2U’s proven design: it’s remained fundamentally unchanged since 2007, delivering nearly 18 years of dependable use.
That durability reduces setup risk and keeps your first session moving confidently.
Step 1: Silence Noisy Appliances
Before each take, switch off or unplug HVAC units, dishwashers, refrigerators, and other motorized appliances. Their hum and cycling can reach the recording even while you speak at a normal level, creating problems that are difficult to remove cleanly in editing.
Choose the electrically quietest room available. Unplug nonessential phone chargers, external USB devices, power strips, and unused electronics; computer power supplies and charging gear can introduce a faint buzz. Keep only the equipment required for the session powered.
Monitor through wired headphones as you prepare to record. Their roughly 5 ms latency lets you hear hum, clicks, and changing appliance levels immediately, unlike wireless earbuds, which commonly add 160 to 260 ms of delay. Listen for 30 seconds before starting, then record a brief test.
Step 2: Position Microphone Six Inches Away
Position the microphone about 4 to 6 inches (10 to 15 cm) from your mouth and aim it directly at your voice to capture clear, bright speech. This spacing gives you a strong, intelligible signal while limiting room sound. Mount the mic so its capsule remains level with your mouth, then keep your head position and speaking distance consistent throughout episode.
For a fuller, bassier delivery, rotate the microphone 10 to 45 degrees off-axis instead of speaking straight into it. This angle can soften plosives and reduce an sharp sound. You can also work closer around 3 inches with a slight angle when you want vocal detail. Make placement changes within the 3 to 6-inch range to manage presence and low-end buildup. Once you find your position, mark it for repeatable tone.
Step 3: Record a 30-Second Test
Record a 30-second test at your normal speaking volume to confirm that your microphone captures clear speech without clipping. Keep the microphone 4–6 inches from your mouth and point it toward you. For a richer, bassier sound, angle it 10–45 degrees off-axis.
Wear wired headphones while you record. They let you hear hum, buzz, plosives, and room noise immediately without the noticeable latency common with wireless monitoring. In your recording software, watch the input meter and set gain so your speech falls near 30–40 dB. Then play the clip back through the same headphones.
If you hear noise or uneven tone, change your room or mic placement first: move near soft furnishings or into a closet. Retest adjustments; keep the setup producing cleanest voice.
Step 4: Record Your Episode Introduction
With your levels and room setup confirmed, capture a focused 30 to 60 second introduction that establishes who you are, what this episode covers, and what listeners will gain.
Speak directly into the microphone from 4 to 6 inches away, with its pickup end aimed at your mouth. In your recording software, select the Q2U or interface output and confirm speech peaks in the 30 to 40 dB target range. If you use a Samson Q2U, connect wired headphones to its rear 3.5 mm jack; they provide 5 ms monitoring latency, unlike wireless delay.
State your name, name the topic, and promise a specific takeaway. Then move straight into the episode. Keep soft materials nearby or record in a closet, and don’t face reflective walls. Clear sound builds listener trust.
Step 5: Save a Backup Recording Locally
Immediately after the session, save your DAW project and export the finished audio to a local folder before relying on any upload or publishing platform. Then create a second copy in an Archive folder or on an external drive. This protects your episode if an upload fails, the internet disconnects, or a platform processing error occurs.
If you’re using an interface or mixer, such as a RØDECaster Duo, enable its local recording option or record directly to your computer. Before the full episode, capture a 30 to 60-second test take, export it, and play the file from disk. Confirm it opens, sounds, and contains every microphone track. Perform this export-and-copy routine immediately after each session; waiting until publication may reveal a failure too late to rerecord.
Step 6: Label Files by Date
Label every recording, edit, and export with a `YYYY-MM-DD` date prefix, such as `2026-10-03_raw.wav`, so your files sort correctly in any folder.
Create a session folder at `/PodcastName/2026/2026-10-03/` before you record. Save the raw take immediately, then use matching names for working edits, such as `2026-10-03_edit.wav`. This system keeps every asset from one session together and eliminates searches across months.
When you export, retain the same prefix: `2026-10-03_episode1_final.mp3`. You’ll quickly connect the final episode, publisher upload, and metadata to its source session. On recording day, copy the entire dated folder to an external drive or cloud backup. Don’t rename files later unless you preserve the date prefix; consistency lets you locate, restore, and hand off assets without confusion when production gets busy or shared.
Verify Waveform Peaks Below -6 dB
Before you commit a dated session folder to recording, run a short level check and keep the loudest waveform peaks below -6 dB. Record 20 to 30 seconds using your normal delivery, including an emphatic line, at your actual 4 to 6-inch microphone distance. In your DAW or recorder, watch both the live meter and peak/max-hold display. Aim for roughly -30 to -40 dB average working level, then confirm that your loudest words, laughs, and guest reactions never exceed the peak ceiling.
If max hold crosses -6 dB, turn down the interface, mixer, or microphone input gain and repeat the test. Don’t plan to repair this later: overload at the mic or interface can create irreversible clipping and distortion. Recheck levels whenever a speaker changes position or delivery.
Ground Hum: Separate Power Sources
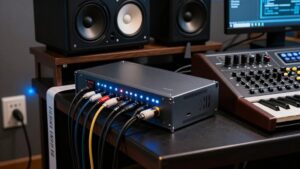
If you hear a steady 50/60 Hz hum, plug your computer and microphone or audio interface into the same power strip or wall outlet. This gives both devices one earth reference and prevents many ground loops caused by separate circuits.
| Check | Action | Result |
|---|---|---|
| Power chain | Use one surge protector | Shared earth |
| USB device | Try another outlet | Test floating ground |
| Nearby gear | Turn it off | Reduce interference |
| Troubleshooting | Change one variable | Identify source |
Start with the outlet or strip, then test cables only after you confirm shared power. Switch off charging bricks, routers, monitors, and other supplies nearby; they can raise hum even when audio wiring is correct.
Record a sample after each change, so you can isolate the power-source link without masking the fault.
Wipe Microphone Grille Monthly
Once power-related hum is under control, keep the microphone grille clean to preserve clear, consistent speech. Before cleaning, turn off and unplug the microphone, or disconnect its USB or XLR cable. This prevents handling noise and protects against accidental gain changes.
Use a dry, lint-free microfiber cloth each month to lift dust and skin oils. If residue remains, use a slightly damp cloth, but apply gentle pressure. Keep the cloth away from openings so you don’t push debris deeper. Inspect the grille and foam windscreen, especially along the lower edge where breath condenses. Replace either component if it is stained or loses shape.
Finish with a 10 to 15-second test recording. Compare levels and tone with your normal sound to catch residue-related dullness or static dust.
Conclusion
You can launch a clean first episode today by following a controlled home workflow. Choose a dynamic USB microphone, quiet appliances, and place the capsule six inches from your mouth. Record a 30-second test, confirm peaks stay below -6 dB, and isolate power sources if hum appears. Name files with the date for reliable retrieval.
During ongoing use, inspect your recordings and wipe the microphone grille monthly. You’ve now built a repeatable, low-noise recording process.