MIDI Keyboard vs Drum Pad Controller: Which Fits Your Production Style?
Choose a MIDI keyboard if you write chords, bass lines, and melodies, especially with two hands; 25 or 37 keys travel easily, while 49 keys suit a studio. Choose velocity-sensitive drum pads if you prioritize finger-drumming, beat sketches, sample chops, and expressive accents or ghost notes.
Neither automatically improves timing, so test response and comfort. For iPad use, confirm class-compliant MIDI and power needs. The details ahead will help you match features to your workflow.
Finger-Drumming vs. Chord Input
Drum pads excel at finger-drumming because their velocity-sensitive surfaces let you perform everything from subtle ghost notes to hard accents with a tactile, rhythm-focused layout. Choose pads when your idea starts with kick, snare, hats, and groove. Their grid keeps drum sounds close together, so you can build patterns quickly and vary timing naturally.
Choose a keyboard when chords drive the track: 25 or 37 keys give you a compact route to progressions, bass lines, and melodies. Both controllers send MIDI notes, so neither limits what you can program. Your decision comes down to the performance method that gets ideas into your DAW fastest.
| Focus | Best practical choice |
|---|---|
| Beat sketching | Pads |
| Harmonic ideas | Keyboard |
| One-device setup | Keyboard with pads |
Match it to your workflow.
Velocity-Sensitive Pads Versus Piano Keys
Velocity-sensitive pads give you a direct way to shape drum dynamics: strike lightly for ghost notes or harder for accents and full hits. Their tactile surface is built for finger drumming and triggering samples, so you can focus on kick, snare, and percussion variations. Piano keys also send MIDI notes, meaning you can assign drum sounds and perform the same parts. The practical difference is feel: keys suit players who prefer a linear layout and need space for chords, bass lines, and melodies.
If you create ideas in a session, choose a keyboard with responsive pads. Twenty-five keys handle harmonic and lead work, while 37 or 49 keys give you more range. When finger drumming drives your workflow, make pad quality a priority.
Timing Accuracy and Groove
Feel affects how accurately you play a rhythm and how naturally it grooves. A pad controller doesn’t create better timing than a MIDI keyboard; both trigger the same drum notes. Instead, its tactile layout may help you perform rhythm-first ideas with a more natural finger-drumming motion.
- Use responsive pads that register light and hard hits consistently.
- Check that soft strikes don’t disappear or create accidental triggers.
- Shape accents and ghost notes through velocity for human movement.
- Choose pads when repeating beat patterns feels more immediate under your fingers.
- Use Melodics feedback to spot whether you’re rushing or dragging.
If keyboard keys feel steadier to you, use them confidently. Your timing improves through focused practice, reliable triggering, and listening closely to recordings as you play.
Two-Handed Chord Learning Curve
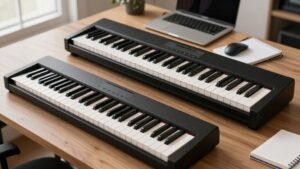
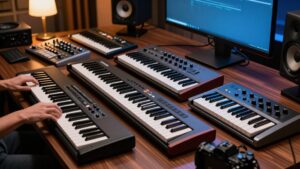
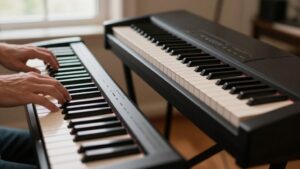
A MIDI keyboard gives you the clearest path to two-handed chord playing because its piano-style layout lets one hand hold a chord while the other plays bass notes or melody.
Start with simple triads, keeping your left hand on roots and your right on chord tones, then add inversions and fuller voicings as your coordination develops. A 25-key controller supports basic chords, bass lines, and leads, but 37- or 49-key models give both hands more usable space. Pads can trigger identical MIDI notes, yet their compact grid doesn’t teach conventional piano shapes as directly. If chords drive your tracks, choose keys with a comfortable feel and use pads as an added rhythm tool rather than your primary chord-learning interface in daily practice at home.
iPad Connectivity and Power
For iPad music-making, keyboard and pad controllers work equally well when they send compatible MIDI, so choose the playing layout you prefer and confirm iPadOS support before buying.
- Check for class-compliant USB MIDI or explicit iPadOS compatibility; USB alone isn’t enough.
- Use a compatible Lightning or USB-C adapter, such as Apple’s Camera Adapter or a USB-C hub.
- If your controller disconnects or won’t start, add a powered USB hub or its external supply.
- Bluetooth MIDI removes cables, but your controller and music app must both support it.
- Compare each model’s connection and power needs before you commit.
Keyboards and pads deliver the same note data; your preferred performance style matters more than format, provided your chosen setup stays powered and recognized consistently by iPadOS.
Pad Replacement Costs
Pad replacement costs can change the value equation for a controller, especially on budget models: before you buy, check whether the manufacturer sells individual pads or requires service—or replacement of the entire unit—when one wears out. If you perform finger drumming daily, prioritize durable construction over the lowest upfront price. Shallow or poorly made pads can wear sooner, turning a cheap purchase into an inconvenient repair.
Compare likely service charges with the controller’s original cost; on an entry-level AKAI MPD218, estimated at $109/£79, a major repair could undermine its bargain appeal. A keyboard controller may expose you to different wear points, but pad-heavy use makes this question especially important. Review the warranty terms, ask authorized dealers how they handle pad failures, and confirm support.
Limited Aftertouch and Modulation
Although many MIDI keyboards and drum pad controllers cover basic note input well, they often omit aftertouch and limit hands-on modulation. Aftertouch responds when you press harder after a note begins, letting you alter a sound without replaying it. Basic models often lack it, so inspect specifications before buying.
- Choose keyboard aftertouch for sustained melodies and evolving chords.
- Choose pad aftertouch if finger-drumming needs pressure-based expression.
- Use modulation wheels to shape parameters while you play.
- Map knobs or encoders to effects, filters, or other DAW controls.
- Prioritize these extras only when your workflow needs expressive performance or active sound shaping.
Your controller’s modulation range depends on physical controls and DAW mapping, so compare assignments carefully and choose options you’ll actually use during production regularly.
Sample Chopping and Triggering
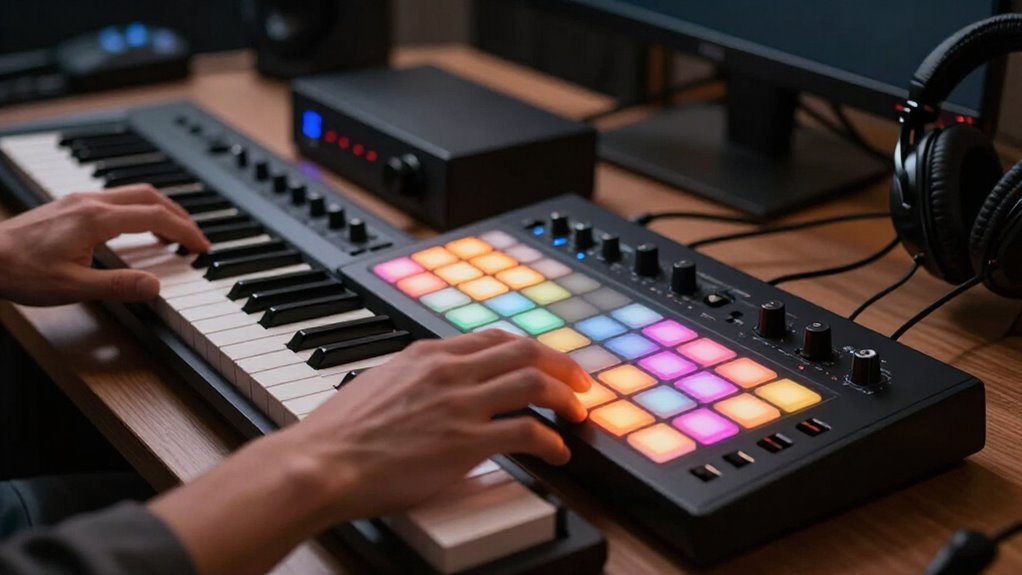
For rhythm-first sampling, you’ll likely find drum pads more tactile for chopping and triggering loops. Velocity-sensitive pads let you add dynamics through harder or softer hits, while a MIDI keyboard triggers the same samples with a key-based feel. A hybrid controller, such as the AKAI MPK Mini MK3, gives you both pads for chops and keys for melodies.
Pad-Based Sample Chopping
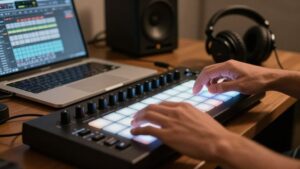
Sample chopping feels more immediate on a pad controller because you can assign slices to individual pads and trigger them in rhythm with your fingers. You can map a compact loop across eight pads or spread a larger phrase over a 64-pad grid.
Velocity sensitivity lets soft taps and hard strikes shape dynamics, so your chops sound played rather than merely programmed. When comparing models, test how consistently each pad catches light and firm hits, and confirm that your DAW makes assignments quick.
- Choose responsive pads for reliable quiet and accented triggering.
- Use eight pads for focused chop sets.
- Pick 64-pad grids for larger arrangements.
- Set slices in a layout your hands remember.
- Try an AKAI MPD218 or MPK Mini MK3 before buying one.
Keyboard Sample Triggering
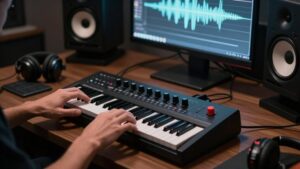
A MIDI keyboard gives you another practical way to trigger chops: assign each slice or sample to a different note, then audition and play them as a sequence. Because keys send the same MIDI notes as pads, they don’t limit sampling options; they change how you perform them. You can map fragments, drum hits, or melodic slices across the keyboard, test variations, and record a phrase.
This approach works well when you’d rather switch between chops, bass lines, chords, and melodies on one controller. A drum pad may feel for finger drumming, yet it doesn’t offer different note-triggering functionality. In FL Studio, a controller like the M-Audio Oxygen Pro 49 lets you sample, sequence, and play parts without changing devices during a session.
Portability for Mobile Producers
For mobile production, you’ll save space with a 25-key keyboard or compact pad controller instead of a 49-key model, but compare dimensions and weight for your bag. USB-powered units simplify setup with a laptop or tablet, while MIDI connections may require extra adapters. Choose a hybrid option like the MPK Mini MK3 for keys and pads in one device, or accept a larger grid such as the Launchpad X for expanded clip control.
Travel Size And Weight
Portability often makes a compact MIDI keyboard or pad controller the smarter choice for mobile production. When you travel, prioritize dimensions, weight, and durable construction alongside creative features.
A 25- or 37-key model gives you enough notes for basic melodies and drum programming without filling your backpack. Pad choices vary: small units save space, while bigger grids improve access but demand more room.
- Choose 25 keys for the smallest bag footprint.
- Pick 37 keys when melodies need extra range.
- Consider the 8-pad AKAI MPK Mini MK3 for compact beatmaking.
- Use the 16-pad AKAI MPD218 for more drum control.
- Expect the 64-pad Novation Launchpad X to occupy more workspace.
A 49-key keyboard or full-size pad controller suits studio use; choose a lightweight, sturdy travel option.
USB Power And Setup
USB power keeps a mobile MIDI setup simple: one cable can power the controller and send MIDI data to your laptop or tablet. That convenience suits beginners and keeps your desk, hotel room, or small production corner uncluttered. A 25-key keyboard controller usually needs no more setup than a compact pad unit, and both are easier to connect than larger 49-key models.
Before you buy, check the controller’s USB port, MIDI connections, and power requirements. Models such as the Akai MPK Mini MK3 and MPD218 are lightweight USB options built for transport. Most USB-powered controllers need a connected computer or compatible tablet host to operate. If you want to create without a computer, choose a standalone device such as Ableton Push 3 instead. Check compatibility before packing.
Mobile Workflow Tradeoffs
Mobile producers need to balance carrying convenience against hands-on control: compact pad controllers take little space and excel at beat programming, sample triggering, and finger drumming, while 25- or 37-key keyboards let you sketch melodies and simple chords alongside rhythm parts. Choose a pad controller when beats drive your sessions; it fits beside a laptop in cramped cafés or hotel rooms.
- A 25-key model keeps your bag light.
- A 37-key version adds chord range.
- Responsive pads support hybrid workflows.
- Avoid shallow pads and wobbly knobs for heavy travel.
- USB starts simply; MIDI links other mobile gear.
A 49-key keyboard can crowd your desk or travel space, so reserve it for destinations where extra range outweighs portability. You’ll work faster with fewer compromises each day.
DAW-Specific Controller Integration
Your DAW should shape your controller choice because tight integration speeds up recording, arranging, and mixing. If you use Ableton Live, a Launchkey or Launchpad gives you hands-on clip launching, mixer access, and Session View control, making a pad controller especially efficient for loop-based work. In FL Studio, look for dependable pad assignments and direct plugin control. The M-Audio Oxygen Pro 49 offers a free MIDI script and template, which can reduce setup time.
Scripts can also improve FL Studio compatibility for older keyboards, although creating your own may be challenging. For compatibility, the AKAI MPK Mini MK3 works plug-and-play with Ableton Live, FL Studio, and Logic Pro. The Launchpad X excels in Ableton but lets you create custom mappings for other compatible software.
Conclusion
MIDI Keyboard vs Drum Pad Controller: Which Fits Your Production Style?
Choose a MIDI keyboard if you build songs around chords, basslines, melodies, and two-handed playing. Its keys support familiar theory practice, while wheels and aftertouch can add expression. Choose a drum pad controller if you prioritize finger-drumming, sample chopping, clip launching, and mobile sessions. Velocity-sensitive pads can sharpen groove, but they won’t replace piano-style input. Compare your DAW integration, iPad power needs, portability, and preferred workflow before buying; the right controller should accelerate your ideas.