USB MIDI vs 5-Pin MIDI: Which Connection Should Your Studio Use?
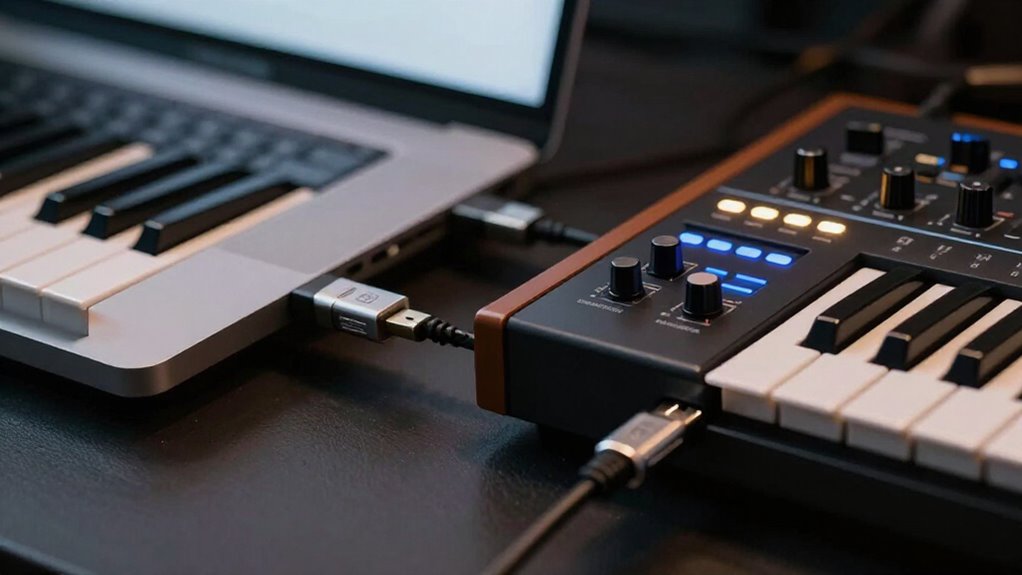
Choose USB-MIDI when your studio centers on a computer: it provides bidirectional MIDI, supports hubs and multiple virtual ports, and can bus-power compatible controllers.
Use a powered hub for several bus-powered devices, and install required drivers.
Keep 5-pin DIN for legacy gear, direct one-way live connections, and optical isolation at MIDI In.
Neither format carries audio or guarantees lower latency. Match the connection to routing, power, distance, and grounding needs; details ahead clarify tradeoffs.
USB Bus Power vs 5-Pin
USB-MIDI can carry both MIDI data and bus power on one cable, which simplifies a controller-to-computer setup when the device’s current draw stays within the USB port or hub’s available budget. That arrangement can keep your desk cleaner: a Roland A-49 has been reported to operate from USB power alone. Don’t assume the same for an Arturia KeyLab 88 MkII; confirm its specified power input before planning a single-cable workflow.
| Connection | Power planning |
|---|---|
| USB-MIDI | Use host or powered hub capacity |
| 5-pin DIN | Supply separate instrument power |
DIN carries MIDI data, not power, so you must power the instrument separately. If you connect several USB devices, choose a powered hub—Anker models are used in practice—and verify each device’s requirements rather than relying on reports alone.
USB Packets, DIN Current Loop
Beyond power, USB and 5-pin DIN move the same MIDI performance messages through different electrical and data transports. Neither connection carries audio, but their routing models differ.
- USB-MIDI sends messages as USB packets across a bidirectional host-peripheral link, from your computer to a controller, interface, or instrument.
- One USB connection can expose 16 virtual ports, with 16 channels per port, giving you 256 channels for routing.
- A DIN link transmits serial data at approximately 31.25 kbps and carries 16 channels in one direction: MIDI Out to MIDI In.
- DIN uses a current-loop electrical interface; optically isolated MIDI In helps you limit ground-loop paths and reject electrical noise.
Choose USB for consolidated multiport device access; use DIN where your hardware’s directional ports match the workflow.
Timing Jitter and Latency
Timing depends on the entire MIDI and audio path, not on the connector alone. Both USB-MIDI and five-pin DIN carry performance data, not audio, so neither connection directly sets your audio latency.
DIN-MIDI transmits serially at roughly 31.25 kbps, so dense clusters of notes, controllers, and clock messages can queue behind one another. USB moves MIDI in both directions and can expose multiple virtual ports, yet its real-world timing still relies on your computer, interface, host, and DAW.
In Gig Performer, no reported timing or jitter issue is specific to USB or DIN. If timing drifts, inspect buffer settings and system performance first. Also test your event density, audio load, and interface behavior under your actual session conditions before blaming the cable or its connector type.
Driver Installation and Port Configuration
Before you configure ports in a DAW or host, connect USB-MIDI instruments directly to an available computer USB port, while five-pin DIN devices require a MIDI interface. Then:
- Verify whether each USB device is class-compliant; install the manufacturer’s required driver before opening your DAW.
- Confirm that USB-MIDI instruments appear as selectable DAW ports, and map their input and output functions deliberately.
- For DIN gear, route each one-way connection from MIDI Out to MIDI In on the interface.
- If you expand an iConnectivity USB-MIDI Host port, use a powered standard USB hub when devices draw bus power.
Remember that host-port numbering can change after a restart. In Auracle Setup Wizard, reserve a dedicated port for every instrument to keep sessions predictable.
Legacy Synth and iPad Pairing
With ports identified and drivers configured, you can pair a legacy DIN-equipped synth with an iPad through a MIDI interface: connect the synth’s 5-pin MIDI OUT to the interface’s MIDI IN, then connect the interface to the iPad through a compatible USB connection. Because DIN MIDI is unidirectional, add a second cable from the interface’s MIDI OUT to the synth’s MIDI IN when you need the iPad to sequence or control the instrument. One DIN link carries 16 channels, while the interface bridges that port to USB MIDI. If your synth offers USB-MIDI, use a host-capable interface; two USB devices can’t normally host each other.
Replacement Cable Costs and Lifespan
Neither USB-MIDI nor 5-pin DIN-MIDI inherently costs less to replace or lasts longer; cable price and service life depend on connector quality, shielding, length, and how you route and handle it.
Because neither standard establishes a universal replacement price or lifespan, buy for the ports you actually use and maintain a spare that matches them.
- Verify USB connector type and DIN plug orientation before ordering.
- Choose short, well-shielded cables for reliable routing.
- Relieve strain at plugs; don’t pinch cables under equipment.
- Label spares by device and inspect connectors during setup.
Replace a cable when its connector becomes loose, its jacket is damaged, or intermittent MIDI messages disrupt your session. This practice supports predictable troubleshooting and protects scheduled work without assuming either standard fails first.
USB Cable Length Limits
USB MIDI works best over short cable runs, since standard USB cabling has more limited reach than Ethernet and can become unreliable when extended directly. Keep controllers, interfaces, and computers close enough to use a normal, standards-compliant USB connection rather than treating USB as building-wide transport.
When you need MIDI between distant rooms, don’t simply add longer USB extensions. Use 5-pin DIN where it suits the equipment and routing or choose an interface that bridges MIDI onto Ethernet. RTP-MIDI carries MIDI over CAT5 or CAT6 and supports runs up to 100 metres without signal loss. That approach lets you place instruments across the studio while retaining a dependable network backbone. Plan endpoint locations early during design and reserve direct USB for local device-to-host links.
Ground-Loop Isolation
When you use 5-pin MIDI, the MIDI IN optocoupler electrically separates the incoming signal, helping reduce ground-loop noise between devices. This isolation protects the MIDI IN path, not every connection in your studio. USB MIDI carries the same data, but you shouldn’t assume its connection provides equivalent ground-loop isolation.
Optical Isolation Benefits
A 5-pin DIN MIDI input uses an optocoupler to pass MIDI data without creating a direct electrical connection to the transmitting device. That design keeps the MIDI IN circuit electrically separate from the sender, helping you avoid ground-loop paths and related interference when equipment runs from different power sources.
- Connect the transmitting device to a compliant MIDI OUT port.
- Route its signal into the receiving device’s MIDI IN.
- Let the optocoupler transfer timing and message data across the isolation barrier.
- Remember that isolation covers this input circuit, not every studio connection.
You still need to manage audio cabling, power distribution, and interconnects correctly. MIDI carries control data, not audio, so the optocoupler protects the data link’s electrical boundary rather than isolating your signal chain.
USB Ground-Noise Risks
Unlike a 5-pin DIN MIDI IN, USB MIDI creates an electrical connection between devices and doesn’t provide optical isolation against ground-loop paths. This means USB can participate in a system-level grounding path, whereas a compliant DIN MIDI input uses an optocoupler to isolate the incoming link.
MIDI transmits performance data, not audio, so it doesn’t inject audible noise into the MIDI data stream. If you hear hum, buzz, or interference, inspect audio cable routing, equipment grounding, power supplies, and USB connections. For setups with persistent ground-loop concerns, choose DIN MIDI where compatible ports or a MIDI interface are available. It separates the MIDI input electrically while you troubleshoot the actual audio signal path and confirm all equipment follows specified grounding requirements where applicable.
Live Rig Versus Studio
For live performance, you can rely on durable 5-pin DIN links for direct hardware control and keep USB runs short, powered, and backed up. In the studio, USB hubs expand your DAW’s controller count, while MIDI interfaces bring DIN-equipped instruments into the same workflow. You should test latency, provide adequate bus power, and keep a spare cable or interface for either setup.
Live: Durable 5-Pin Links
Onstage, 5-pin DIN MIDI gives you a direct, one-way connection from a device’s MIDI Out to another device’s MIDI In, so you don’t depend on USB host compatibility. Each link carries up to 16 MIDI channels, giving you a predictable path between keyboards, synths, sound modules, and effects pedals.
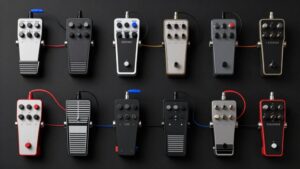
- Send program changes through a standard MIDI cable to pedals that don’t offer USB.
- Connect a controller’s MIDI Out directly to a module’s MIDI In for a dedicated performance path.
- Use MIDI Thru to forward received data to another instrument when a simple chain suits your routing.
- Add a Thru box or multiport MIDI interface as device counts and routing requirements grow.
USB reduces clutter, but retain DIN for non-USB hardware or a dedicated connector.
Studio: USB Device Expansion
In a studio, USB-MIDI lets you consolidate multiple controllers and instruments through a single host connection, while a live rig may prioritize simple, direct paths.
For studio expansion, connect a standard USB hub to an iConnectivity interface’s Host port and attach multiple USB-MIDI devices. The host supports eight or more devices. USB port numbers are assigned dynamically, so they can change after a restart.
Use Auracle Setup Wizard to reserve ports for specific instruments and keep your project mappings consistent. Choose a powered hub when several devices draw bus power. Before committing, verify compatibility: class-compliant USB-MIDI devices integrate predictably, whereas some non-class-compliant equipment may not operate correctly through the host port. This approach scales a controller-heavy studio while preserving an organized MIDI device list.
Latency, Power, And Backup
Neither USB-MIDI nor 5-pin DIN inherently creates a reported transport problem in Gig Performer, and the available information doesn’t establish a measurable latency advantage for either. For live work, choose a reliable, serviceable route: USB reduces clutter and supports bidirectional MIDI over multiple virtual ports; DIN runs at roughly 31.25 kbps and carries 16 channels per connection.
- Use USB when you need dense controller integration.
- Add a powered hub for several bus-powered devices.
- Keep DIN for pedals or hardware lacking USB.
- Wire both paths when a separate backup route matters.
If Windows crackles during MIDI-triggered changes, don’t blame the transport first. Match audio sample rates, set an appropriate buffer, and verify power settings. In studios, USB is convenient; onstage, DIN’s route simplifies fault isolation.
Connector Durability and Strain Relief
Although both connection types can fail under mechanical stress, USB-MIDI ports often need more care because they may share a device’s general-purpose USB socket rather than use a dedicated MIDI connector. Five-pin DIN gives you a dedicated interface, but neither standard tolerates cable pull, sharp bends, or supporting a device’s weight.
Place USB-connected gear close enough that shorter cables don’t tension the plugs. Anchor each cable near the instrument or interface with a clip or tie, while leaving slight slack at the connector. Use sturdy, correctly fitting leads, and regularly inspect plugs and ports for looseness, deformation, or damage. This routine protects shared USB hardware and keeps either MIDI path reliable during repeated setup, teardown, and performance use in a daily working studio environment.
Conclusion
Choose USB MIDI when you want one cable for data, bus power, software integration, and compact desktop workflows. Choose 5-pin DIN when you need galvanic isolation, hardware compatibility, or dependable live-rig connections. You’ll still manage timing by configuring drivers, avoiding overloaded hubs, and routing clocks deliberately.
Respect USB’s cable limits and DIN’s current-loop requirements. For a studio, keep both available: USB for computers and controllers, DIN for instruments and isolated paths.