Boom Arm vs Mic Stand: Which Holds Your Mic Better for Streaming and Recording?
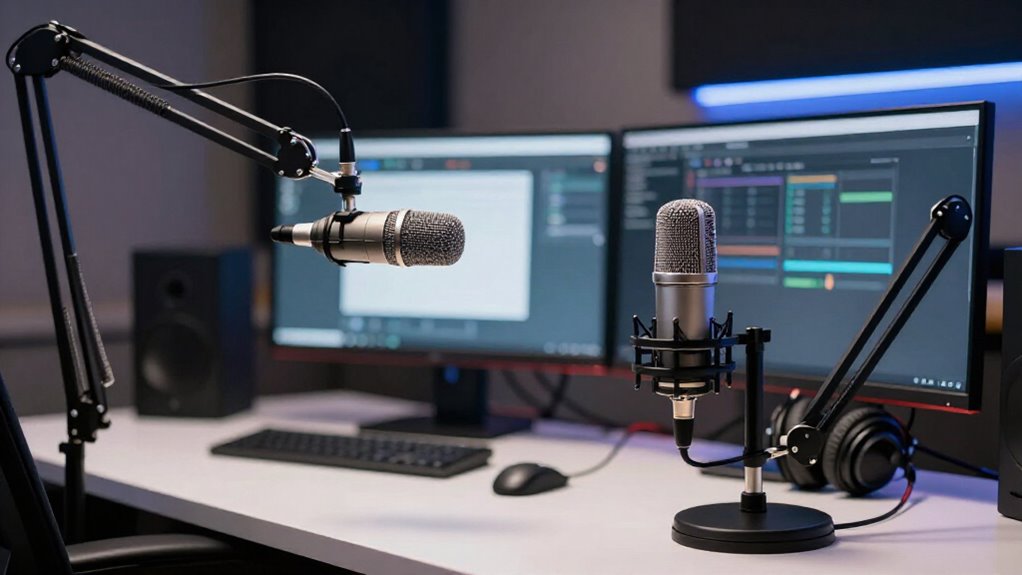
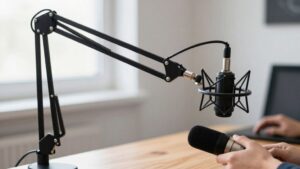
For streaming and recording, you’ll usually hold your microphone better with a boom arm because it positions the capsule six to eight inches from your mouth, swings clear of the desk, and reduces transmitted typing noise.
Choose a weighted desktop or floor stand when you need simple, steady freestanding support and have space for its base. Verify 5/8-inch threads, combined mic-and-shock-mount weight, cable slack, and sit-stand desk clearance.
The trade-offs become clearer with closer comparison.
Clamp Footprint Versus Weighted Base
A boom arm minimizes its desktop footprint by clamping to the desk edge, leaving more room for a keyboard, control surface, or other gear. Before you commit, confirm your desk edge is accessible and the clamp fits its thickness; some models offer a desk-insert mount instead. A desktop stand’s base needs its own space, and rectangular bases outperform smaller footprints for stability.
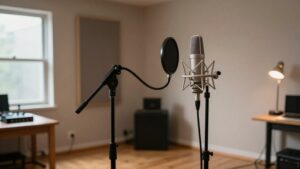
A floor stand, like the AtlasIED MS-10CE or MS20E, frees your desktop entirely but demands clear floor area. You can swing a clamp arm aside when it’s not in use, while a weighted-base stand suits a fixed setup with available room. The table below compares footprint and mobility across mounting options:
| Mount Type | Space Used | Best For |
|---|---|---|
| Boom Arm Clamp | Desk edge only | Limited desktop space |
| Desk-Insert Mount | Drilled desk hole | Permanent installs |
| Desktop Stand | Full base footprint | Stable rectangular base |
| Floor Stand | Open floor area | Stationary heavy-base setups |
Pick a clamp for tight desks, a stand for open floors.
Spring Tension and Pivot Joints
Once you’ve chosen a mounting footprint, evaluate how the arm manages microphone weight and movement. Spring-loaded boom arms apply counterbalancing tension, so you can reposition the microphone without losing its selected placement. Match the arm’s tension capacity and pivot support to the combined weight of your microphone and shock mount; insufficient support causes gradual drooping, while excessive tension makes adjustments harder.
Pivot-joint geometry controls adjustment precision and usable travel. The RØDE PSA1+ uses a parallelogram spring design that maintains controlled movement through repositioning and provides 360-degree rotation. The original RØDE PSA1 combines spring-loaded sections with a two-axis swivel mount, but its movement range is more limited. Choose an arm whose springs and joints support your complete assembly at every intended position reliably.
Noise Isolation and Audio Clarity
Noise isolation depends largely on how effectively your mounting method decouples the microphone from desk-borne vibration. A boom arm suspends the mic above the desk, so typing, tapping, and minor surface impacts are less likely to reach the capsule. It also helps you maintain a consistent six-to-eight-inch mouth-to-mic distance, which stabilizes recording levels and improves intelligibility. With closer placement, you can often lower input gain, reducing captured room noise without eliminating ambient sound.
A stable desktop stand can still deliver clear audio, but desk bumps may transmit mechanically through its base. For either mount, add a shock mount to attenuate vibration. Angle the microphone slightly off-axis and use a pop filter; these measures reduce plosives and harsh breath energy while preserving fine vocal detail.
Toolless Setup in Minutes
For the fastest tool-free setup, place a desktop stand on a stable surface, attach the microphone, and begin recording. This minimizes assembly variables and supports immediate placement on a rigid desk. You don’t need to tune hardware or manage cable routing first.
A boom arm adds steps: clamp its base, set tension for the loaded microphone, and route its cable through clips. Before installation, compare the microphone-and-shock-mount weight with the arm’s rated capacity. Too little capacity causes drift; excessive tension makes adjustment harder. Use a sturdy clamp and verify that the desk edge and surrounding area provide sufficient clearance for the arm’s full movement. Samson’s MBA series includes a C-clamp and cable-management clips, whereas RØDE’s PSA1 offers a desk clamp and a desk-insert mounting option.
5/8-Inch Thread Compatibility
Check the 5/8-inch mounting thread on the boom arm or stand against the thread on your microphone and shock mount. A matching 5/8-inch connection lets you attach components directly and keeps the mounting interface mechanically correct. Don’t assess only the microphone: verify the shock mount’s input thread as well, because it determines whether the assembled system connects without forcing or cross-threading.
If dimensions differ, use a compatible thread adapter; the RØDE PSA1, for example, accommodates various microphones through an adapter. Thread fit doesn’t indicate load suitability. You must separately confirm that the boom arm or stand safely supports the combined microphone and shock mount weight during positioning and normal use. This distinction prevents a correctly threaded setup from exceeding its intended operating load limit.
Replacement Parts and Warranty Costs
Replacement parts and warranty terms can materially change the long-term cost of a boom arm or mic stand. Before buying, verify whether the manufacturer sells replacement clamps, springs, joints, and cable covers.
A replaceable component can cost far less than a complete arm replacement. Compare coverage for manufacturing defects and mechanical wear, particularly on spring-loaded designs with moving joints. Also calculate total supported load, including the microphone and shock mount. If you exceed the rated capacity, you may cause damage that warranty terms exclude.
Desk Drilling and Clamp Damage
Mounting method affects both long-term cost and the condition of your desk. A clamped boom arm generally avoids drilling, but its load transfers through the desktop edge. Assess the mount before installation:
- Verify that the edge is structurally sound and within the clamp’s specified thickness range; weak or unsuitable material can crush, chip, or lose grip.
- Fit the supplied protective pads, then tighten only until the arm cannot shift. Excess torque can leave dents, compression marks, or finish damage.
- For an insert mount, measure the required hole diameter and confirm its location before drilling. The hole permanently modifies the desktop, although it provides a mounting point.
- Choose a freestanding desktop or floor stand when you can’t accept drilling or clamp pressure. It isolates microphone support from the desk surface.
Cable Routing and Strain Relief
Boom arms with built-in channels or clips, such as the RØDE PSA1+ and Elgato Wave Mic Arm LP, keep your cable controlled along the arm instead of across the desk. You must leave enough slack for the arm’s full range of motion so repositioning it doesn’t load the microphone connector. Proper routing prevents snags, reduces connector strain, and keeps your recording area organized.
Built-In Cable Management
Built-in cable management gives boom arms a practical advantage by routing USB or XLR leads along the arm instead of leaving them across the desk. This design reduces visual clutter, keeps the work surface accessible, and makes cable placement repeatable when you reposition the microphone.
- The RØDE PSA1+ uses integrated cable management and a fabric sleeve.
- The PSA1 routes cables internally for a cleaner external profile.
- Elgato’s Wave Mic Arm LP hides USB or XLR leads in internal channels beneath removable covers.
- Samson MBA arms use clips, while Heil’s PL-2T permits internal routing after you remove the top and backplates.
Compared with a conventional mic stand, you don’t need separate ties or desk-mounted channels to organize the primary cable run as your setup evolves.
Preventing Connector Strain
Proper cable routing prevents the microphone’s USB or XLR connector from carrying the cable’s weight or the forces created when you reposition the arm. Route the cable through the boom arm’s clips, sleeve, or internal channel, keeping it supported along the structure rather than at the microphone. Leave a slack loop near the microphone so articulation doesn’t transfer tension to the plug.
Secure the run to the stand or arm, but don’t cinch ties tightly enough to restrict adjustment or create a bend. Arms such as the RODE PSA1 and PSA1+ provide internal management, while the Elgato Wave Mic Arm LP conceals cables beneath removable channel covers. Move the arm through its range, checking for snags, binding, or tension that could tug the connector during repositioning.
Sit-Stand Desk Compatibility
With a boom arm, verify that its clamp fits your desktop thickness and remains stable as the desk reaches standing height. Secure the cable with sufficient slack for the desk’s full travel, preventing tension at either height. A desktop stand moves with the desk too, but its base consumes workspace and requires stability checks when elevated.
Clamp Stability
Clamp Stability
Clamp stability determines whether a desk-mounted boom arm remains secure, especially on a sit-stand desk. You need a rigid desk edge and a clamp that matches its thickness and profile.
As the desktop travels, the arm and microphone travel with it, increasing leverage at the mounting point. Verify these conditions before recording:
- Tighten the C-clamp fully against a solid, flat section of the desktop.
- Confirm the arm and microphone clear monitors, walls, and shelves at every desk height.
- Keep the microphone and shock mount below the arm’s specified load rating.
- Use a grommet or desk-insert mount only if your desktop supports that installation.
A heavy desktop stand bypasses clamp-fit limits but consumes workspace. If you choose an arm, recheck clamp tension; positioning depends on mount integrity.
Cable Slack Management
Cable slack management prevents a sit-stand desk from tugging, pinching, or disconnecting your microphone cable as the desktop moves. Route cable through the boom arm’s clips or internal channels, but leave slack near joints so the arm can extend and rotate without loading the connector. Create a loose loop between the moving desktop and stationary computer or interface.
If arm is desk-mounted, secure its cable to desktop, then retain a loop toward stationary equipment. Test the route with desk at its highest and lowest settings while moving the arm across its full range. Correct snagging, clamp-edge contact, or pinch-point exposure before recording. Integrated management on arms such as the RØDE PSA1+ and Elgato Wave Mic Arm LP keeps the cable controlled without restricting motion.
Desktop Stand Limitations
A desktop mic stand travels with a sit-stand desk, so raising or lowering the work surface changes the microphone’s height relative to your seated or standing position. Because the base rides with the desktop, it cannot preserve a fixed mouth-to-mic distance when you alternate between sitting and standing. You’ll need to reassess placement after each height change.
- Set the stand where its base doesn’t obstruct your keyboard, mouse path, or monitor footprint.
- Confirm the microphone remains aimed at your mouth at both desk extremes.
- Test desk stability, stand traction, and cable movement across the full lift range.
- Consider a clamped boom arm if you need faster correction; it moves with the desk but provides adjustable reach.
Compact desks make its footprint a significant constraint.
Boom Arms for Streamers
For streaming, a boom arm suspends your microphone off the desk, preserving workspace and isolating it from vibrations caused by typing, tapping, or desk bumps. You can set its reach to hold the capsule roughly 6 to 8 inches from your mouth, maintaining level and tone without forcing you to lean forward. Match the arm’s payload rating to the combined mass of your microphone and shock mount.
The Elgato Wave Mic Arm LP carries up to 2.2 lb (1 kg) across a low-profile, 29.5-inch reach, making it efficient on compact streaming desks. For larger layouts, the RODE PSA1+ extends 37 inches and supports 2.6 lb (1.2 kg). Prioritize quiet joints and integrated cable routing, because mechanical squeaks and loose cables can interrupt a live stream unexpectedly.
Conclusion
Choose a boom arm when you need adjustable placement, compact desk use, cable management, and vibration control during streaming. Its clamp and articulated joints let you position a microphone close without obstructing monitors, but you must verify desk thickness, clamp protection, and load capacity. Choose a weighted mic stand when you prioritize stable floor or desktop placement and avoid clamp stress. In either case, match the 5/8-inch mount, secure cables, and test joint tension first.