Do I Need a Mic Preamp With an Audio Interface? When an Upgrade Is Worth It
Do I Need a Mic Preamp With an Audio Interface? When an Upgrade Is Worth It
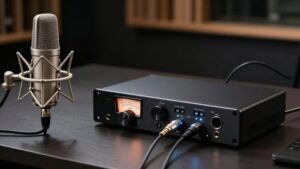
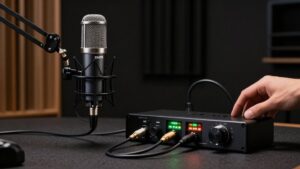
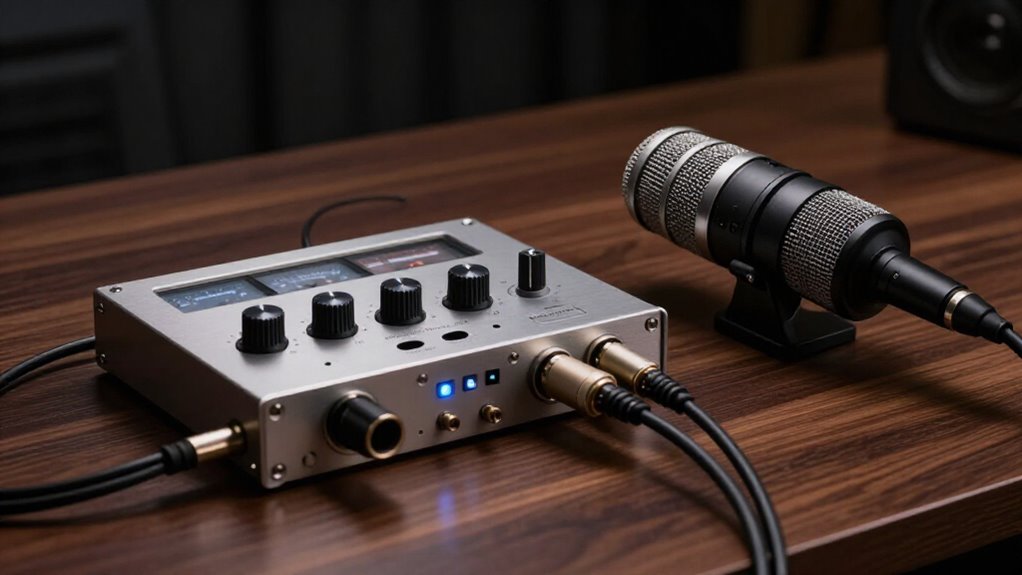
You usually don’t need a mic preamp: your interface raises mic-level signals for its A/D converter.
Upgrade when you need 60 to 70 dB of quiet gain for a low-output dynamic or ribbon, headroom, filtering, transformer color, or inputs for drums.
It won’t cure HVAC, fan, or traffic noise, and it can’t repair clipping.
Set peaks around −18 to −12 dBFS, then compare noise and gain limits before buying.
Next, you can test these limits in practice.
Most Interfaces Already Include Preamps
Most audio interfaces already contain mic preamps that amplify a microphone’s millivolt-level output by roughly 30 to 60 dB, or more, before sending it to the A/D converter. That built-in stage is normally all you need to connect a microphone and record at the interface’s calibrated operating level. When you keep its input within the intended range, it supplies usable headroom and typically remains as clean as an external preamp.
In many systems, +4 dBu is the nominal analog reference, while 0 VU commonly aligns near -18 to -20 dBFS. As a result, if you can set appropriate levels without maxing the interface’s control, you don’t face a technical need for another preamp. An external unit adds value chiefly when you need greater headroom, built-in filtering, or source-specific controls.
Mic-Level Gain Explained
Mic-level gain raises a microphone’s extremely small output, often only a few millivolts, to a usable line-level voltage before conversion. You need roughly 30 to 60 dB of preamp gain because decibels express an amplitude ratio: 60 dB of voltage gain multiplies voltage by about 1,000. Your target isn’t a full-scale DAW reading; professional line level is commonly +4 dBu, or 1.228 V RMS at 0 VU.
| Reference | What you manage |
|---|---|
| Mic output | Few millivolts |
| Gain range | 30 to 60 dB |
| Digital alignment | −18 to −20 dBFS |
Set gain so normal performance sits below converter limits and transient peaks retain headroom. Excess gain can clip the preamp or ADC; insufficient gain forces later amplification and can worsen noise. Proper gain structure preserves signal-to-noise while leaving margins for peaks during recording.
Recording Quiet Dynamic Microphones
Quiet dynamic microphones such as SM7B-style models produce less voltage than many common dynamics, so they can demand 60 to 70 dB or more of clean gain for close speech. If your interface reaches that range only at its maximum setting, its own noise and overload behavior become more relevant. Many dynamics need roughly 30 to 60 dB, but lower-output designs require extra headroom beyond what compact two- or four-channel interfaces comfortably deliver.
Set average speech peaks around -18 to -12 dBFS, rather than riding near full scale. Because speech-to-background ratios can sit near 40 dB, raising an insufficient capture level later also raises audible room noise. A Cloudlifter or Royer dBooster supplies fixed gain before the interface; keeping its control lower and often making operation cleaner and less fussy.
Transformer vs. Transformerless Preamps
Choose a transformer preamp when you want saturation, harmonic density, and rounded transients to shape a source as you raise gain. Choose a transformerless design when you need faster, more neutral, and predictable capture with minimal coloration. You’ll get the best match by considering the source, desired tone, and how hard you plan to drive the input stage.
How Transformers Shape Tone
Transformers shape a preamp’s character by coupling the input or output through magnetic cores, which can introduce subtle harmonic saturation and a rounder transient response as levels rise. When you drive the circuit, the core approaches saturation gradually, generating low-order harmonics and softening peaks rather than remaining perfectly linear. That behavior can make vocals, bass, or drums seem denser without requiring obvious distortion.
You’ll also hear tone changes before saturation because transformer impedance, winding ratio, and loading alter the electrical relationship between your microphone and preamp. A particular mic-transformer pairing may shift low-frequency weight, high-frequency extension, or transient contour. Transformers also provide galvanic isolation, helping block some ground-related interference. If you deliberately overload a preamp, identify where saturation occurs: magnetic core saturation produces artifacts unlike active-stage clipping.
Transformerless Clarity And Speed
By contrast, transformerless mic preamps remove the magnetic coupling stage and typically prioritize wide bandwidth, low distortion, and fast transient response. Without a transformer’s frequency-dependent saturation or possible low-end roll-off, you generally get a more linear transfer path and cleaner reproduction of sharp attacks. These circuits are commonly designed to remain neutral within their available headroom, rather than adding intentional harmonic density as signal level rises.
That doesn’t make them immune to overload: if you drive the input or gain stages too hard, clipping and noise still increase. Compared at similar levels, a transformerless design may preserve more transient definition while a transformer-based circuit rounds peaks as it nears saturation. Correct gain staging matters more than topology alone. For gain demands of 30 to 60 dB.
Choosing For Your Sources
How you match a preamp topology to a source depends on the microphone’s output, the required gain, and whether you want audible saturation or strict transparency. For ribbons and other low-output microphones, you may need 70 dB or more of gain.
A transformer-based design can provide useful gain headroom and a smoother, rounder character, but you must prevent clipping before the A/D. Use its pad or high-pass filter when source level or low-frequency energy threatens the input. For vocals and instruments at moderate settings, topology differences are often subtler than microphone selection and room acoustics. Choose transformerless preamps when you need neutral, clean capture; drive a transformer preamp when you want controlled vintage-style saturation. Don’t confuse color with converter headroom or noise performance in your chain.
Your Room’s Noise Floor
Measure your room’s noise floor before evaluating preamp gain, because HVAC hum, fan noise, traffic, and electrical buzz can dominate quiet recordings. Identify each source by monitoring the input with the mic in position, then reduce it through shutdown, repositioning, and reflection control.
Your interface likely provides over 100 dB of dynamic range, so lowering room noise usually improves signal-to-noise ratio more than adding gain.
Measure Your Noise Floor
Before you evaluate a mic preamp or interface upgrade, establish your room’s actual noise floor. Record 30–60 seconds of silence with the same microphone position and gain you’ll use for vocals. Avoid close speech or changes to recording conditions, then use your DAW’s meter or analysis tool to find the average level in dBFS.
This measurement captures combined noise from the microphone, preamp, and acoustic environment, not preamp noise alone. For example, vocal peaks at -12 dBFS and an average silent track of -50 dBFS yield roughly 38 dB of effective signal-to-noise ratio. Quiet phrases may consequently disappear into the recorded bed. Don’t increase gain merely to chase a louder reading; it raises signal and noise together. First pursue the lowest measured room level, then set gain for healthy vocal headroom levels.
Identify Noise Sources
Your interface’s preamp can’t remove noise that enters acoustically or electromagnetically ahead of its input, so identify the room and equipment sources that set the real recording floor. HVAC fans, computer processors, drive noise, and electrical buzz commonly dominate it. Even dynamic microphones reject only part of ambient sound, while condensers may capture more.
If your room sits roughly 40 dB below your speech, audible background remains regardless of preamp specifications. Interfaces typically provide at least 100 dB of input dynamic range, so room level, not headroom, often limits low-level detail. Listen for processor fans and monitor hiss: they can radiate into a microphone or couple electromagnetically into its cable. Move the mic and use balanced cabling to distinguish external interference from preamp noise before upgrading.
Reduce Room Noise
Because a preamp amplifies the microphone’s entire output, it raises HVAC hum, fan noise, and street sound along with the source; it can’t lower the room’s effective noise floor.
Instead, reduce noise at its source: silence HVAC when possible, move or isolate computers, close windows, and schedule takes around traffic. Place the microphone closer to your voice and use its tighter pickup pattern to improve the direct-to-room ratio. For speech, a source roughly 40 dB above background leaves little margin for additional preamp noise.
Most modern interfaces already provide about 100 dB of analog/digital dynamic range, so room noise and placement usually dominate. A booster can raise low-SPL signal before conversion, but it won’t remove ambient sound. Treat the room before upgrading electronics for quieter recordings.
Adding Preamps for Drum Kits
Adding preamps for a drum kit usually solves an input-count or gain-range problem rather than delivering an automatic sound-quality upgrade. Your interface’s existing mic inputs can typically amplify kick and snare dynamics cleanly, provided their gain range reaches the required level.
When low-output microphones, such as certain ribbons or distant overheads, demand roughly 70 dB or more, an interface capped below 60 dB pushes you toward noisy maximum gain. For an eight-mic kit, ADAT expansion is often the sensible move: an eight-channel preamp adds both preamps and channels.
Choose external units for functional controls: PAD, phase reverse, and high-pass filtering improve headroom and control rumble on close mics. Otherwise, prioritize microphone selection, placement, and room treatment; preamps alone won’t transform drums when your interface operates within its gain range.
Phantom Power Can Damage Ribbons
External preamps also require careful power management, particularly when you connect ribbon microphones. Phantom power (P48) sends nominal +48 V through XLR pins 2 and 3 via matched resistors. While dynamic and condenser microphones handle it, some passive ribbons don’t. Their motors are intended to operate unpowered, and sustained voltage can create electrical or mechanical risk.
Before you connect a ribbon, disable your interface’s 48-volt supply unless its datasheet explicitly confirms compatibility. Check the manual: manufacturers often state “do not use phantom power.” A dedicated ribbon preamp or transformer may provide appropriate impedance and safe switching. Active ribbons or protected models may tolerate P48, but you shouldn’t assume this. Verify the exact model’s phantom-power specification before enabling it; incorrect powering can permanently damage the ribbon.
A Preamp Won’t Fix Clipping
A better mic preamp won’t cure clipping if your interface’s input or ADC already overloads; it merely places gain earlier in the signal chain. If the interface input clips, an external unit only changes where you apply gain; you must lower the level before converter peaks reach 0 dBFS.
- Reduce preamp gain and leave peak margin.
- Engage a mic or input PAD for loud sources.
- Route an external preamp into a true line input, not another hot mic stage.
- Watch condenser outputs: phantom-powered capsules can overload analog input stages.
Digital headroom follows interface calibration: +4 dBu commonly maps to roughly −18 or −20 dBFS. More preamp headroom cannot change the converter ceiling. Analog overload may change character; ADC clipping demands attenuation and correct routing.
Measure Your Interface’s EIN
Start by treating equivalent input noise (EIN) as the preamp’s self-noise referred back to its microphone input: the more negative the dBu value, the quieter the gain stage is. Compare that figure at the manufacturer’s stated gain and source impedance, and confirm whether testing used a terminated input; EIN changes with gain and loading.
Estimate your signal-to-noise ratio from the microphone’s output in mV, the 30 to 60 dB gain you need, and the corresponding EIN. Each gain increase makes preamp noise more consequential. Around -120 dBu or lower generally beats -100 dBu, particularly with quiet sources, ribbons, or SM7-style low-output microphones. Check total available gain and headroom too: if your target SPL demands more gain, a noisier interface will become obvious in recordings during quiet passages.
Conclusion
You probably don’t need an external mic preamp because your interface already supplies gain, phantom power, and low noise for sources.
Upgrade only when you can identify a measurable limitation: insufficient clean gain for a quiet dynamic mic, inadequate channels for drums, unacceptable EIN, or a specific transformer color you want. Don’t expect a preamp to cure clipping, room noise, or poor technique. Protect ribbon microphones by disabling phantom power. Test levels, noise, and headroom.