How to Mix on Headphones So Your Songs Translate to Speakers
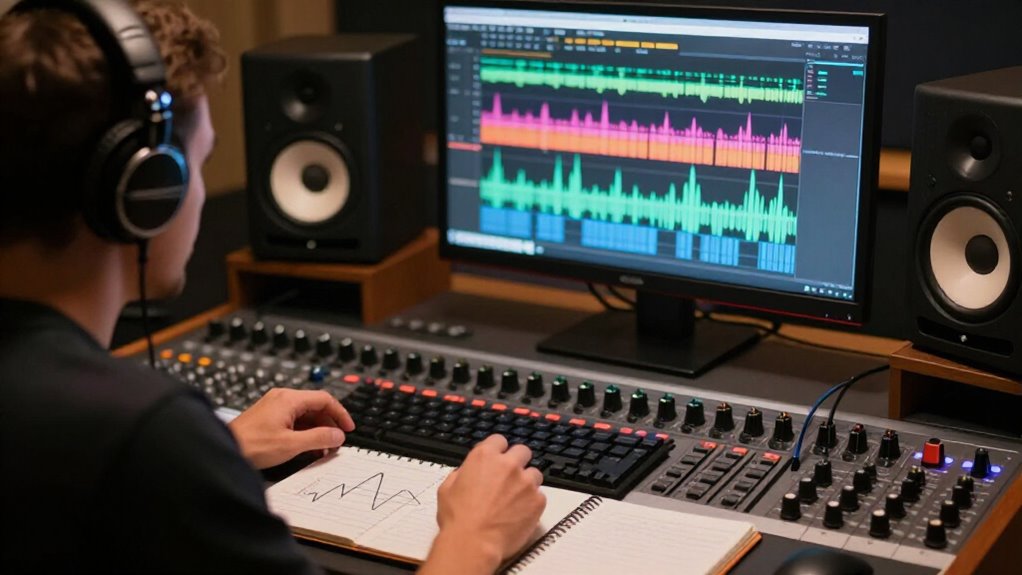
Calibrate your headphones to about 65 dB SPL with pink noise, then mark the output setting.
Put crossfeed on your monitoring bus, not the export path, and compare against three loudness-matched reference tracks.
Check kick, bass, vocal, and snare in mono and on consumer earbuds or a car stereo at low volume.
Make small, targeted EQ moves around 3 kHz, and don’t print limiters or crossfeed.
Next, you’ll refine each translation check and maintenance step.
Mono Speaker Translation: Difficulty, Time
The main challenge in headphone mixing is that headphones isolate the left and right channels, while speakers let each ear hear both speakers through acoustic crosstalk. That crosstalk sends a delayed, quieter version of each channel to the opposite ear, changing how you judge center weight, low-mid energy, and stereo width.
On headphones, these relationships remain locked; on speakers, they’re time- and level-dependent. Before trusting a wide headphone image, check kick, bass, and lead vocal in mono. If their combined level or tone shifts, correct the arrangement, EQ, dynamics, or panning.
A controlled crossfeed can approximate speaker listening: feed channels across with about 280 ms delay and 7 to 8 dB attenuation. Recheck the vocal, kick fundamental, bass, and key harmonic centers under crossfeed and mono.
Calibrate Headphones to 65 dB
Calibrate your headphone monitoring level to roughly 65 dB SPL with pink noise measured at the ear position, then treat that output setting as your working reference. This prevents level-dependent shifts from misleading your EQ, vocal presence, and low-end dynamics decisions.
- Play pink noise through your DAW and interface path; measure SPL, then adjust output to about 65 dB.
- Save or mark that interface/amp setting. Don’t loudness-match each session by ear: a volume change can alter perceived bass tightness and snare-to-vocal balance.
- Apply SoundID Reference or measurement-based correction if available, but retain the same 65 dB reference.
- Before EQ moves, check a vocal/snare passage and a kick/bass passage at level. Recalibrate after changing interfaces, amps, or headphone models; DAW meters don’t guarantee identical SPL.
Step 1: Set Up Crossfeed Plugin
Once your 65 dB headphone reference is set, insert a crossfeed plugin on the monitoring bus, not the mix export path, to add controlled left-to-right and right-to-left crosstalk. Crossfeed simulates speaker listening by feeding each channel’s signal into the opposite side through delay and attenuation, not corrective EQ.
Start with 280 ms of delay and 7 to 8 dB attenuation on open-back headphones. For closed-back models, tighten both settings slightly, because their isolation produces more sharply separated imaging. Use the crossfeed after your headphone-correction or virtual-monitoring stage, such as SoundID Reference Virtual Monitoring, so it doesn’t mask an uncorrected frequency response. Keep it enabled whenever you set panning, ambience, stereo width, and center balance. This perspective reduces exaggerated width and a locked center, improving spatial translation to speakers.
Step 2: Choose Three Reference Tracks
With crossfeed active, choose three commercially released tracks you know inside-out on speakers, then use them to anchor your headphone decisions. Pick songs in your genre with comparable tempo and vocal style. Make one a mainstream streaming benchmark with steady lows and controlled highs, one brighter or punchier, and one leaner or bass-light.
Level-match each reference to your mix by integrated loudness, not peak readings. Stream them outside your DAW through the same interface and headphone chain. On every switch, inspect center locking, stereo width, low-end weight, and reverb depth. Then run mono and narrow checks: if a difference vanishes or flips, it may be a headphone artifact rather than a reliable mix target.
Keep notes so repeated comparisons produce consistent, speaker-ready corrective moves.
Step 3: Set Vocal Level Quietly
Set the lead vocal slightly quieter than feels instinctively comfortable in headphones: isolation and exaggerated center imaging can make a centered voice seem more dominant there than it will on speakers. Balance it in headphones, but aim for a lead just under matched references, not on top of the mix. Level-match references before comparing; otherwise loudness bias encourages an inflated vocal.
Engage crossfeed, around 280 microseconds delay and 7 to 8 dB attenuation on open-back models, to reduce the locked center image. Repeatedly switch to mono, or narrow stereo, and assess consonant clarity and intelligibility from center presence. When the vocal feels restrained but understandable, check on earbuds or a car simulation. Don’t raise it unless words disappear; a headphone vocal often lands correctly on real speakers.
Step 4: High-Pass Competing Low-End Tracks
After you’ve placed the vocal, clear space between competing low-end sources by using high-pass filters as gentle tapers rather than hard removals. With kick and sub bass, raise one cutoff in 10 to 20 Hz steps: start around 20 to 80 Hz on kick or 25 to 120 Hz on bass, then reduce masking around shared second and third harmonics. Use complementary slopes, perhaps 24 dB/octave on the track yielding space and 12 dB/octave on the other, so you don’t hollow mid-bass.
Monitor in mono while sweeping and watch the spectrum, but trust the combined weight. Each filter shifts phase, so check polarity and alignment near its crossover, commonly 50 to 120 Hz. Finally, audition the change on a speaker reference or mono collapse; headphones can make diminished bass energy seem complete.
Step 5: Check Snare on Earbuds
Switch to true consumer earbuds for a dedicated mono snare check, not another pair of studio headphones. Listen for whether the crack stays above the kick without a hollow, boxy buildup around 1 to 3 kHz. If it sounds bright or papery, reduce an exaggerated 2 to 6 kHz transient edge; that emphasis can become harsh or spitty on speakers.
Keep the attack shape consistent in mono: thin or phasey samples lose punch when speaker crosstalk enters the picture. Toggle mono and narrow playback to verify a locked center image. Finally, compare the tail against your main monitors. Adjust room or reverb until it feels controlled, not smeary; earbuds can overstate space while masking ambience that speakers expose. Make small, repeatable changes, then recheck level-matched against your reference.
Step 6: Archive 24-Bit Mix Stems
Before you close the session, export 24-bit unmastered mix stems at the project’s native sample rate, such as 44.1, 48, or 96 kHz, and keep every file aligned from the same start point. Use a consistent sample rate across the set to prevent conversion or quantization shifts when reconstructing the mix. Don’t print limiters, clipping, or headphone crossfeed/3D processing; those belong only on the monitoring path. Match levels with gain staging, not corrective EQ, so transient emphasis remains intact.
Preserve each source’s pan format: export true-stereo material in stereo and center-only vocal or bass components in mono. Include a routing sheet listing every stem name, included tracks, output format, and reference levels, for example, -14 LUFS integrated or -18 dBFS peak. You’ll recreate mix reliably on speakers.
Test Car Stereo at Low Volume
With your 24-bit stems archived, test the full mix in a car at a low, repeatable volume rather than judging it only at a satisfying loudness. Car systems can inflate bass while making midrange and upper-mid detail seem less present as SPL rises, so a balance that impresses loudly may not translate.
Play familiar reference tracks through the same system at the identical setting, then level-match your mix. This prevents volume differences from skewing judgments about vocal presence, de-essing, and sub/bass control. At low volume, inspect whether the kick defines attack and whether bass notes remain distinct rather than smeared or disappearing.
Learn the stereo’s behavior before revising. After each check, change one parameter, kick level, bass EQ, or vocal level, then retest.
Troubleshooting: 3 kHz Harshness
Identify whether the harshness is actually in the mix or is being magnified by your headphones: many models have a presence bump around 3 kHz. Listen in mono, then sweep 2.5 to 3.5 kHz with a narrow Q of 1 to 2 before making broad cuts.
| Check | Action |
|---|---|
| Calibration | Enable calibration and crossfeed; use your plugin’s millisecond delay specification. |
| Reference | Level-match a familiar track. |
| EQ | Trim only 3 kHz by 1 to 2 dB. |
| Vocals | De-ess gently, detecting near 3 kHz. |
Small moves preserve body; excess reduction translates as thinness on speakers.
After each change, stress-test monitors or virtual monitor/car curves. Rooms alter perceived midrange, so compare at matched loudness and revise the same narrow band, not vocal or mix bus. If edge remains only on headphones, leave mix alone.
Replace Worn Earpads Annually
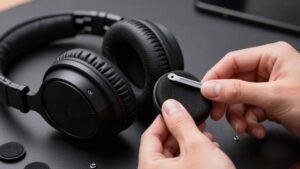
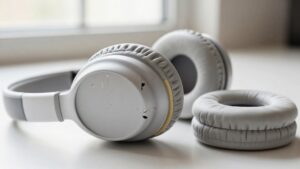
Replace worn earpads annually, or sooner when you hear duller highs, reduced bass, or unstable stereo imaging. Pad compression and hardening break the seal around your ears, often cutting low end by several dB. Your kick and bass may then seem too large or too thin compared with speakers, pushing you toward incorrect EQ and level decisions.
Wear also increases leakage and changes ear-to-driver distance, which shifts treble response. Vocals can sound artificially harsh or clean, tempting you to over-de-ess them for monitor playback. Treat pad condition as part of your headphone calibration. Don’t change pads mid-project unless necessary; doing so can invalidate translation adjustments you’ve already made. After installing new pads, check references at levels, sum to mono, and verify vocal tone and bass balance before resuming the mix.
Conclusion
To make headphone mixes translate, you’ll need disciplined checks, not guesswork. Calibrate to 65 dB, use crossfeed, and compare three trusted references before setting vocals at a quiet level.
Print 24-bit stems, then audition the mix in mono and on a car stereo at low volume. If 3 kHz bites, correct it cautiously. Finally, replace worn earpads annually; their changing response can undermine every decision you make during the mix process and final playback tests.