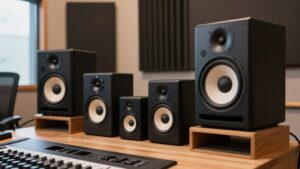
Studio Monitor Specs Chart: Frequency Response, Wattage and Driver Size Compared
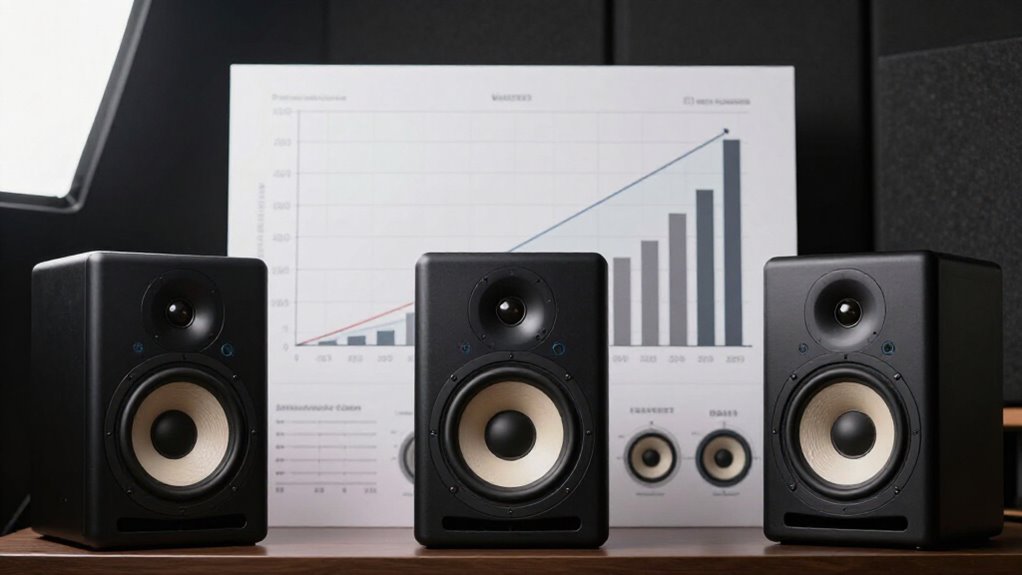
Studio Monitor Specs Chart: Frequency Response, Wattage and Driver Size Compared
Compare monitors by measured response, maximum SPL, driver size, and room fit—not wattage alone. You’ll often find 5-inch models adequate to about 50 Hz, while 8-inch designs may reach 35 Hz, depending on tolerance and room effects.
Use 4-inch monitors in compact rooms, place rear-ported speakers 25 to 30 cm from walls, and sit 3 to 6 feet away. Verify balanced XLR/TRS compatibility and avoid sustained 85 dB SPL. The details below help you choose confidently for your room and workflow.
Nearfield Listening Distance: 3–6 Feet
For nearfield monitoring, position your listening seat roughly 3 to 6 feet from each speaker, using the range as a practical starting point rather than a strict rule. Form an equilateral triangle: keep the spacing between the monitors approximately equal to the distance from either monitor to your head. Toe both cabinets inward so their axes intersect at, or just behind, your listening position, and align each tweeter with your seated ear height. This geometry prioritizes direct sound and stabilizes stereo imaging.
Use rigid stands to achieve height and stability; isolation pads limit vibration entering shelves or desks. Don’t place monitors directly on a desk when practical, stable alternatives exist: early desk reflections interfere with the direct path, producing comb filtering that alters perceived tonal balance.
5-Inch Monitors: 50 Hz Bass
A 5-inch monitor that reaches 50 Hz can cover the core bass range for many home studios, particularly small or untreated rooms where larger cabinets may overload low frequencies. Don’t treat that figure as absolute extension: 50 Hz at −3 dB retains more usable energy than 50 Hz at −10 dB. Inspect the response curve, because the published endpoints don’t show output strength near the limit.
| Model | Low-end indication | What you feel |
|---|---|---|
| Yamaha HS5 | Limited low end | Caution |
| Adam T5V | 45 Hz at −10 dB | Hopeful, not flat |
| Your room | Measure near 50 Hz | Confidence |
If you produce bass-heavy material, test translation in your room. A five-inch design may not supply deep bass; consider a subwoofer only after verifying placement and response at mix position.
Decibels (dB SPL) Explained
dB SPL describes the acoustic sound-pressure level a studio monitor produces, not its frequency range or amplifier power rating.
You’ll see dB SPL in frequency-response measurements, where output at each frequency is compared with a reference, commonly 1 kHz or an averaged midrange band. A ±3 dB specification means the response remains no more than 3 dB above or below that reference, creating a 6 dB total window across the quoted range. On a graph, peaks sit louder than the reference; dips sit quieter. Check the vertical-axis scale before judging their significance.
A 10 dB decrease sounds roughly half as loud, while doubling amplifier power raises level by about 3 dB. This relationship means power ratings alone don’t predict the acoustic output you’ll actually measure at your listening position reliably.
8-Inch Bass: 35 Hz
An 8-inch monitor rated to 35 Hz can provide meaningful sub-bass, but you must verify whether that figure is measured at −3 dB or −10 dB. Match its output and port design to your room size, because boundary gain and room modes can exaggerate or cancel bass near 35 Hz. If placement can’t produce a controlled low end, integrate a properly crossed-over subwoofer instead.
What 35 Hz Means
When a studio monitor lists 35 Hz as its lower frequency limit, it means the speaker can reproduce a tone that cycles 35 times per second, not that it delivers that tone at useful volume or with flat, accurate output. To interpret the claim, you need the response tolerance. A 35 Hz rating at −3 dB shows materially stronger output than the same endpoint at −10 dB, where energy has fallen sharply. If the manufacturer omits the decibel boundary, treat the number as incomplete.
Prefer a frequency-response graph or independent measurements that reveal level from 35 to 40 Hz. Compact monitors can reach this range yet produce limited low-end amplitude, making the nominal extension misleading for critical bass decisions. Compare measured curves, not endpoint figures alone.
Room Size Considerations
Room size determines whether a monitor’s claimed 35 Hz extension helps your decisions or mainly excites problematic room modes. In a typical small home studio, a 5-inch monitor is often the practical choice, particularly when the room is untreated. Larger monitors deliver more low-frequency output, but they can overload the space and make modal peaks and nulls more consequential.
In a larger or well-treated room, larger monitors can fill the space more effectively and provide stronger low-end response. Still, don’t treat a 35 Hz specification as proof of flat bass at your listening position. Verify the published response tolerance: a stated lower limit may sit several decibels below the reference level. Then assess placement and room modes, which can amplify or cancel bass near 35 Hz substantially.
Port Design Effects
Port design strongly influences whether a monitor rated to 35 Hz delivers useful, controlled bass or merely reaches that frequency at a heavily reduced level. A bass-reflex port can extend low-frequency response, but you should treat any 35 Hz specification as incomplete without its stated tolerance: −3, −6, or −10 dB. Inspect the response curve at 35 Hz; substantial attenuation means you receive little usable output.
Port tuning and cabinet volume determine extension and control, so identically rated monitors can differ materially in level and accuracy. If you use rear-ported cabinets, maintain manufacturer-recommended wall clearance; nearby boundaries can reshape the port’s bass output. In a small room, modes can further create peaks and nulls, so the published limit doesn’t guarantee even in-room bass at your listening position.
Subwoofer Integration Options
A subwoofer can extend a 35 Hz monitor system into the lowest octave, which benefits dance music, home-theater playback, and film mixing, but it won’t automatically improve bass accuracy. First, determine whether the monitor’s 35 Hz rating is measured at −3 dB or −10 dB; the latter may indicate limited usable output.
Choose a crossover near the point where monitor output declines, then match subwoofer gain so neither source dominates the overlap region. Use measurement sweeps at your listening position to assess the summed response, crossover continuity, and phase alignment. Below roughly 300 Hz, room modes can produce strong peaks and nulls that electronic adjustment alone can’t remove. In smaller rooms, add a sub only after evaluating response curves, intended material, and acoustic treatment.
Placement And Boundary Gain
Although a monitor rated to 35 Hz suggests deep extension, wall and corner proximity can add boundary gain that raises its in-room bass output unevenly. Its published response doesn’t guarantee uniform low-frequency delivery: check the tolerance, because room modes produce peaks and nulls, particularly below 300 Hz.
Keep rear-ported designs away from walls; an Adam Audio T5V needs roughly 25 to 30 cm behind it. Avoid corners, and evaluate positions from your listening seat. In stereo, arrange the monitors and your position as an equilateral triangle. Use stands to set tweeters at ear height and limit desk vibration.
Move them incrementally, measure or listen with familiar low-frequency material, and select the position that minimizes exaggerated bass while preserving reliable translation across mixes at normal monitoring levels.
Match Maximum SPL to Room
Match maximum SPL to your listening distance and room volume, since a small-to-medium room typically requires less output than a large commercial studio. For small-to-medium spaces, 50 to 75 watts per channel provides a useful starting range; larger commercial rooms may warrant 100 watts or more per channel. However, don’t treat wattage as a loudness rating. Maximum SPL also depends on driver sensitivity, enclosure design, and the amplifier’s ability to deliver clean power.
Select monitors with sufficient headroom for transient peaks, which can demand up to ten times the power of average program material. Then audition them at your actual listening distance. If they reach the required working level cleanly, without audible compression, clipping, or distortion, their output capability suits the room under real program conditions.
Avoid Sustained 85 dB SPL
Output capability should not encourage sustained high-level monitoring: treat 85 dB SPL at the listening position as a caution threshold, not an everyday target. Prolonged exposure near this level can increase hearing-damage risk, even if monitors reproduce it cleanly. Measure SPL where you sit with a sound-level meter; a monitor-controller position, interface setting, or amplifier gain marking can’t quantify acoustic level.
Set a lower level for long editing, mixing, and production sessions, then take regular breaks to limit cumulative exposure. Short musical transients and occasional peaks may rise above your working level without creating the same exposure pattern. However, don’t maintain elevated levels while checking low end, balance, or detail. Preserve system headroom, but use it for brief peaks, not continuous loudness.
Small Rooms: 4-Inch Monitors
Four-inch studio monitors often suit compact rooms because their limited low-frequency output is less likely to overload a small space than larger nearfields. You’ll get less bass extension than with five-, seven-, or eight-inch models, so evaluate the response limits rather than an unqualified frequency-range claim. Compare low-end specifications only when both manufacturers state the same tolerance: 50 Hz at −3 dB indicates materially more usable output than 50 Hz at −10 dB.
For home-studio mixing, position the tweeters at ear height and aim each monitor toward your listening position. Reflections still alter balance, imaging, and bass perception, even with small drivers. If your work requires deep-bass judgments, assess whether a subwoofer fits your room and workflow; integration in compact spaces can complicate monitoring.
Fix Rear-Port Wall Boom
Rear-ported monitors can produce exaggerated, boomy bass when their ports sit too close to a wall, because the boundary reinforces low-frequency energy. Place each speaker roughly 25 to 30 cm from the nearest wall when possible; Adam Audio’s T5V specifies this clearance for best performance. Then assess placement systematically:
- Move monitors farther from walls and corners. Listen to familiar, bass-rich references for reduced buildup.
- Keep both speakers at equal wall distances, preserving symmetrical low-frequency loading and stereo balance.
- If clearance is limited, apply rear-panel EQ or room-tuning bass reduction incrementally.
- For permanently wall-adjacent positions, choose front-ported or sealed monitors; these designs usually tolerate boundary proximity better.
This approach reduces boundary gain without masking mix decisions or altering your monitor’s fundamental response character.
Verify XLR/TRS Inputs
Before choosing cables, verify that each monitor input matches your interface or mixer output. Balanced XLR and ¼-inch TRS connections reject common-mode noise, making them the preferred link from an interface to active monitors. Inspect both ends before ordering cables:
- Identify whether your interface provides balanced XLR, TRS, or both outputs.
- Confirm whether each monitor accepts XLR, ¼-inch TRS, or another format.
- Check whether the stated input is balanced; connector shape alone doesn’t guarantee balanced operation.
- Select a compatible lead, such as ¼-inch TRS-to-XLR, when connectors differ.
The M-Audio Forty Sixty supplies both XLR and TRS inputs, giving you flexible balanced wiring. By contrast, the Adam Audio T5V combines a balanced XLR input with an unbalanced phono input. Use XLR to minimize system noise.
Conclusion
Use the chart to match driver size, bass extension, and maximum SPL to your listening distance and room volume. You’ll usually monitor from 3 to 6 feet, so prioritize nearfield accuracy over headline wattage. Choose 4-inch models for tight rooms, 5-inch models for roughly 50 Hz reach, and 8-inch models when you need about 35 Hz. Keep sustained levels below 85 dB SPL, manage rear-port boundary gain, and confirm balanced XLR/TRS connectivity before buying for reliable translation across systems.